
BEFORE & AFTER
Before & After
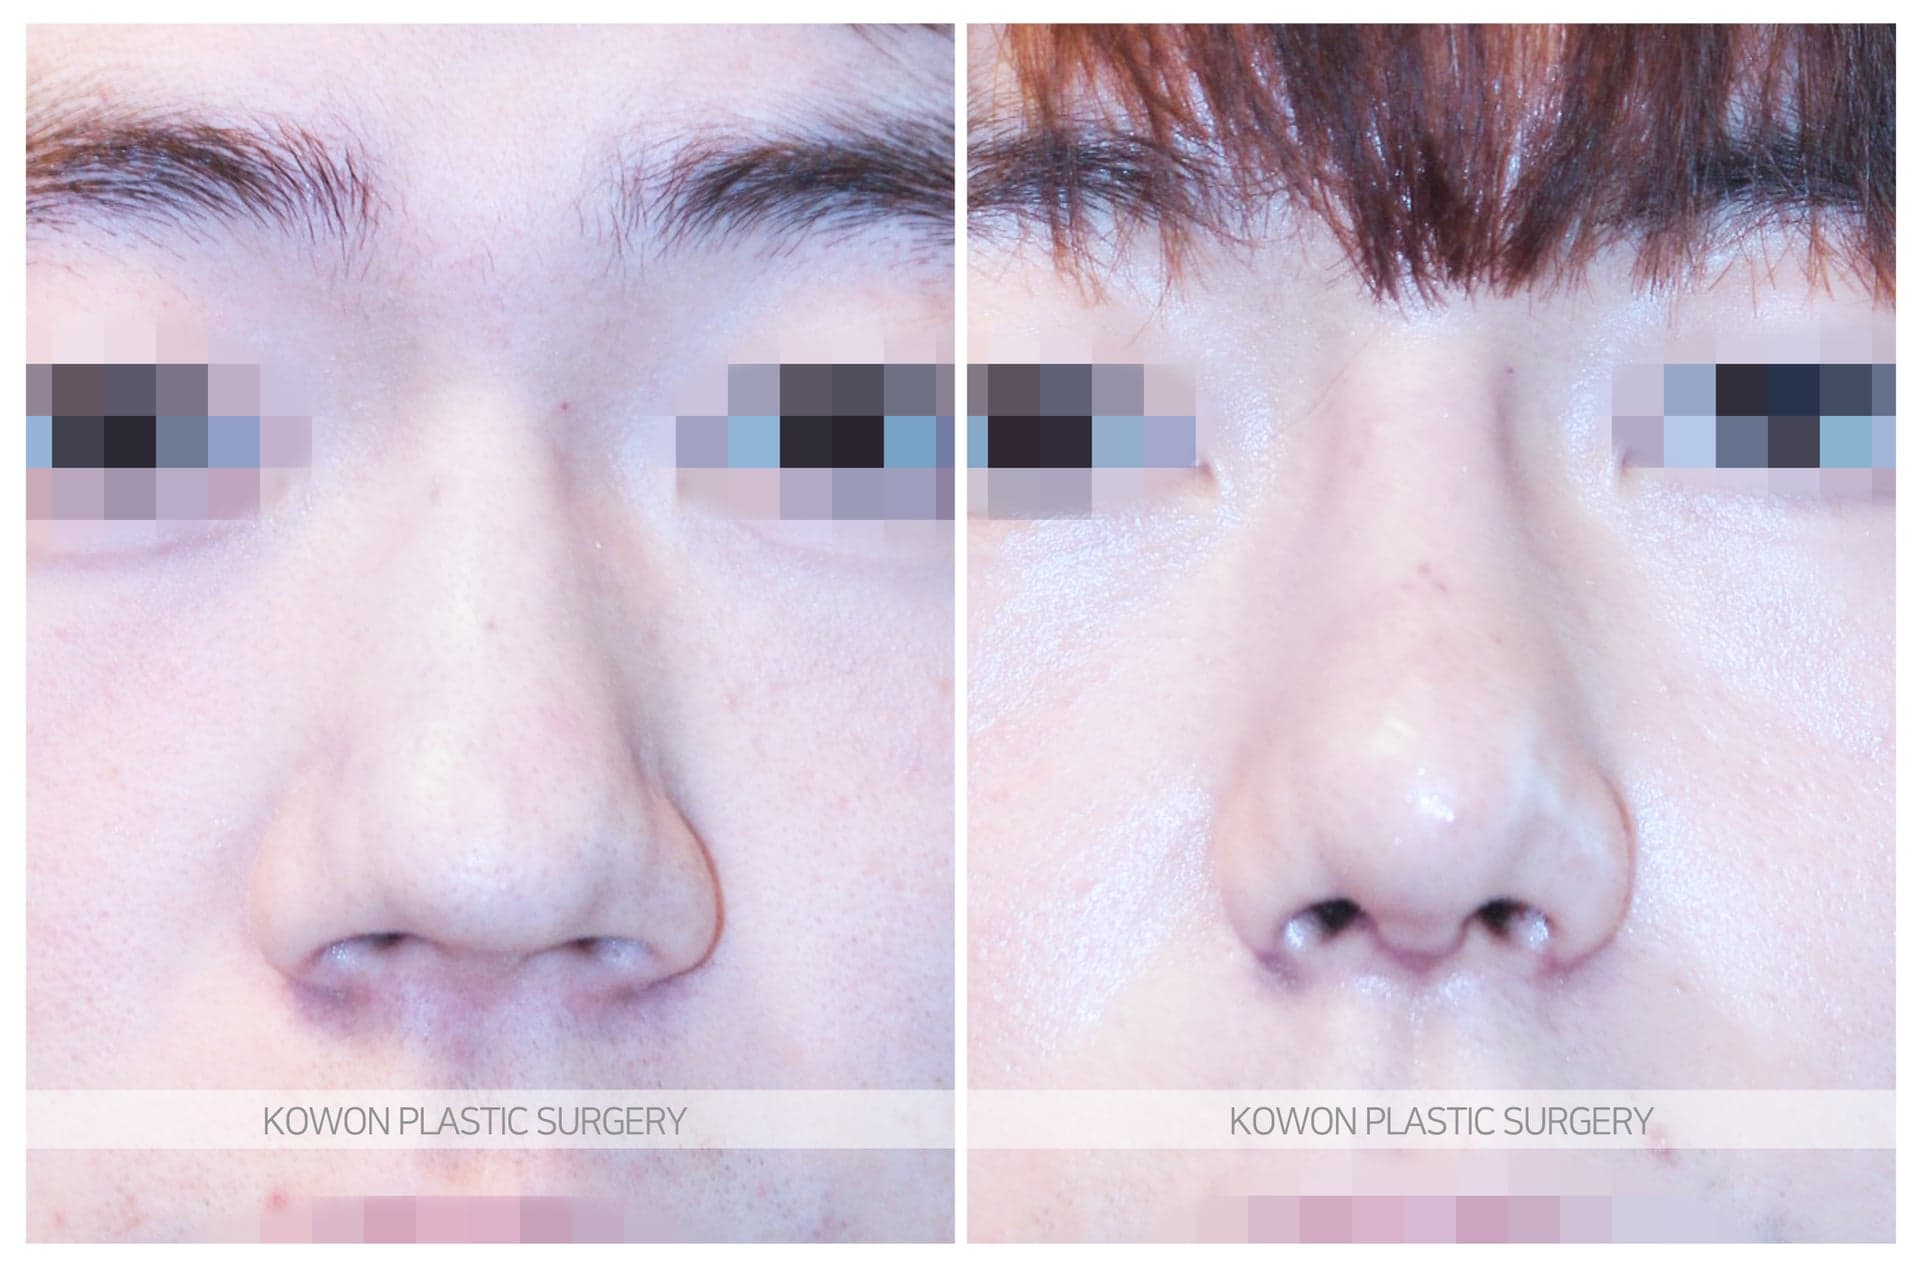
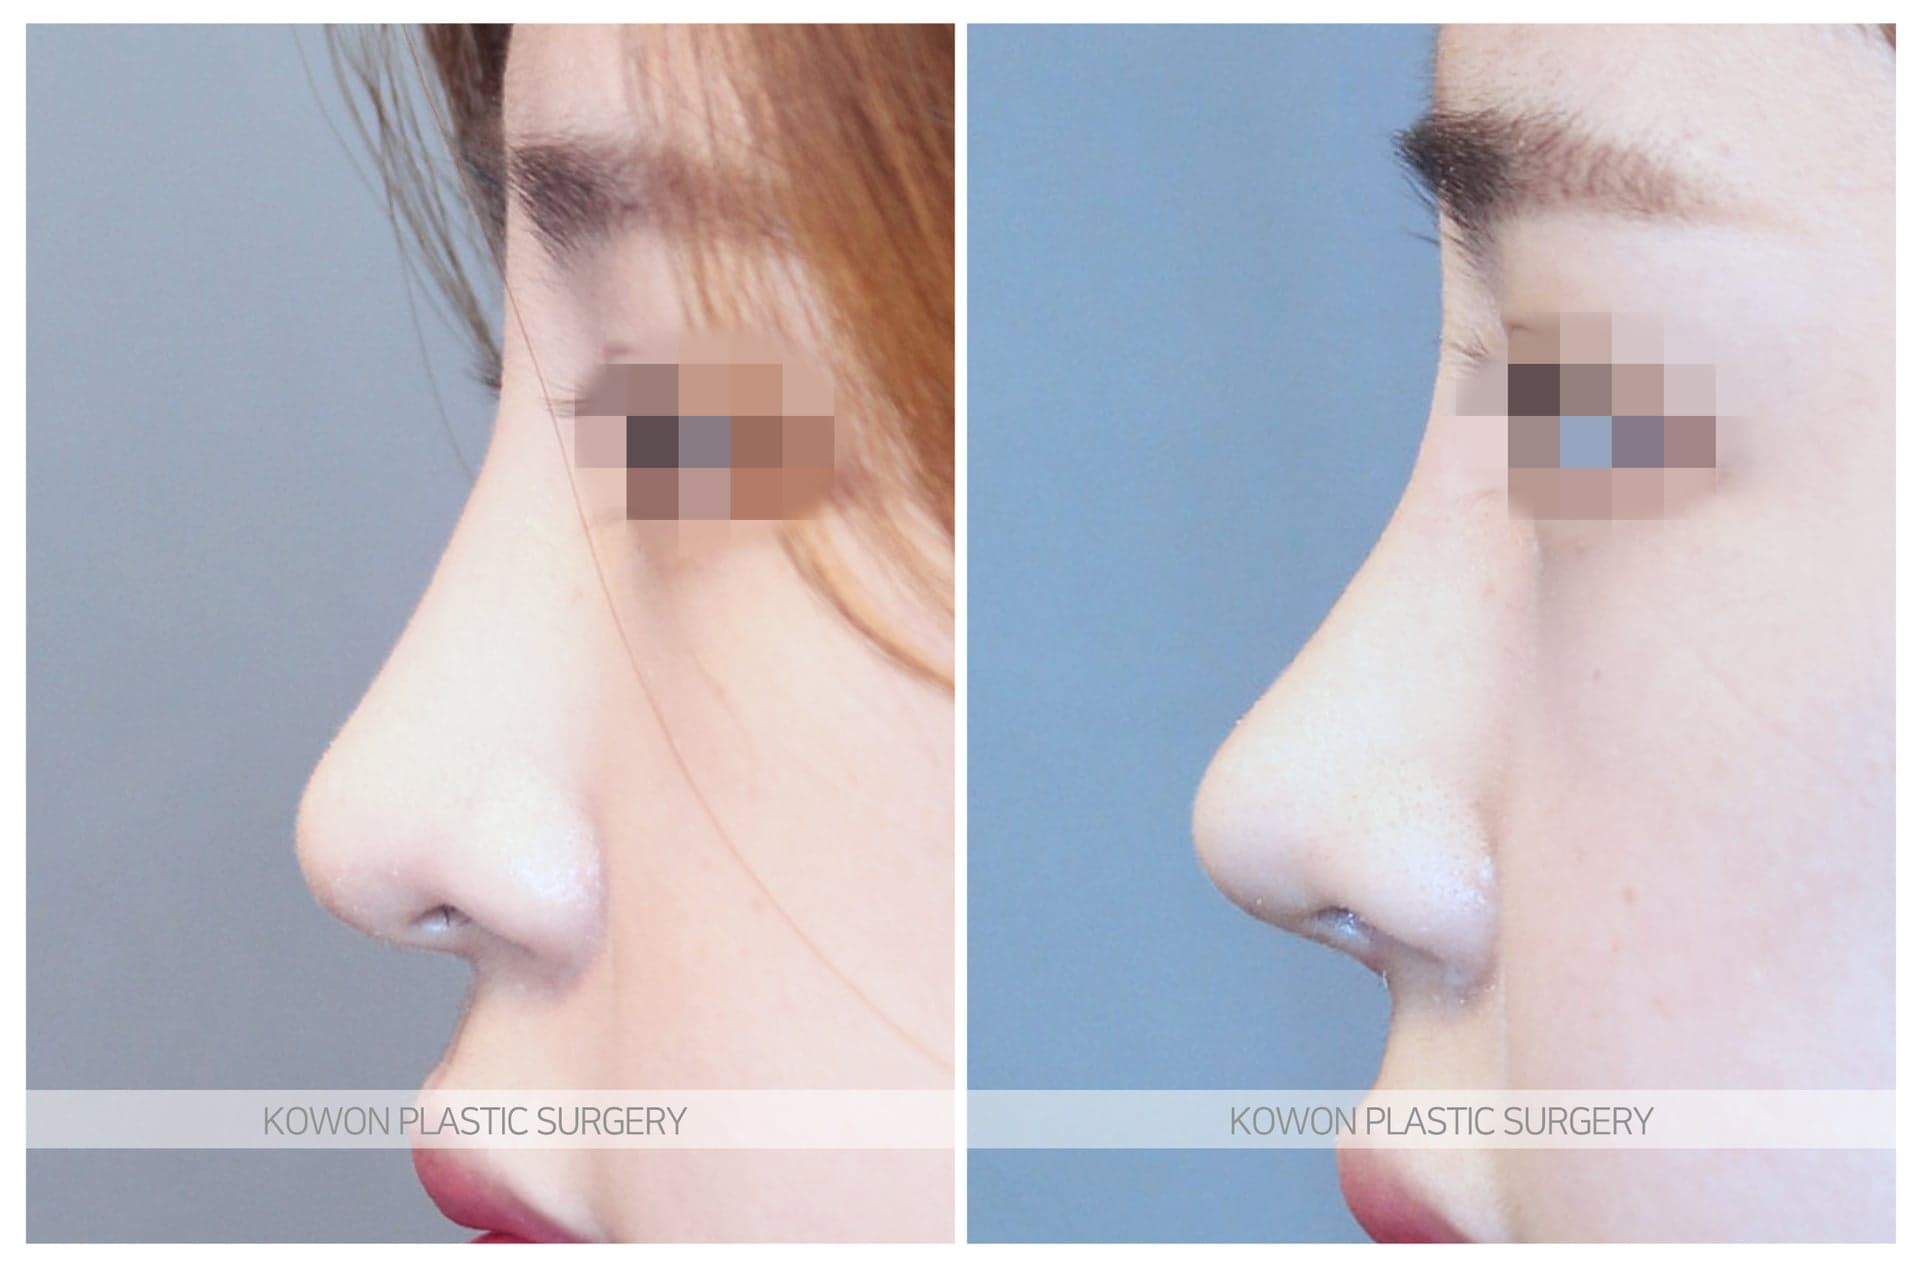
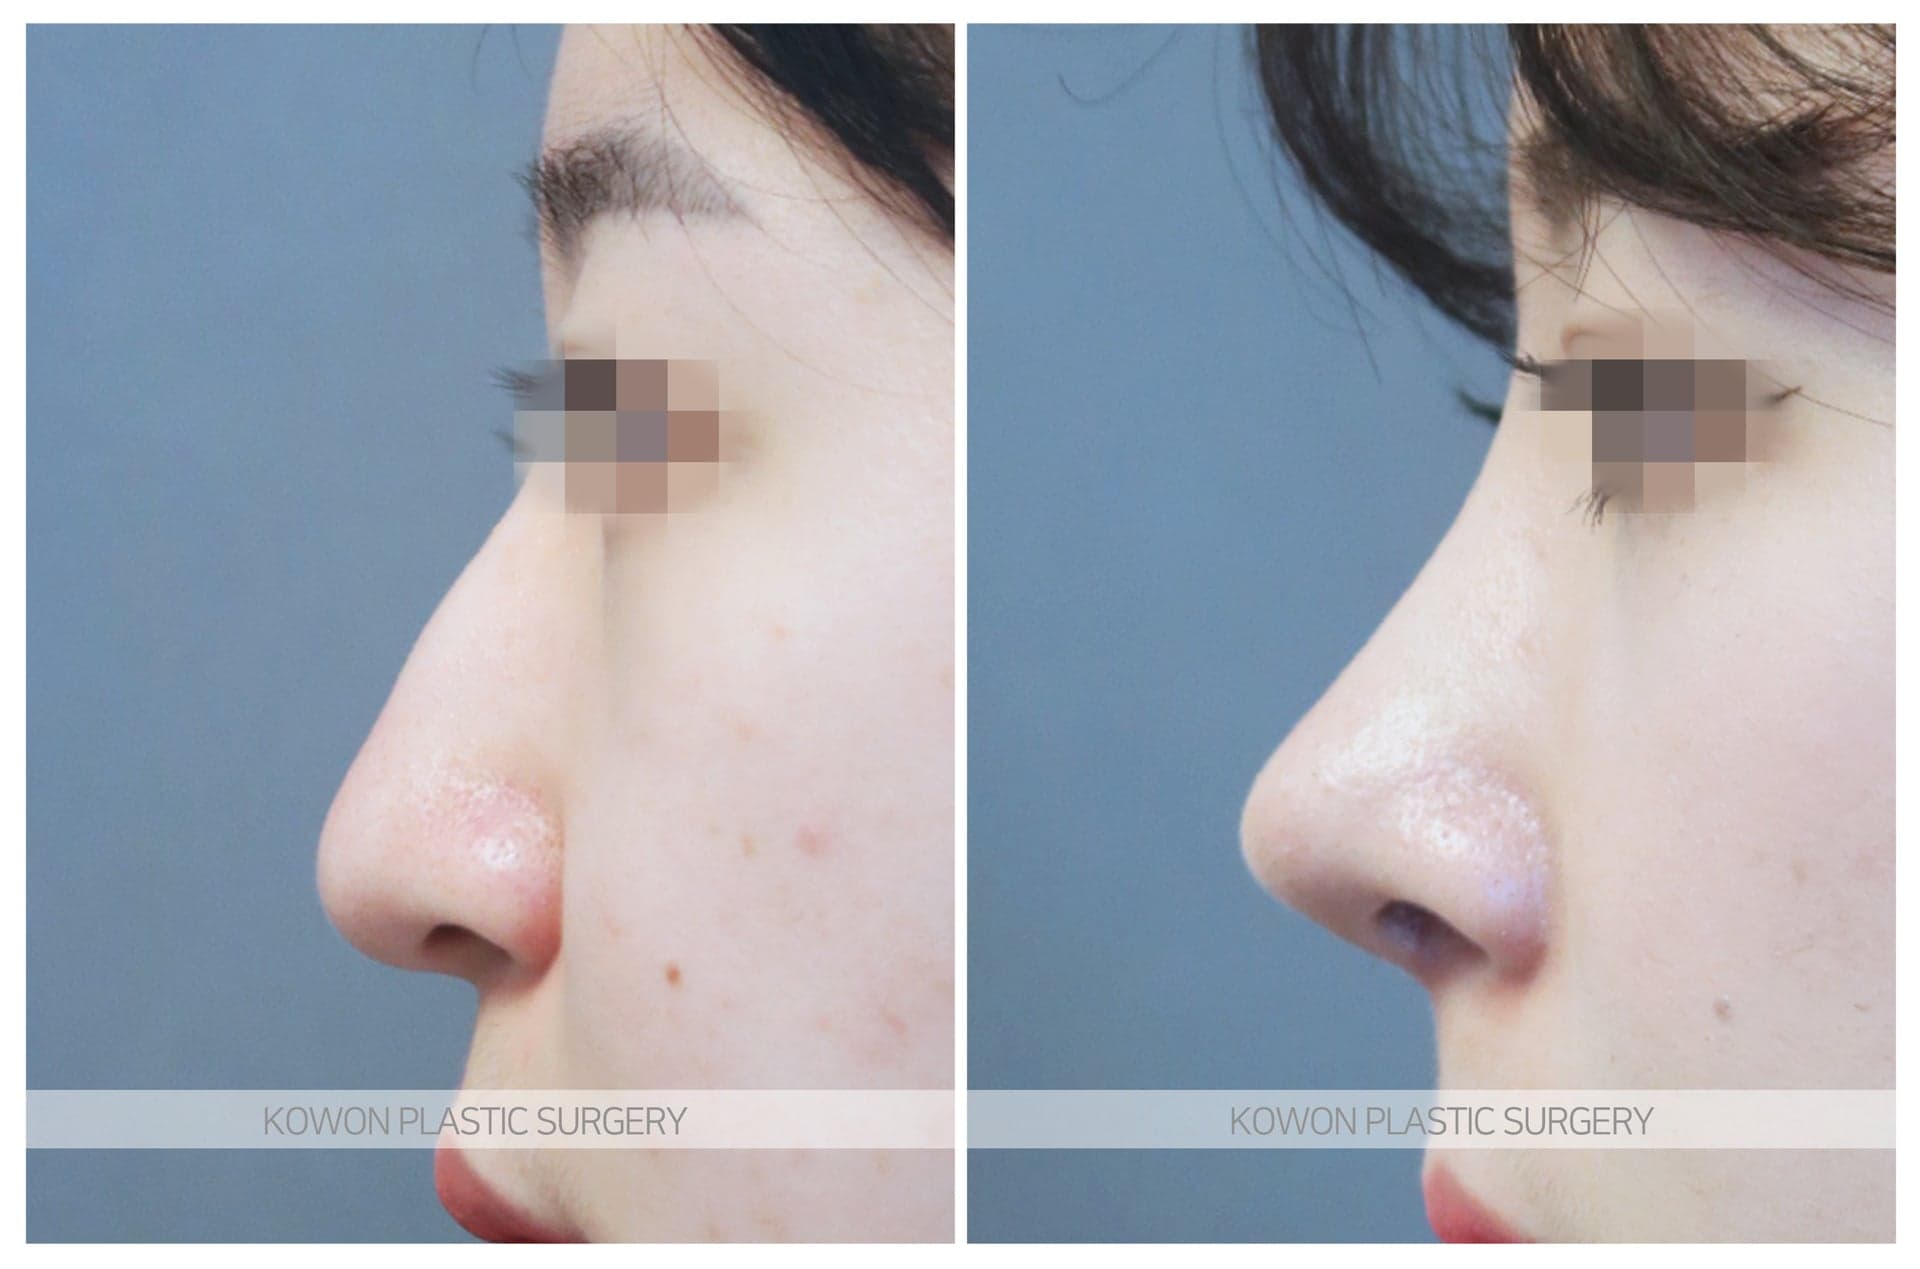
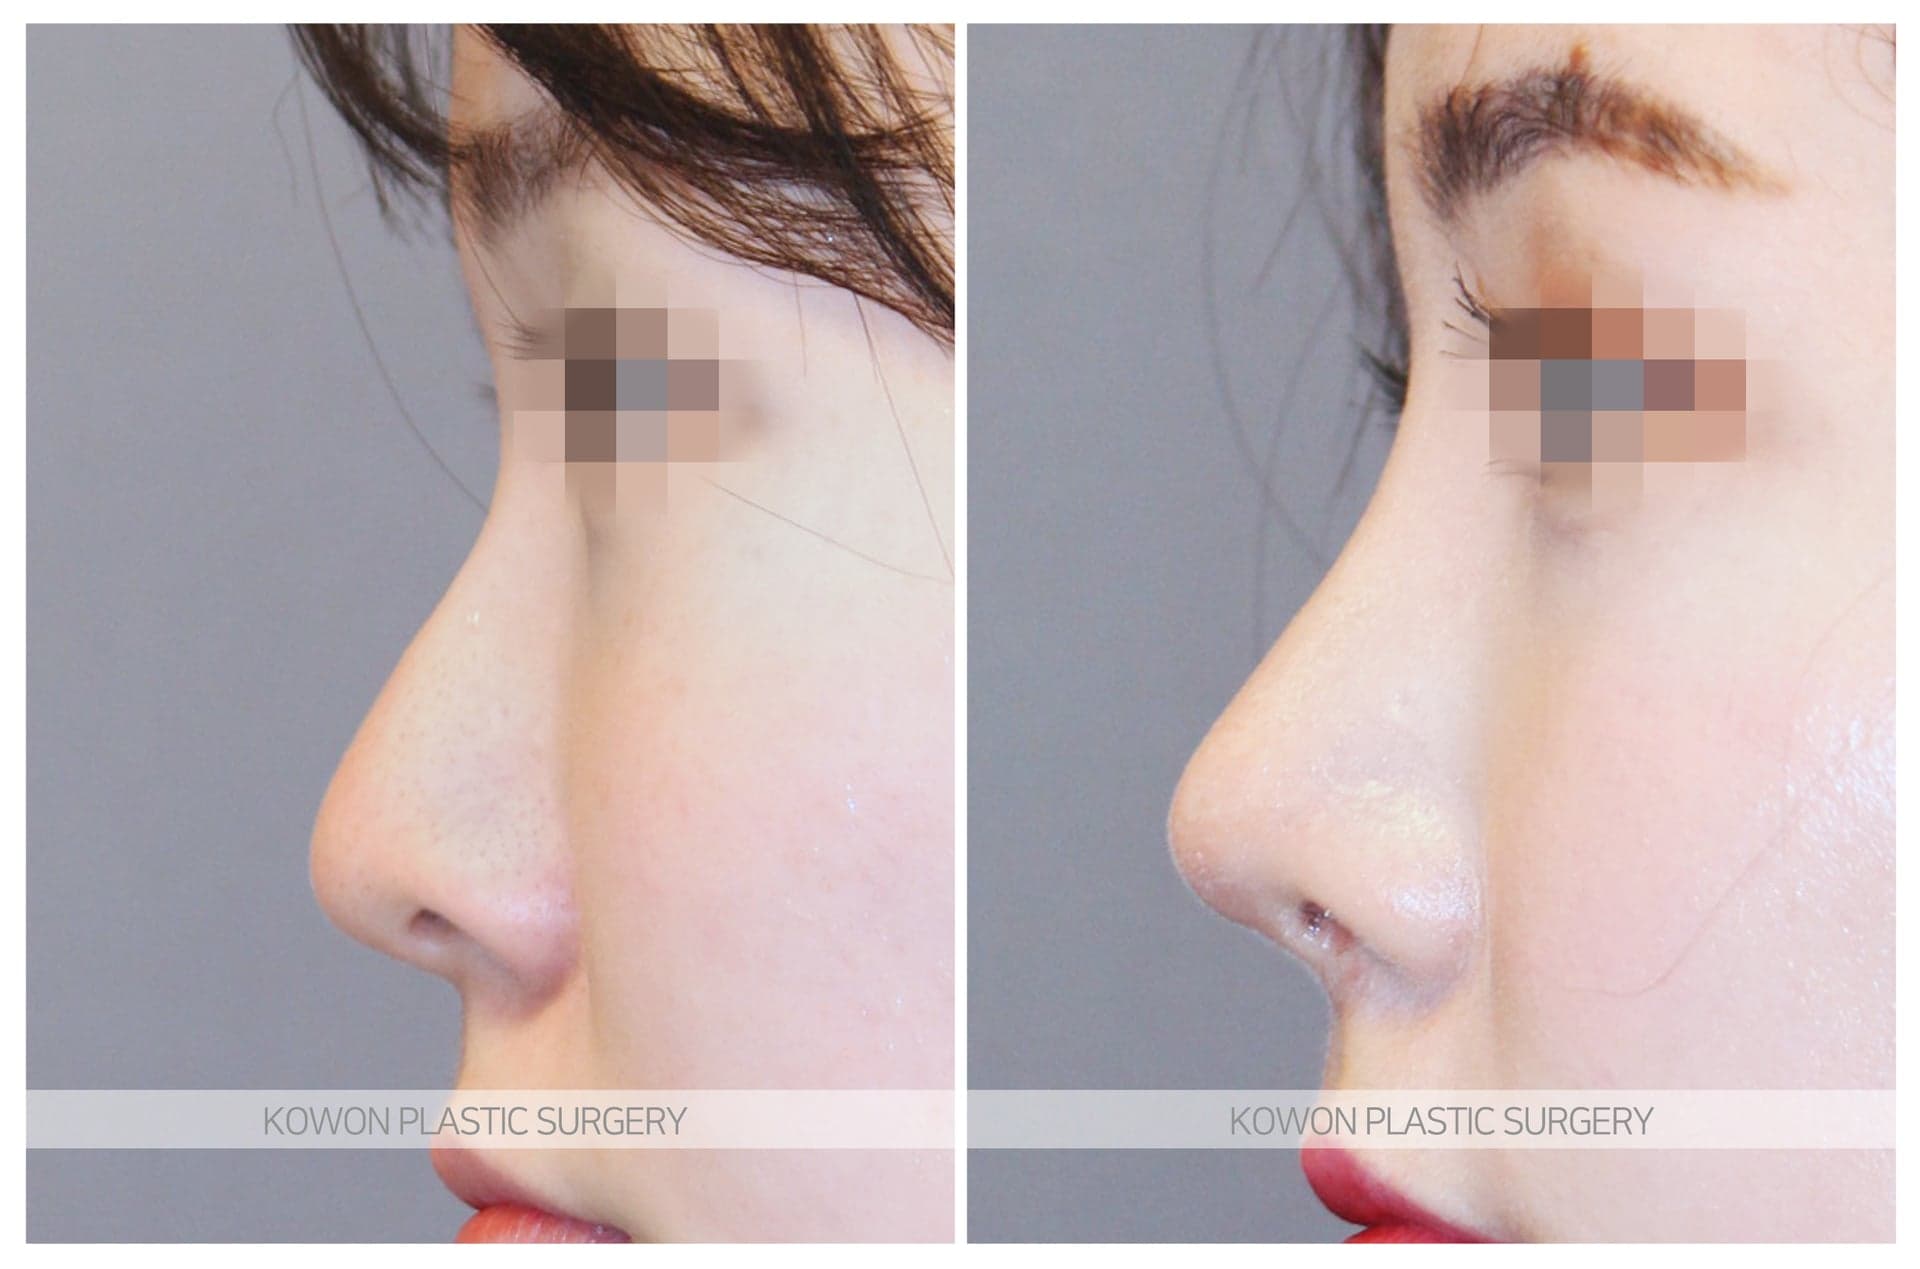
Every case has its own anatomy and its own surgical plan. A record of real results from operations performed by Dr. Kim himself.
TotalBulbous noseLong noseUpturned · short noseHump noseAquiline noseMale rhinoplastyRevision rhinoplastyDeviated noseNasolabial angle correctionFirst rhinoplastyLow bridgeArrow nose
Before & after photos are for members only
Before & after photos are available after login
 BeforeAfter
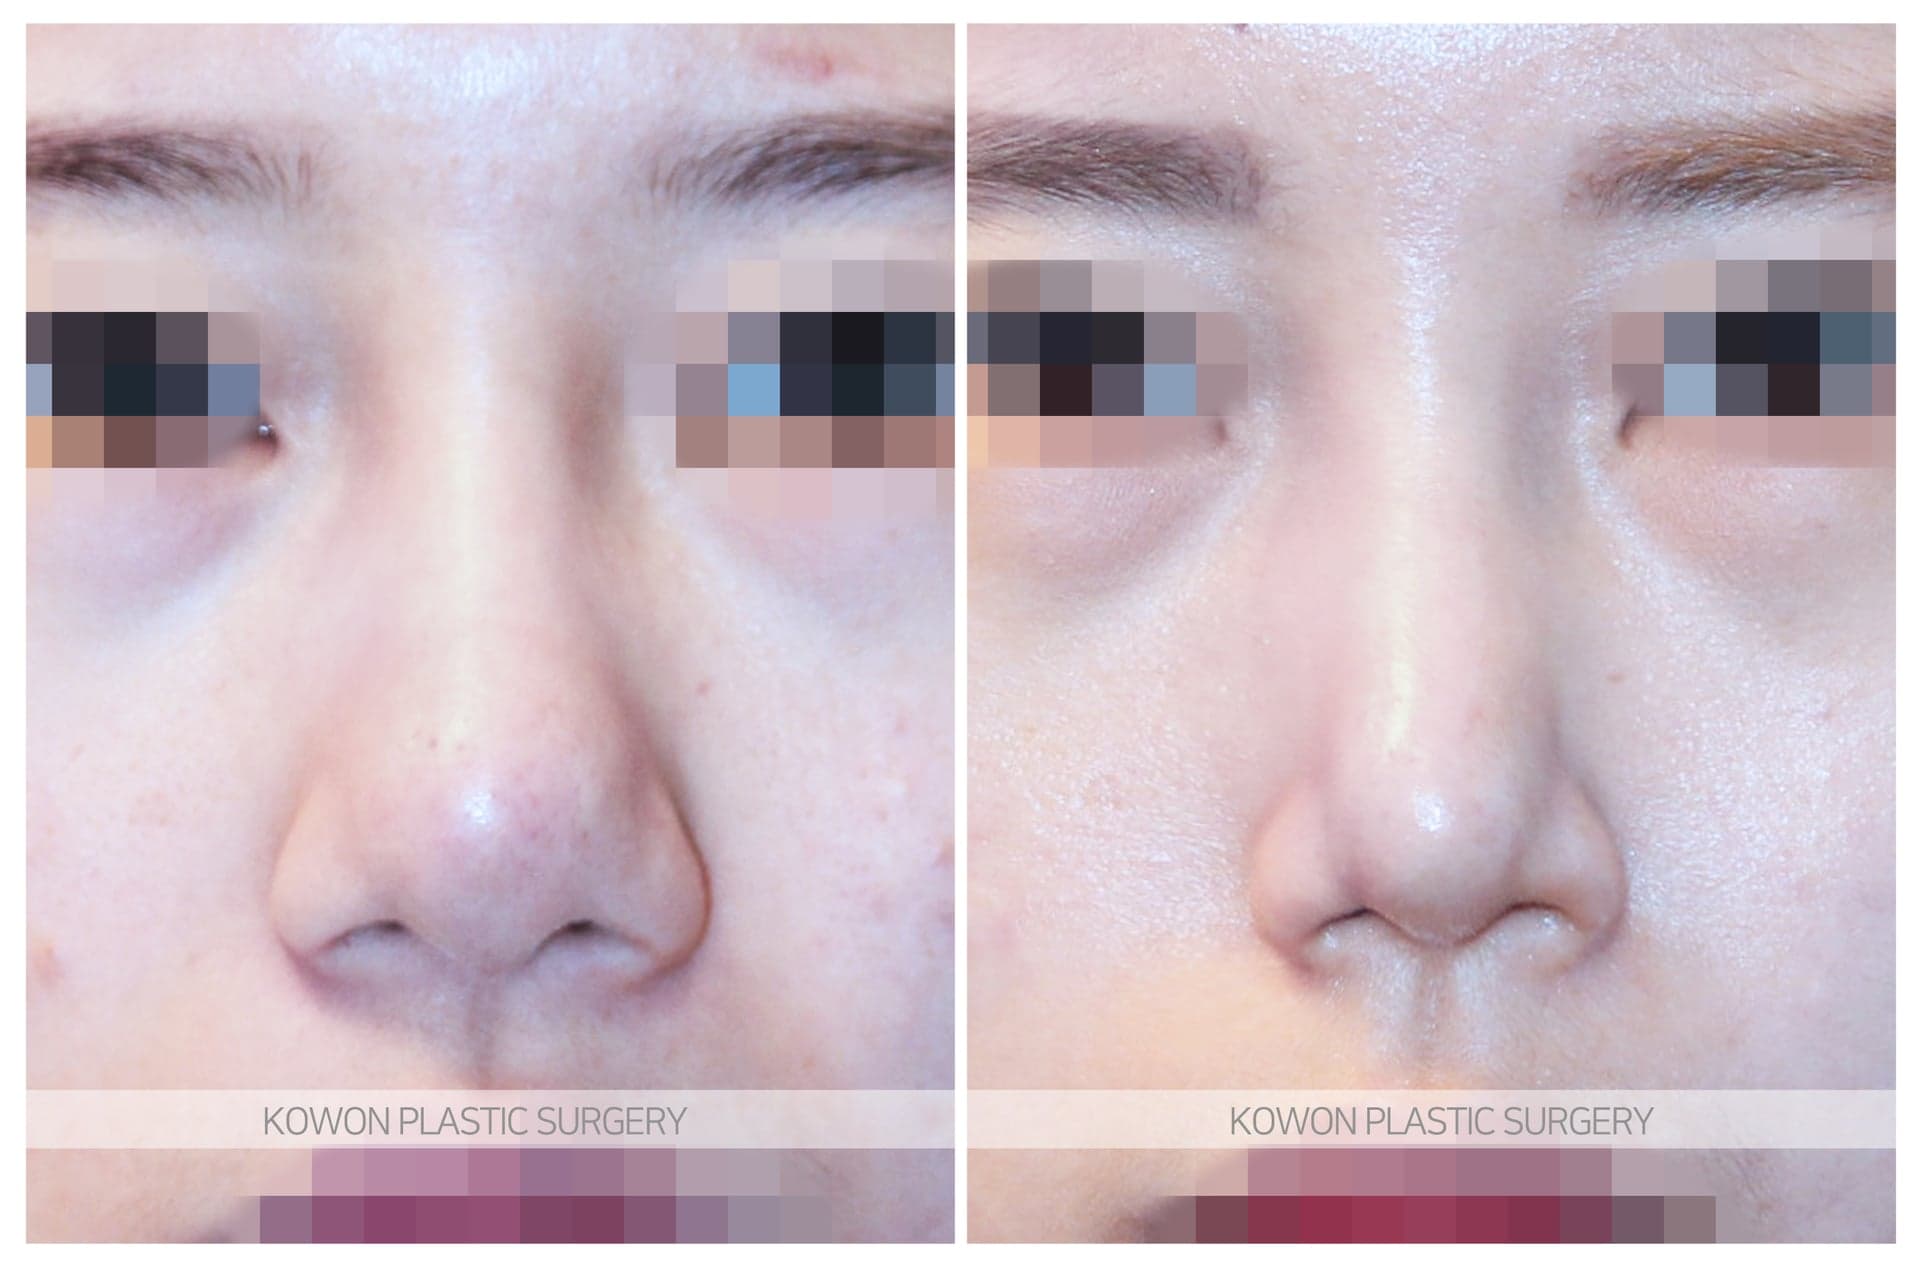
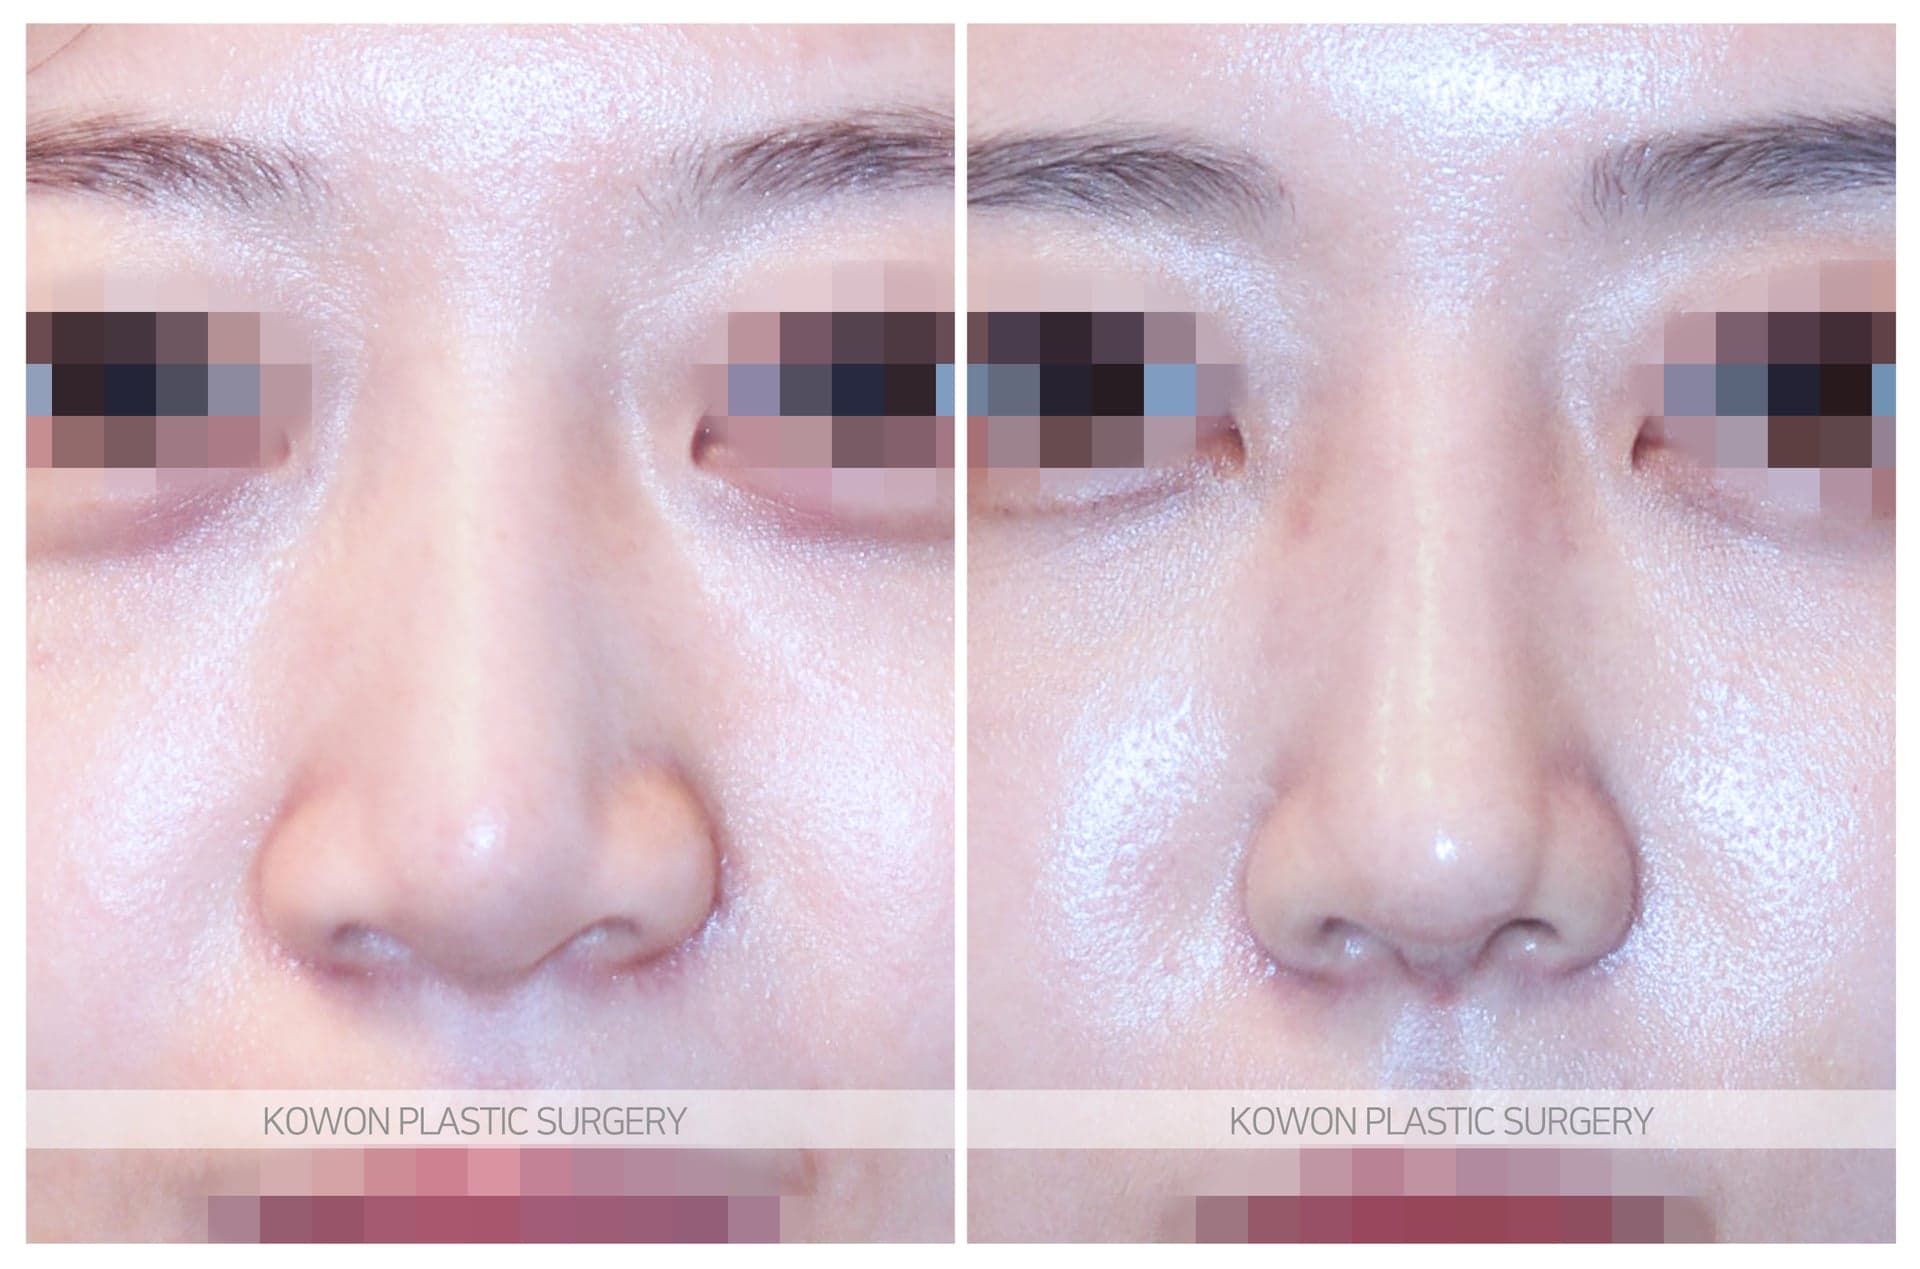
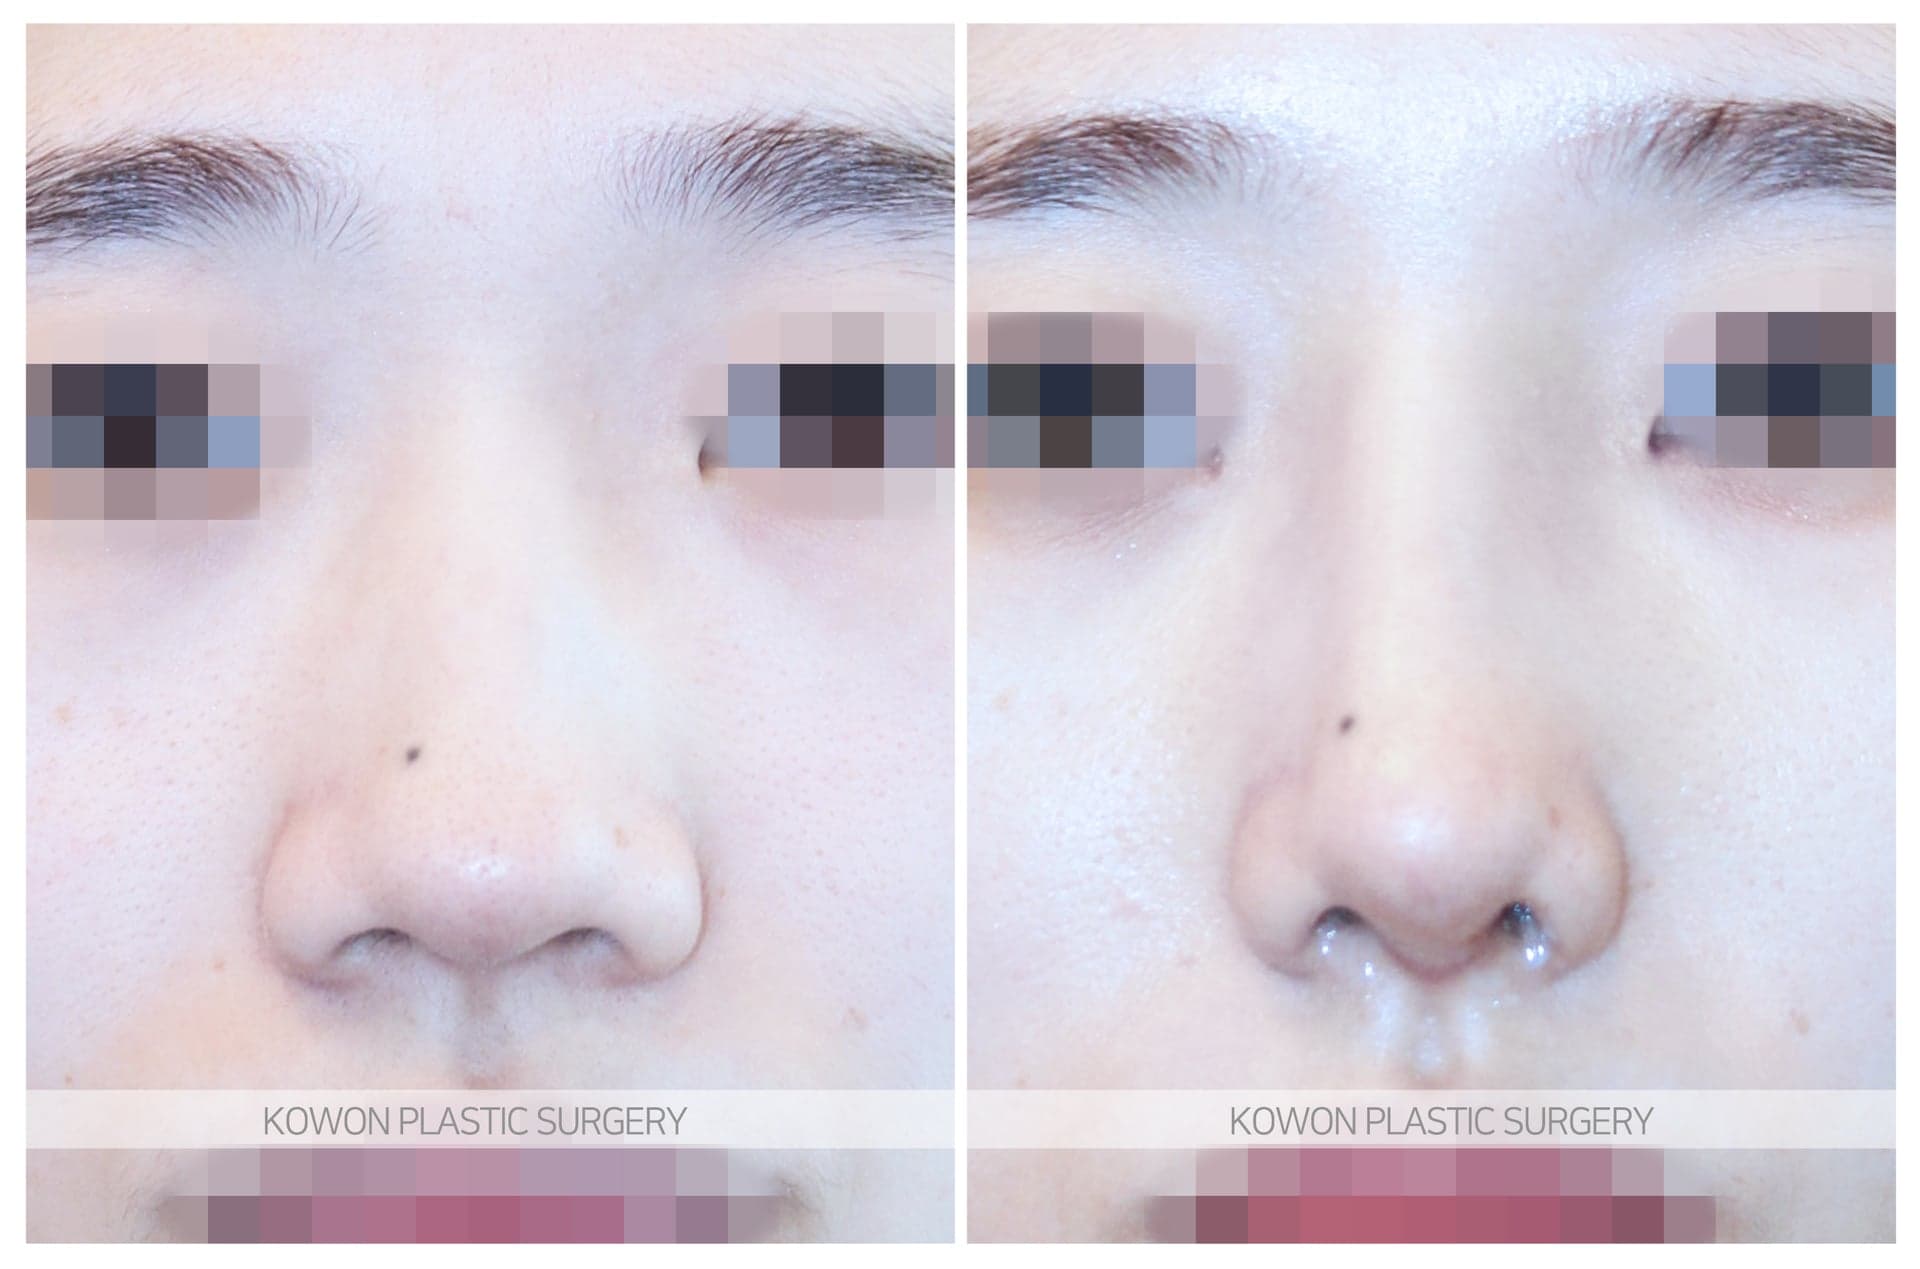
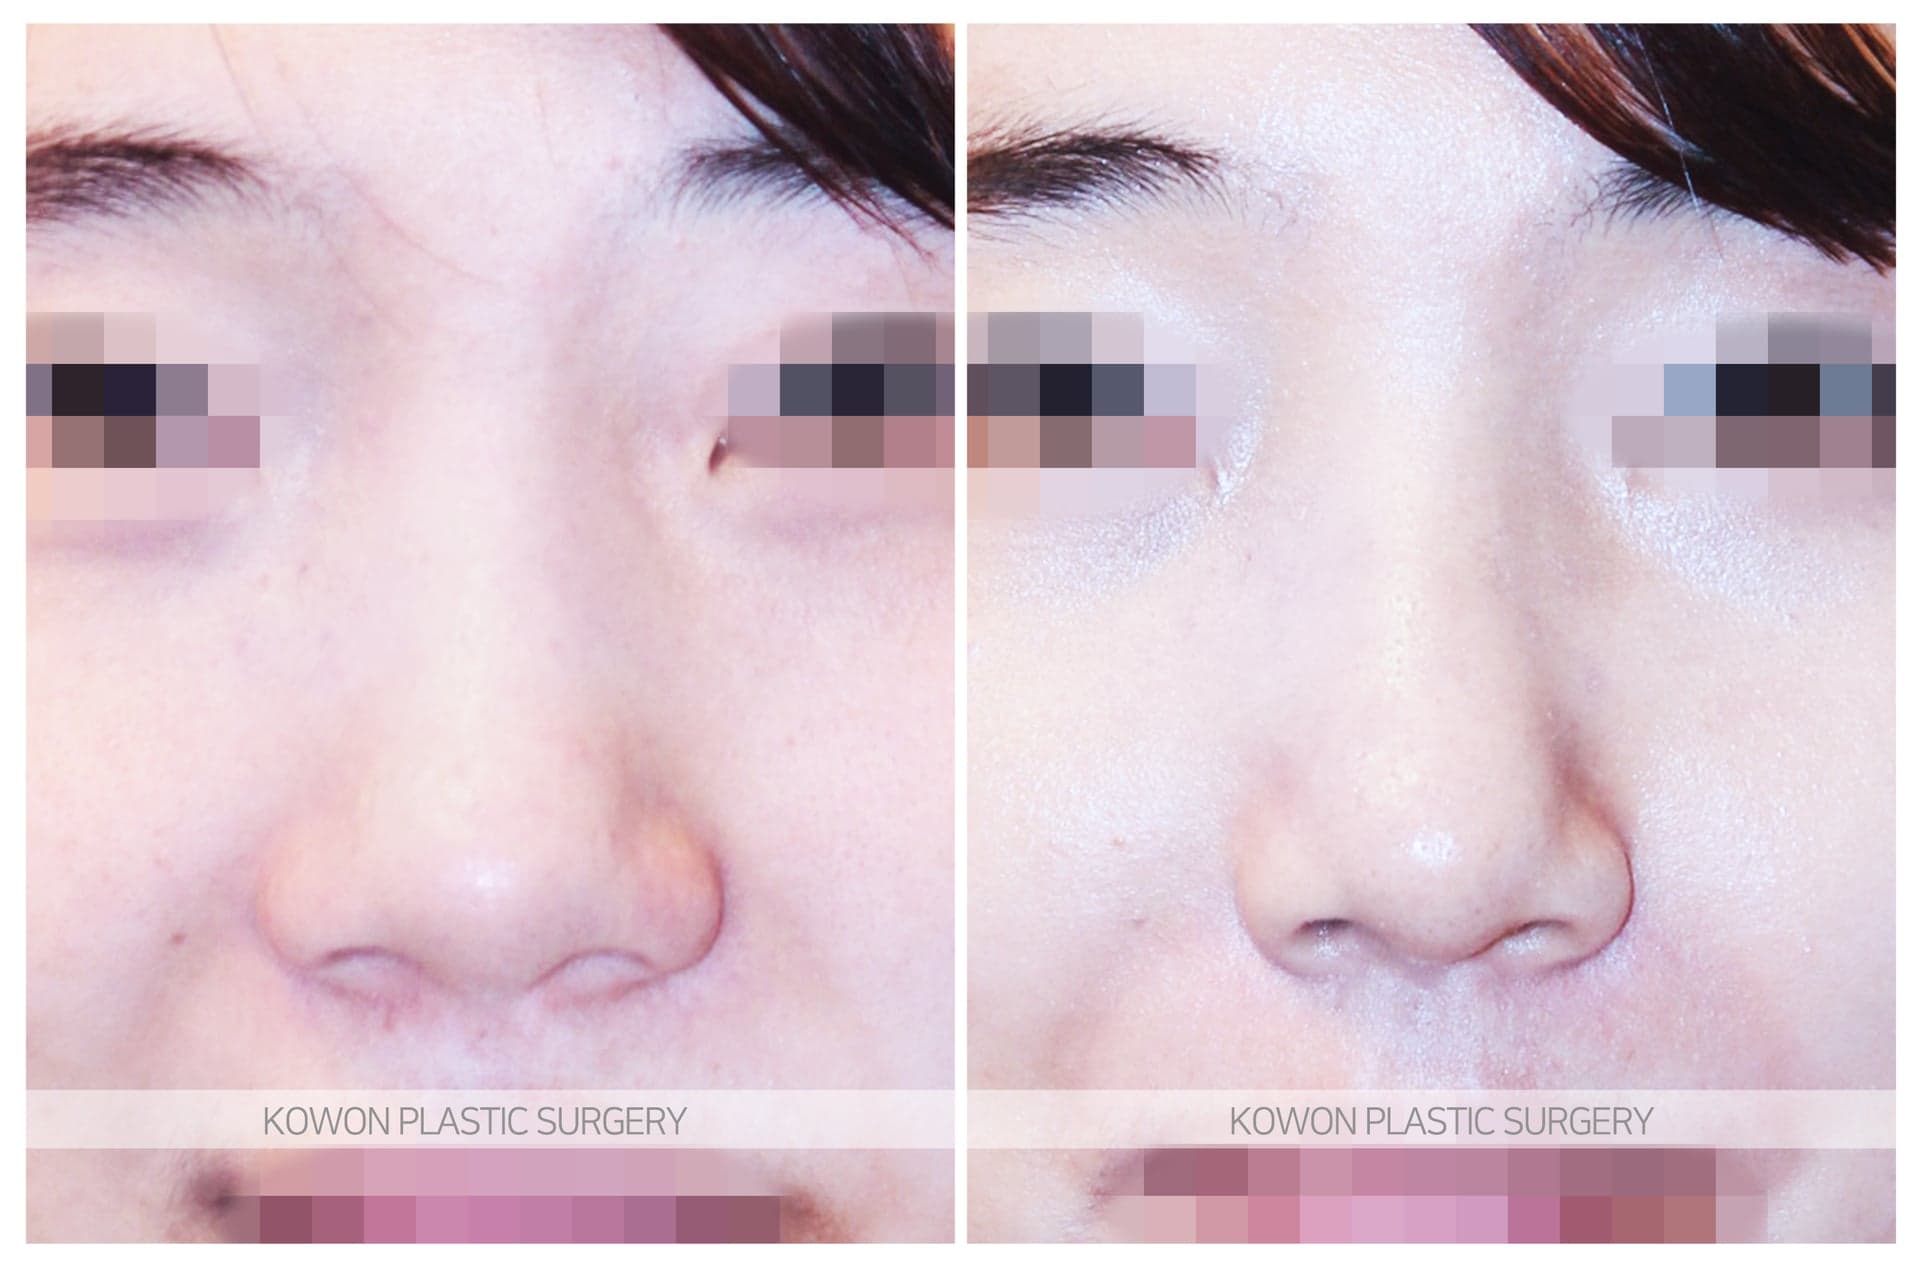
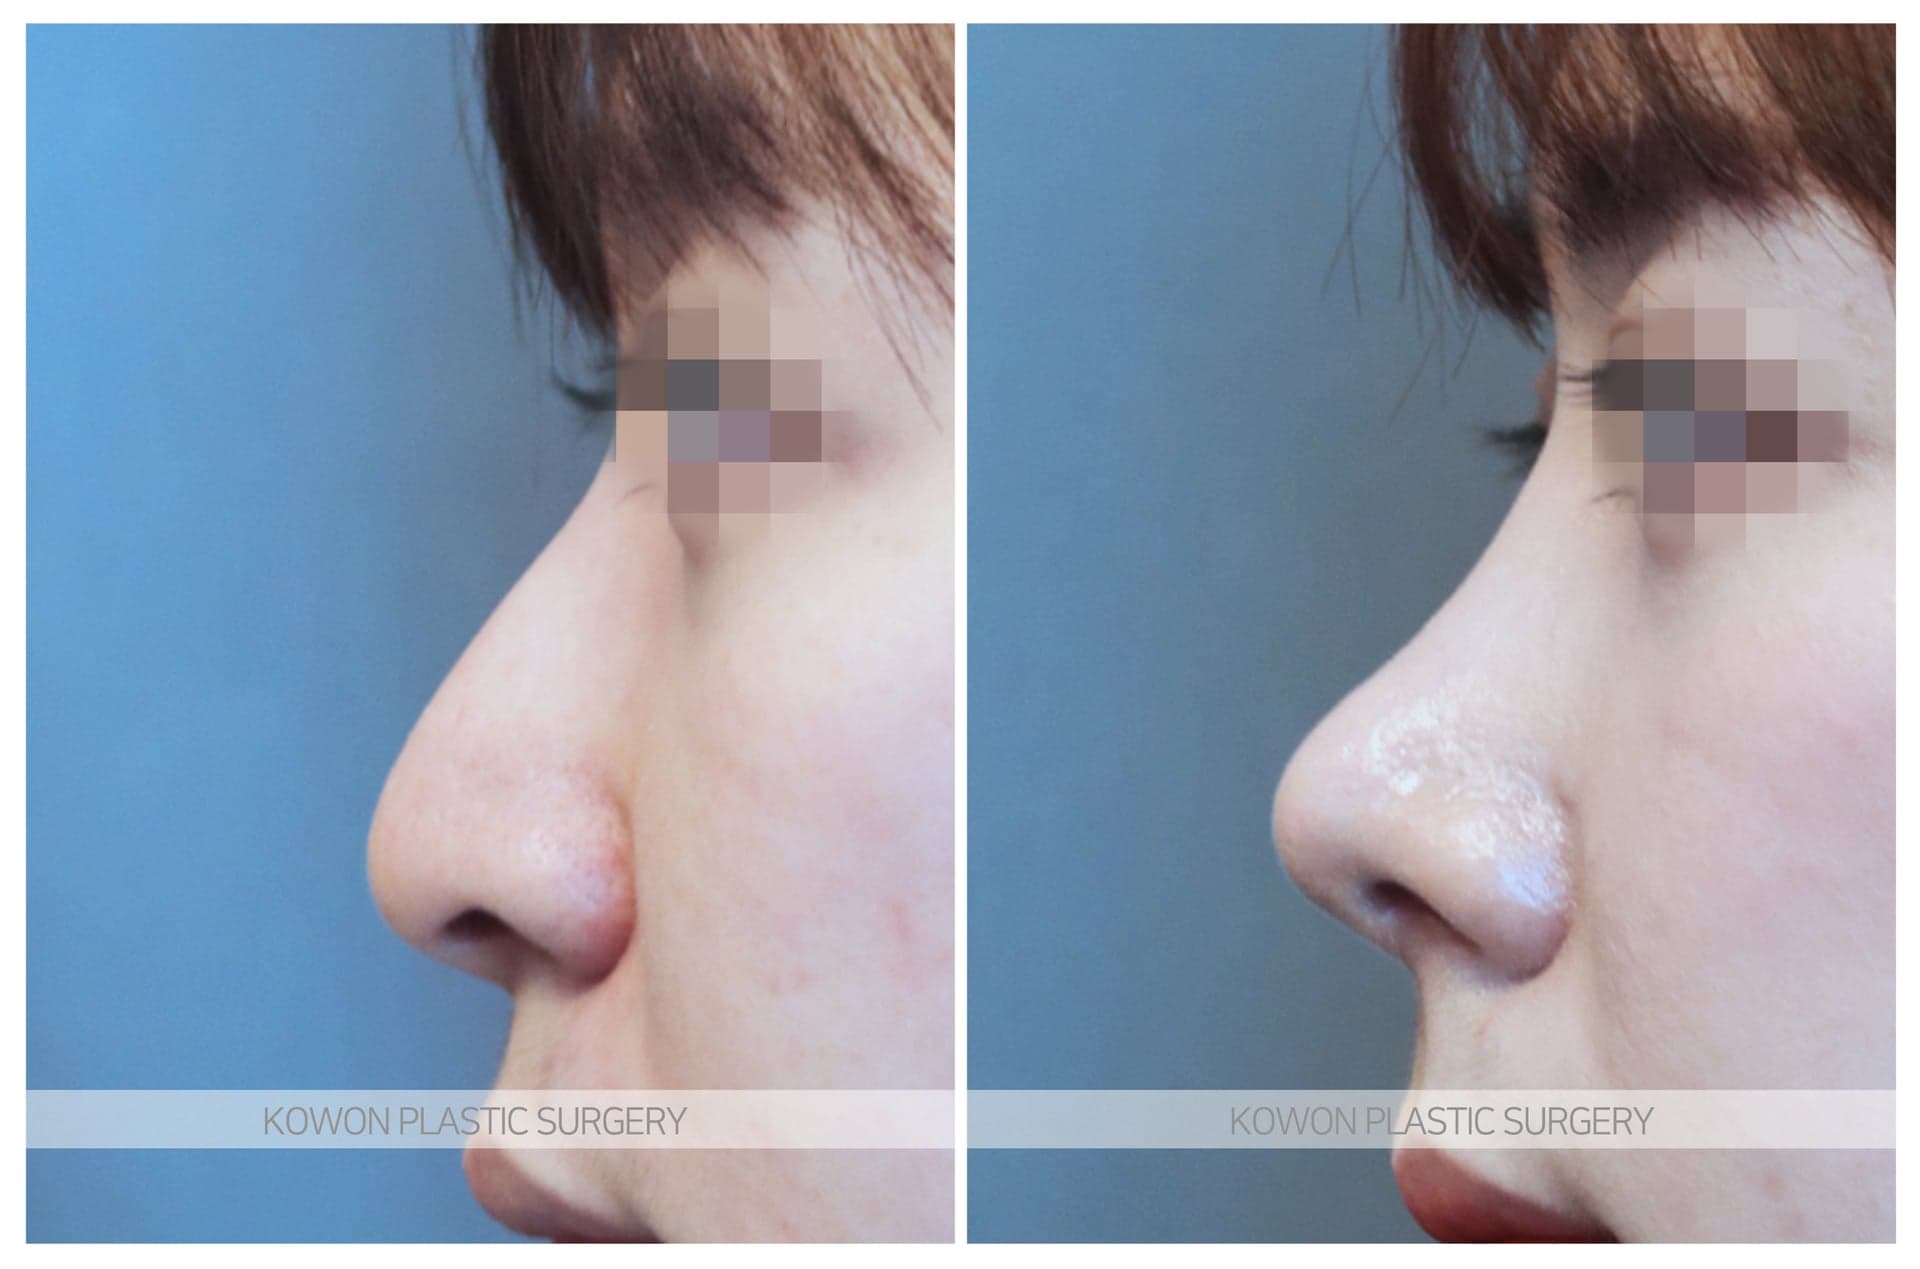
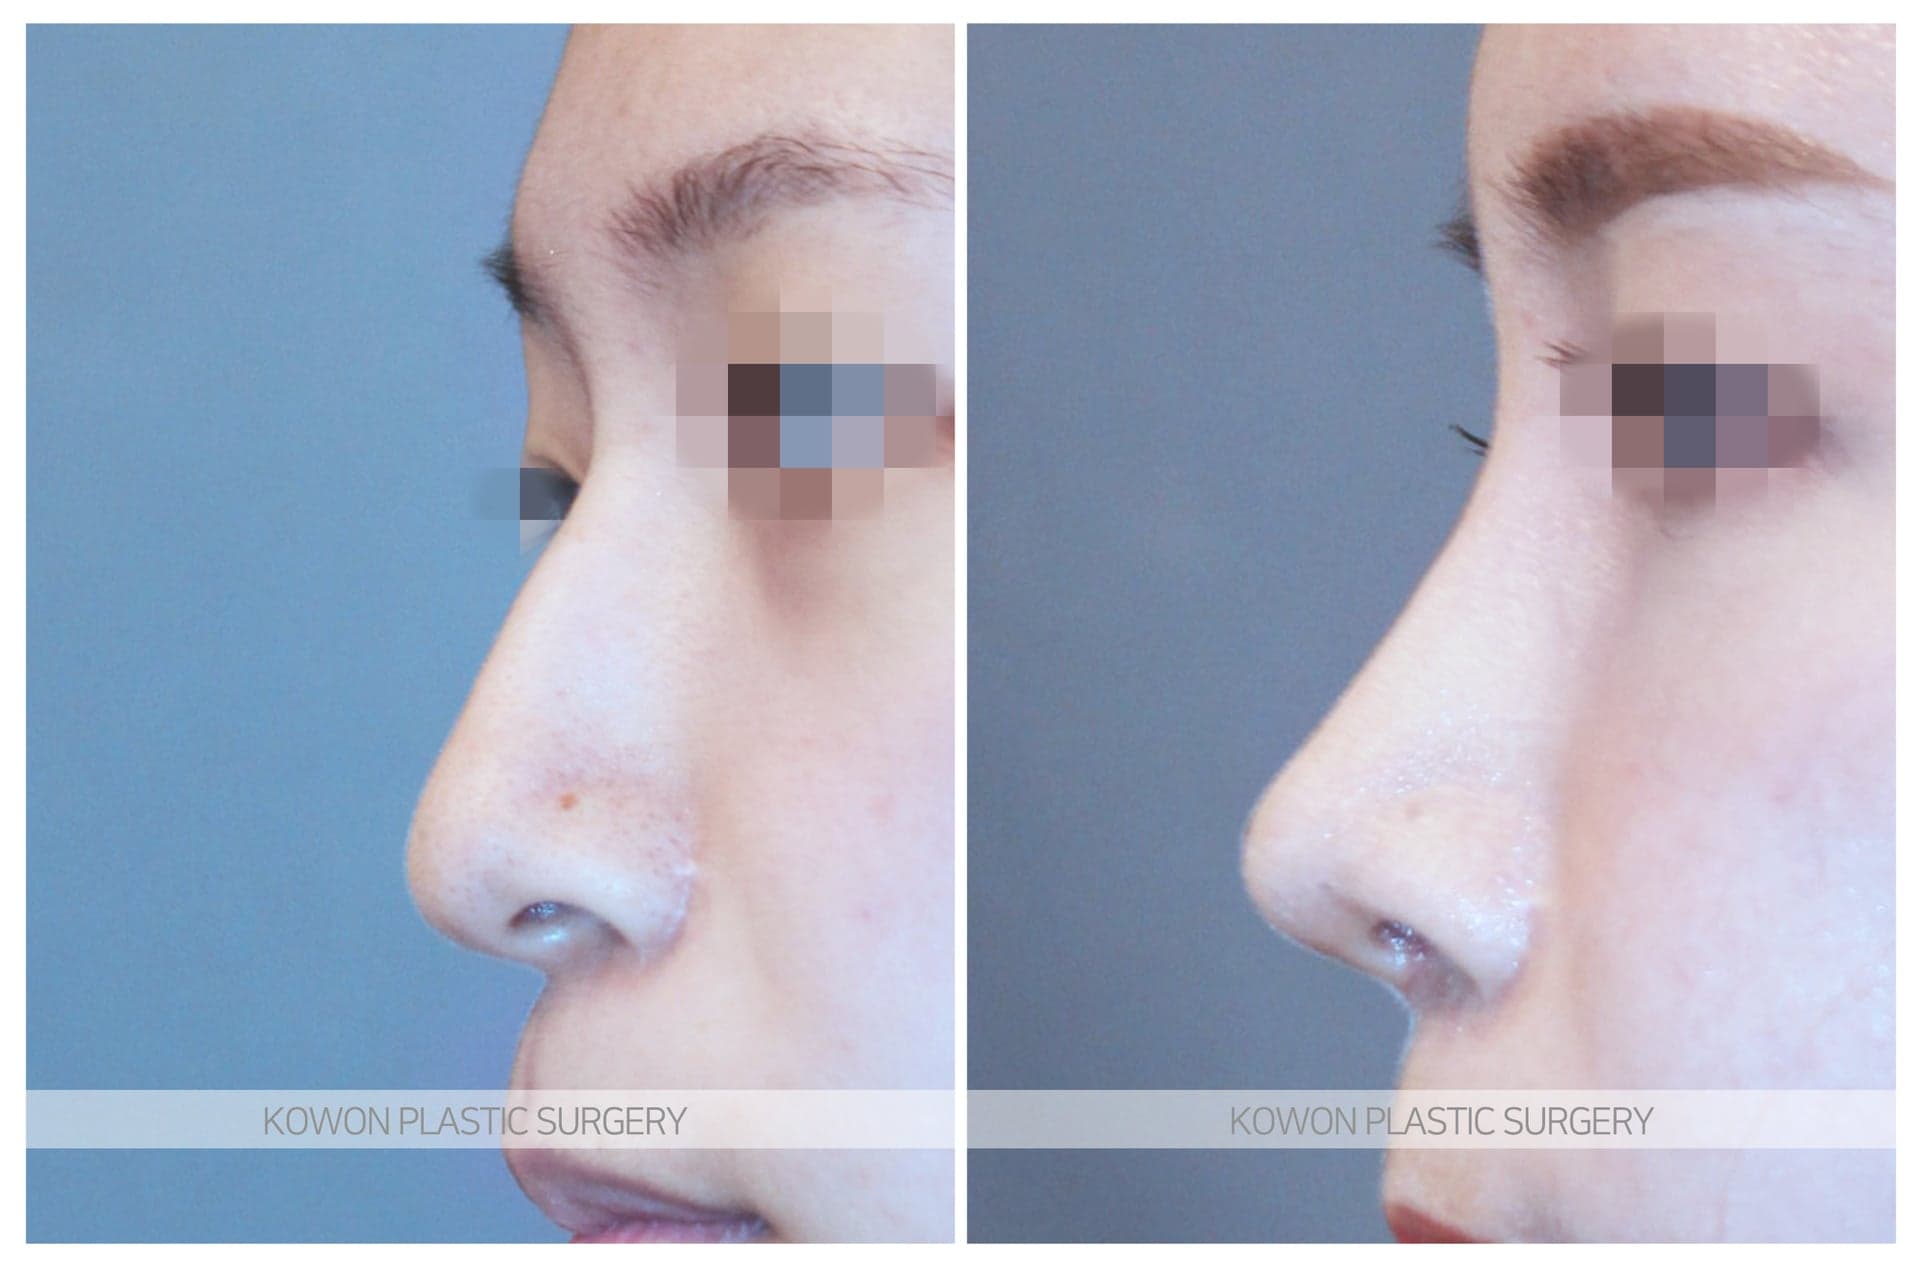
Bulbous nose · Long nose · Arrow noseBulbous tip · Drooping tip · Long nose  BeforeAfter
Bulbous nose · Long nose · Hump nose · Aquiline noseBulbous tip · Nasal shape · Dorsal hump · Long nose  BeforeAfter
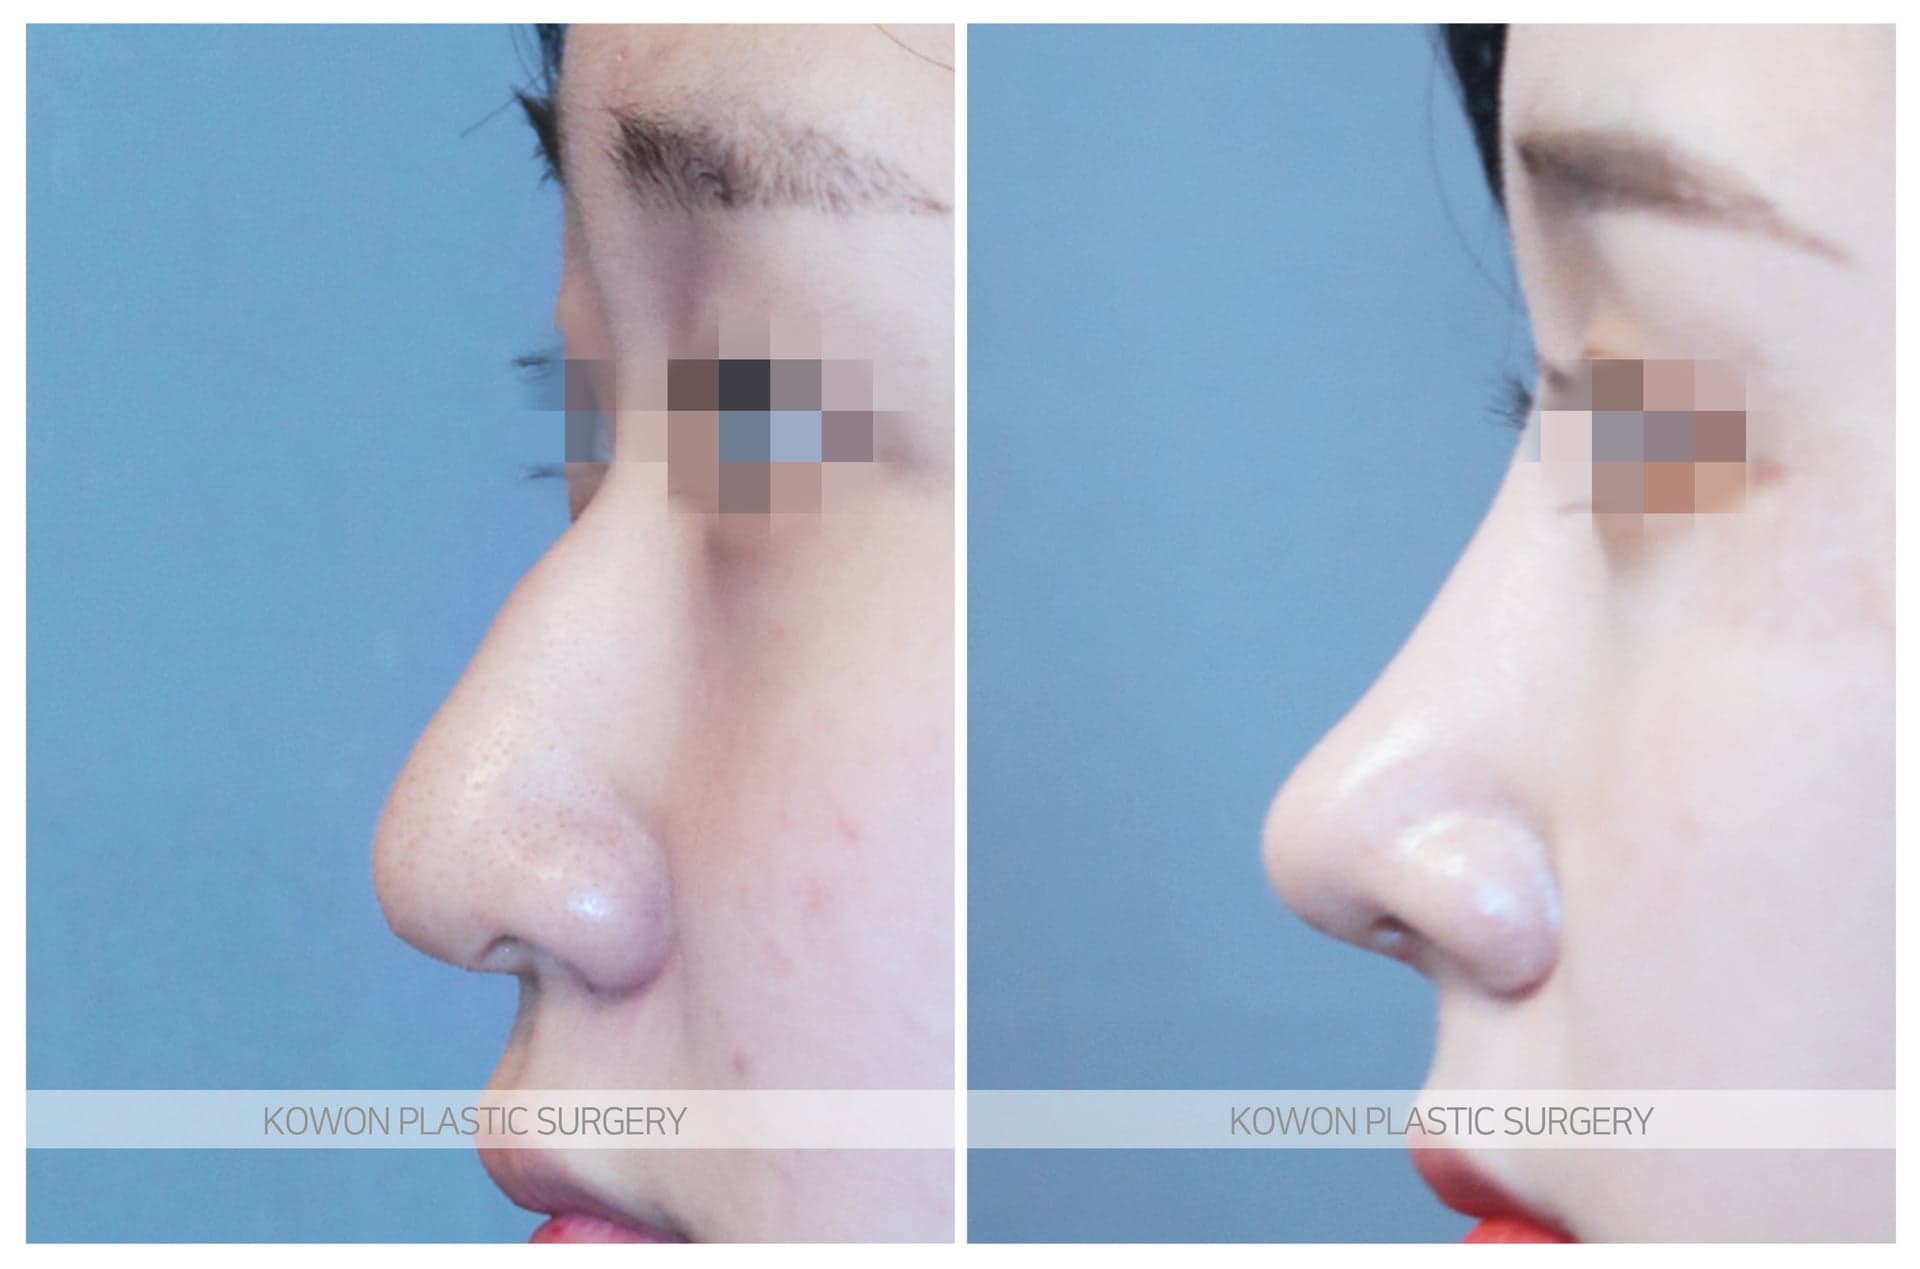
Bulbous nose · Long nose · Hump nose · Low bridgeBulbous tip · Low bridge · Dorsal hump · Long nose  BeforeAfter
Bulbous nose · Long nose · Arrow noseBulbous tip · Long nose · Drooping tip  BeforeAfter
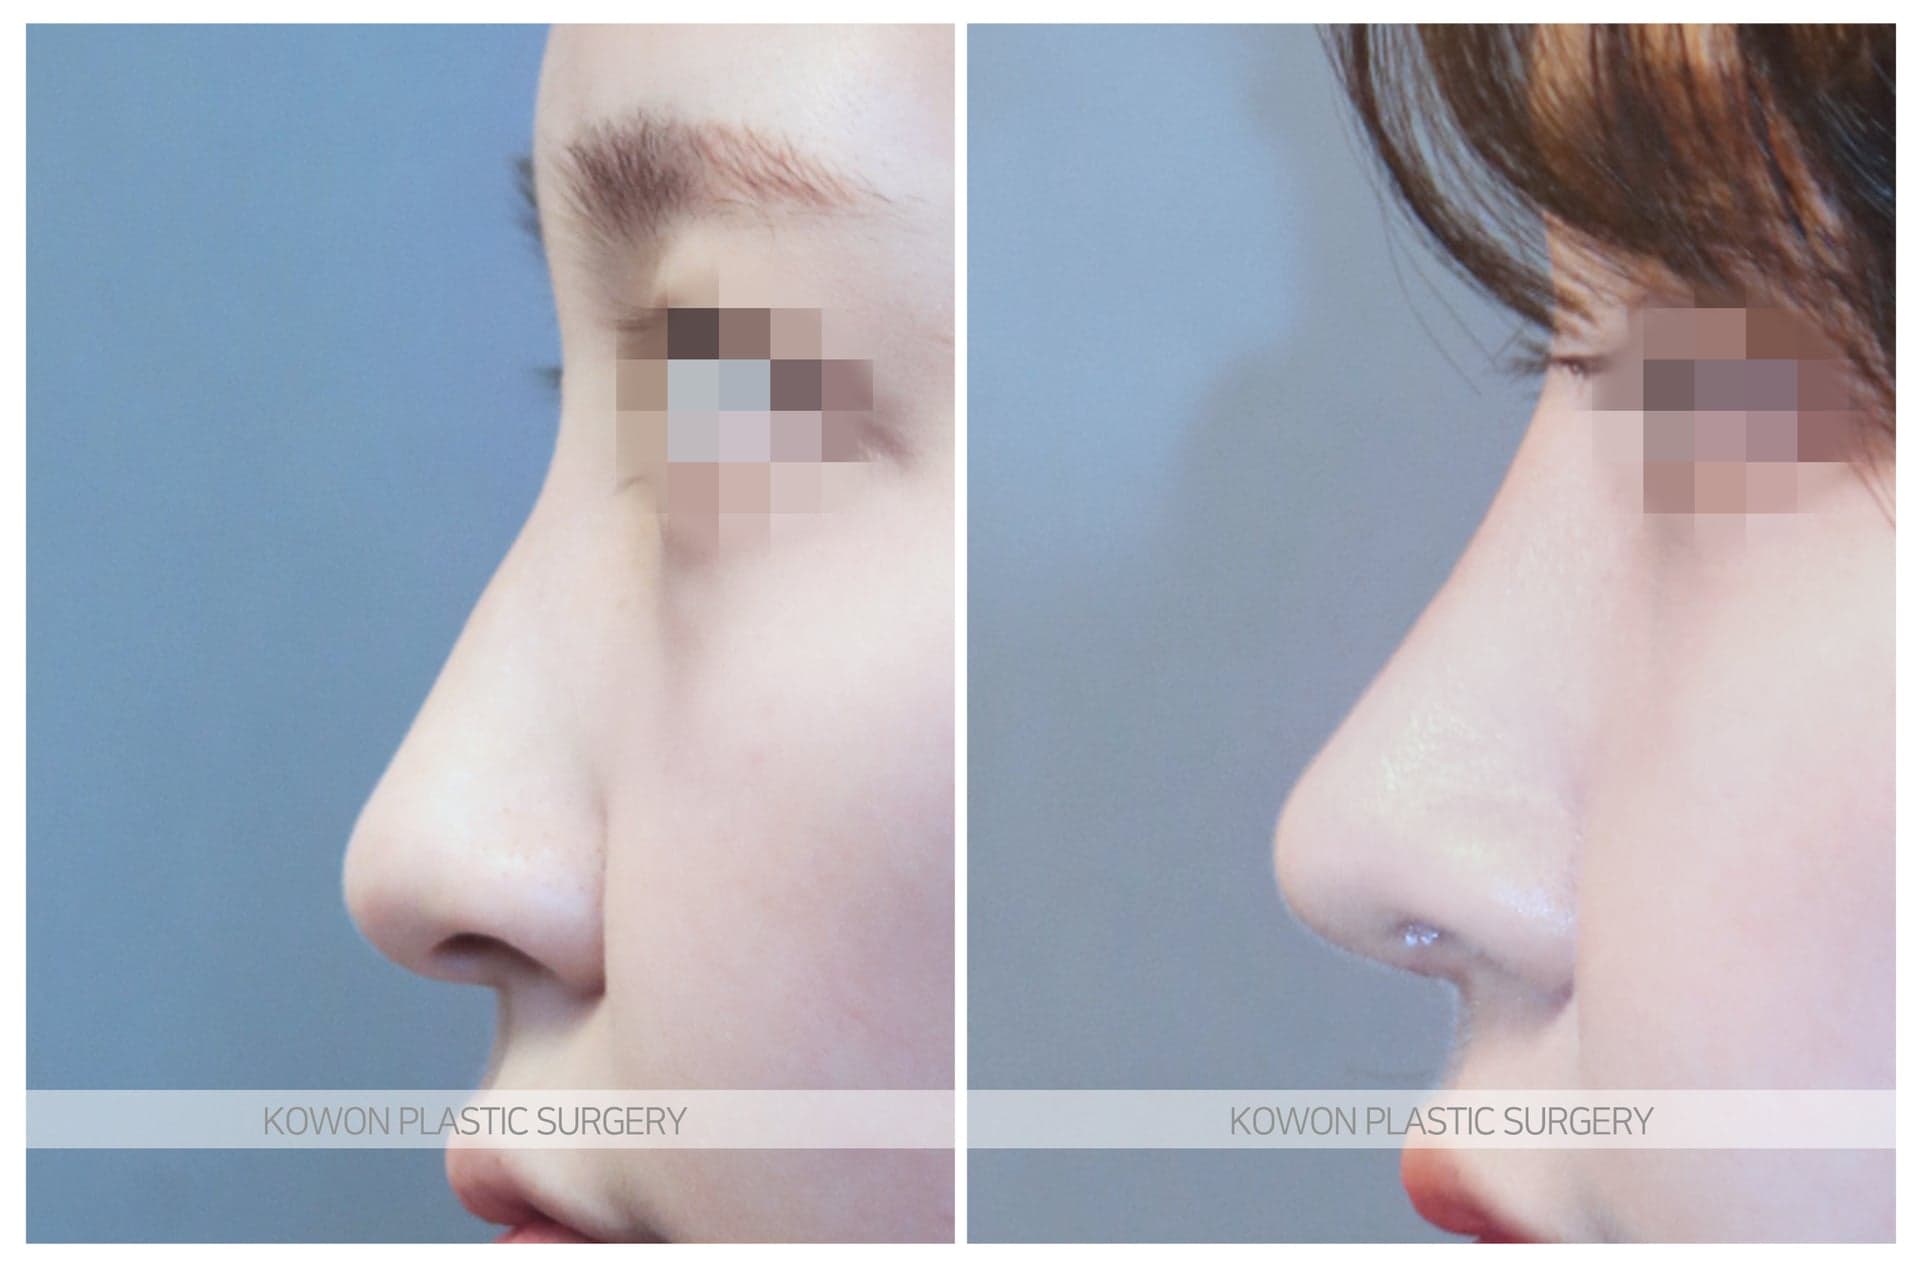
Bulbous nose · Long nose · Upturned · short nose · Male rhinoplastyBulbous tip · Long nose · Upturned nose · Male rhinoplasty  BeforeAfter
Bulbous nose · Long noseBulbous tip · Long nose  BeforeAfter
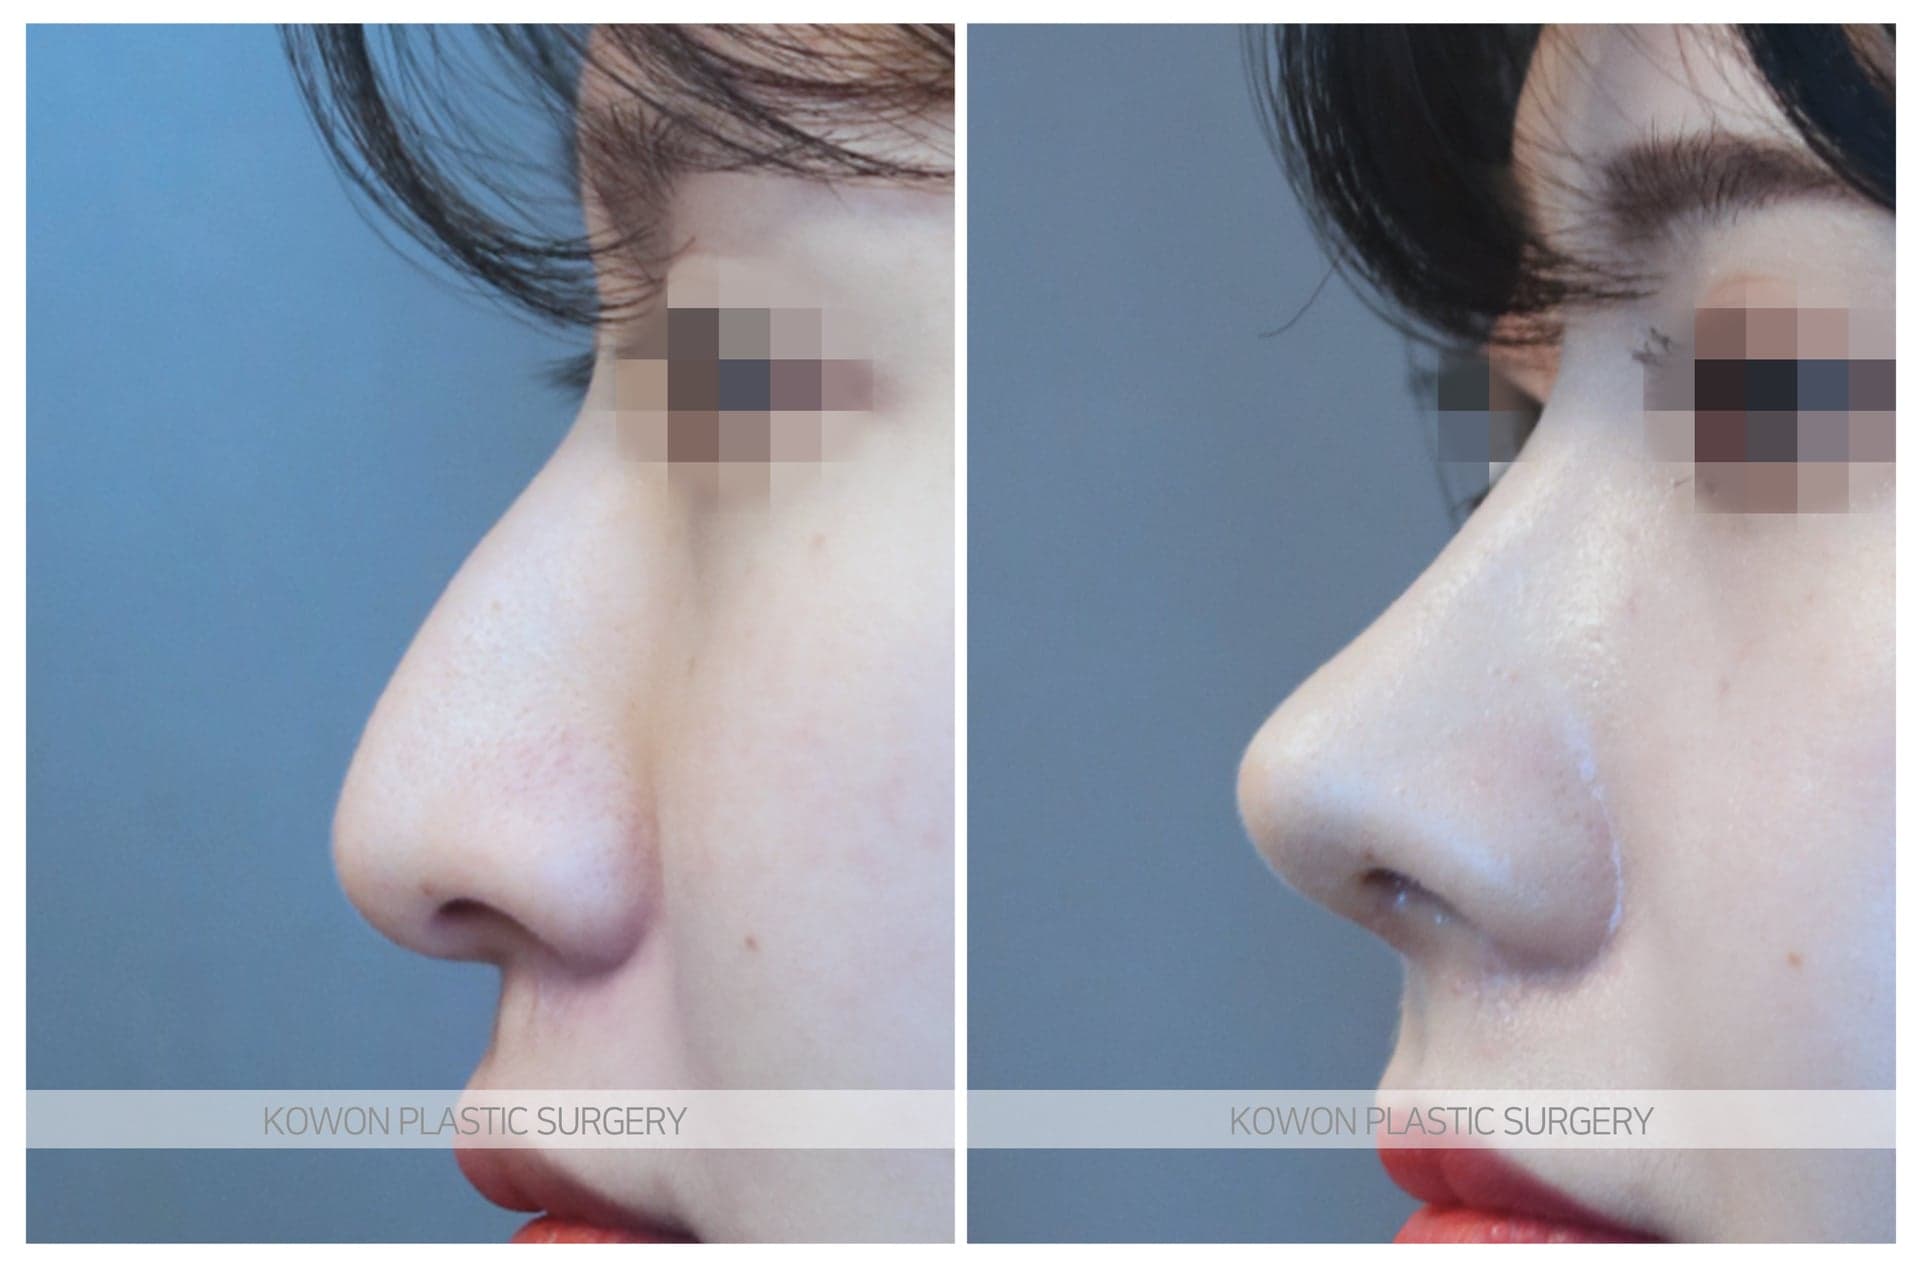
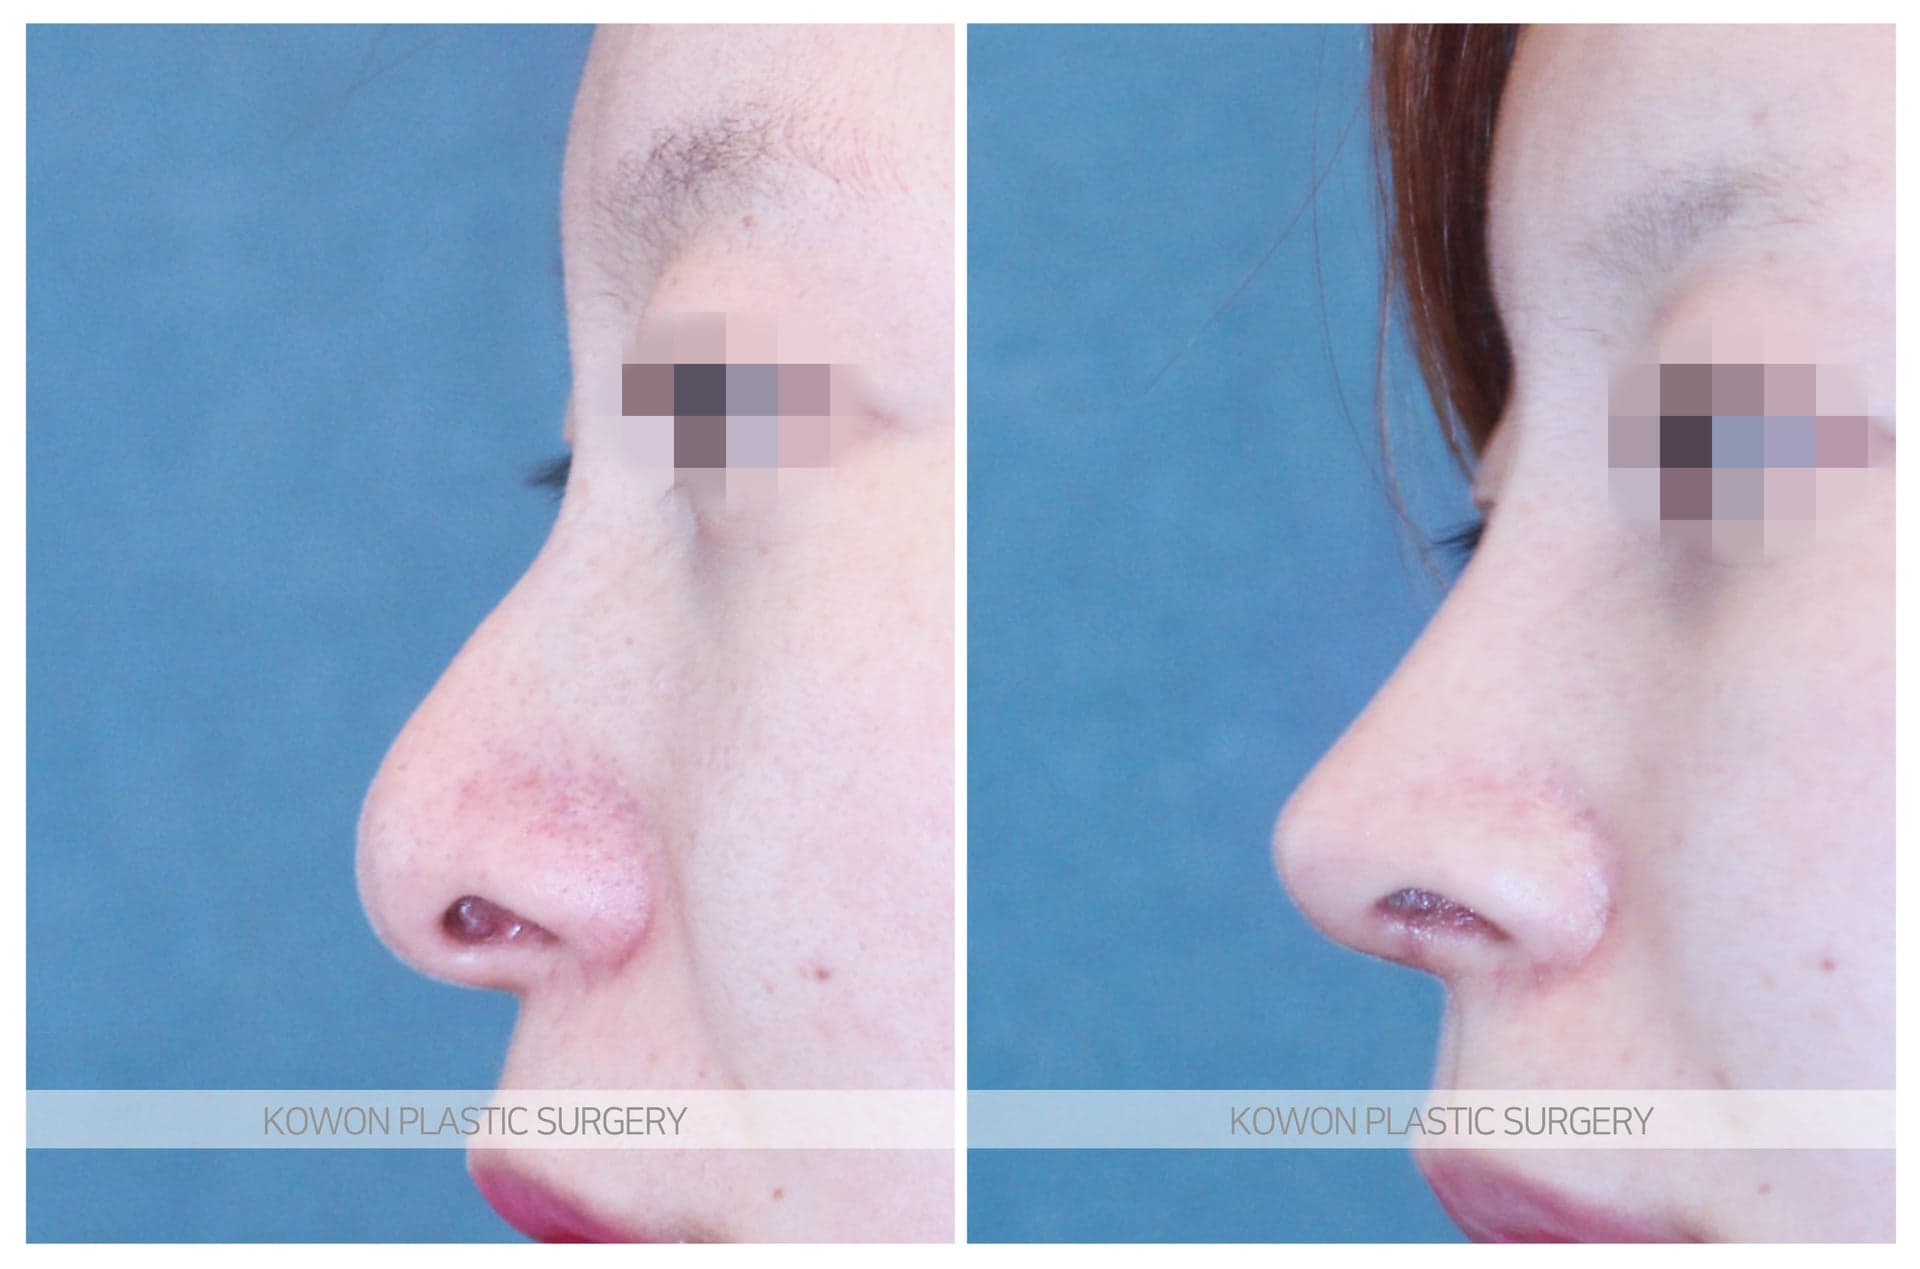
Hump nose · Long nose · Arrow noseDorsal hump · Long nose · Drooping tip  BeforeAfter
Hump nose · Long noseDorsal hump · Long nose · Drooping tip  BeforeAfter
Hump nose · Long nose · Arrow noseDorsal hump · Long nose · Drooping tip  BeforeAfter
Hump nose · Long nose · Arrow noseDorsal hump · Long nose · Drooping tip  BeforeAfter
Hump nose · Long nose · Arrow noseDorsal hump · Long nose · Drooping tip  BeforeAfter
Hump nose · Long nose · Arrow noseDorsal hump · Long nose · Drooping tip  BeforeAfter
Hump nose · Long nose · Arrow noseDorsal hump · Long nose · Drooping tip  BeforeAfter
Hump nose · Long nose · Arrow noseDorsal hump · Long nose · Drooping tip
Wondering what surgical plan would suit your nose?
Book a 1:1 consultation