
BEFORE & AFTER
Before & After
Every case has its own anatomy and its own surgical plan. A record of real results from operations performed by Dr. Kim himself.
TotalBulbous noseLong noseUpturned · short noseHump noseAquiline noseMale rhinoplastyRevision rhinoplastyDeviated noseNasolabial angle correctionFirst rhinoplastyLow bridgeArrow nose
Before & after photos are for members only
Before & after photos are available after login
 BeforeAfter
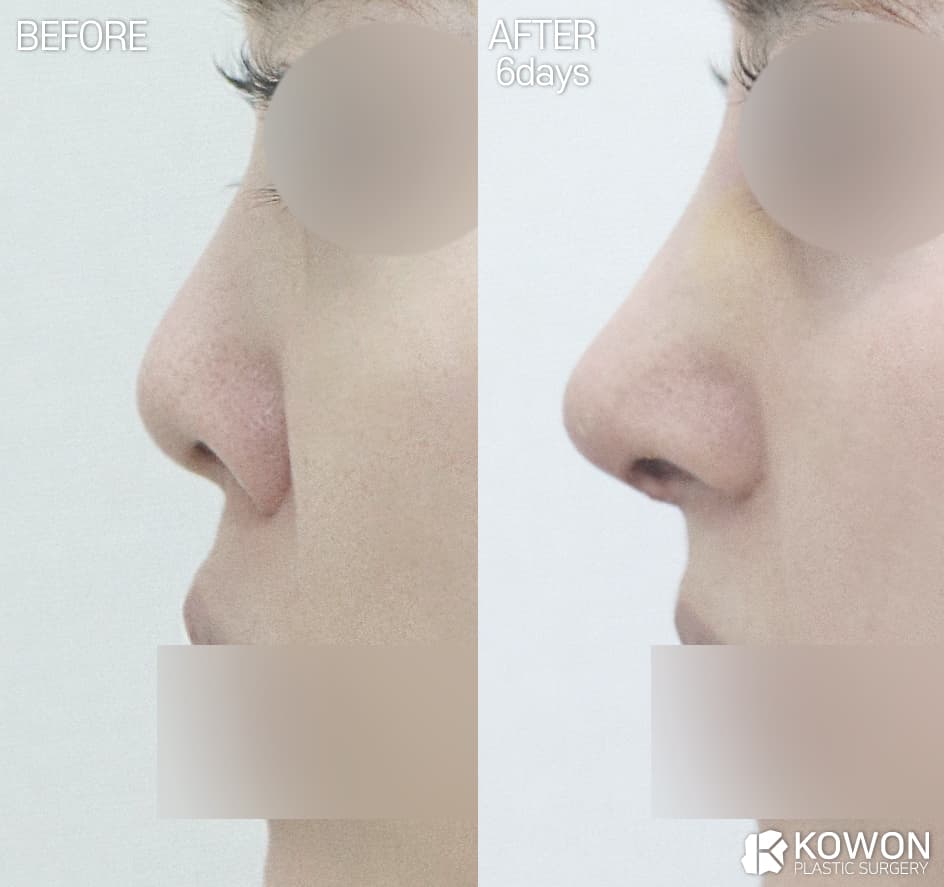
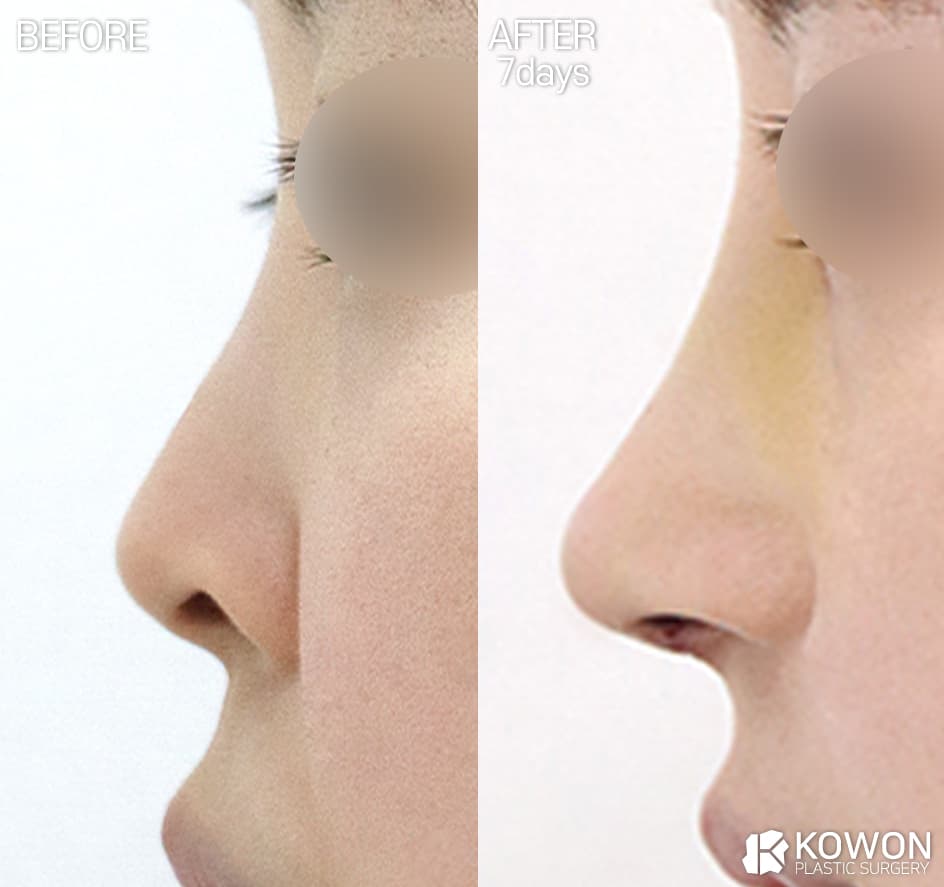
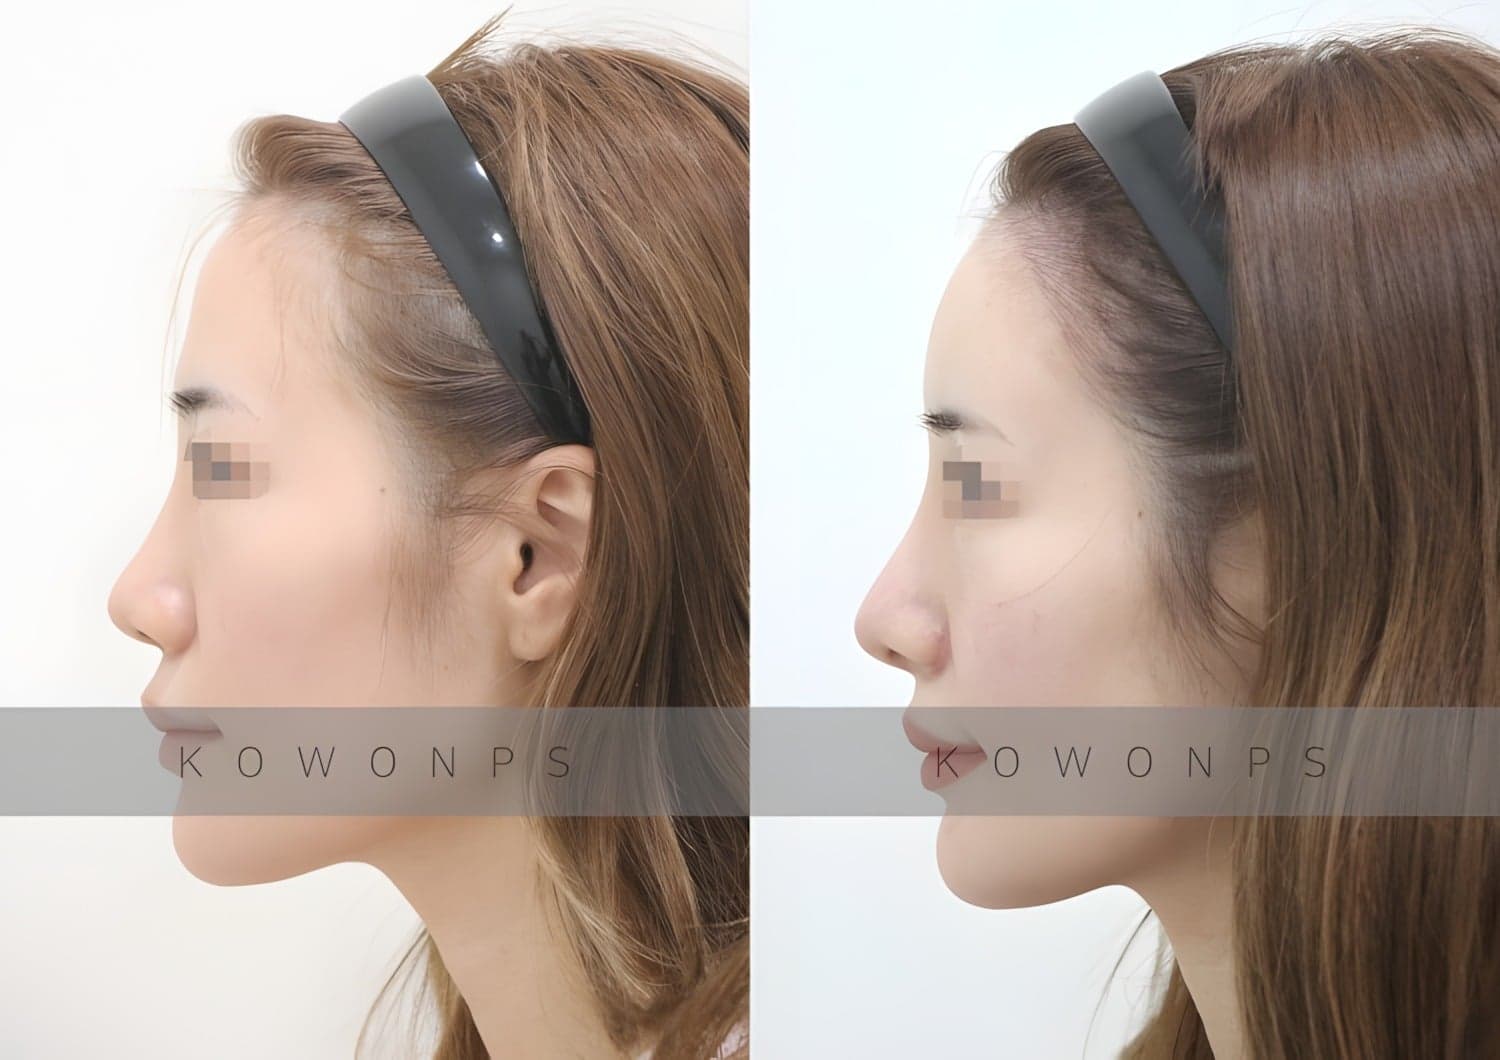
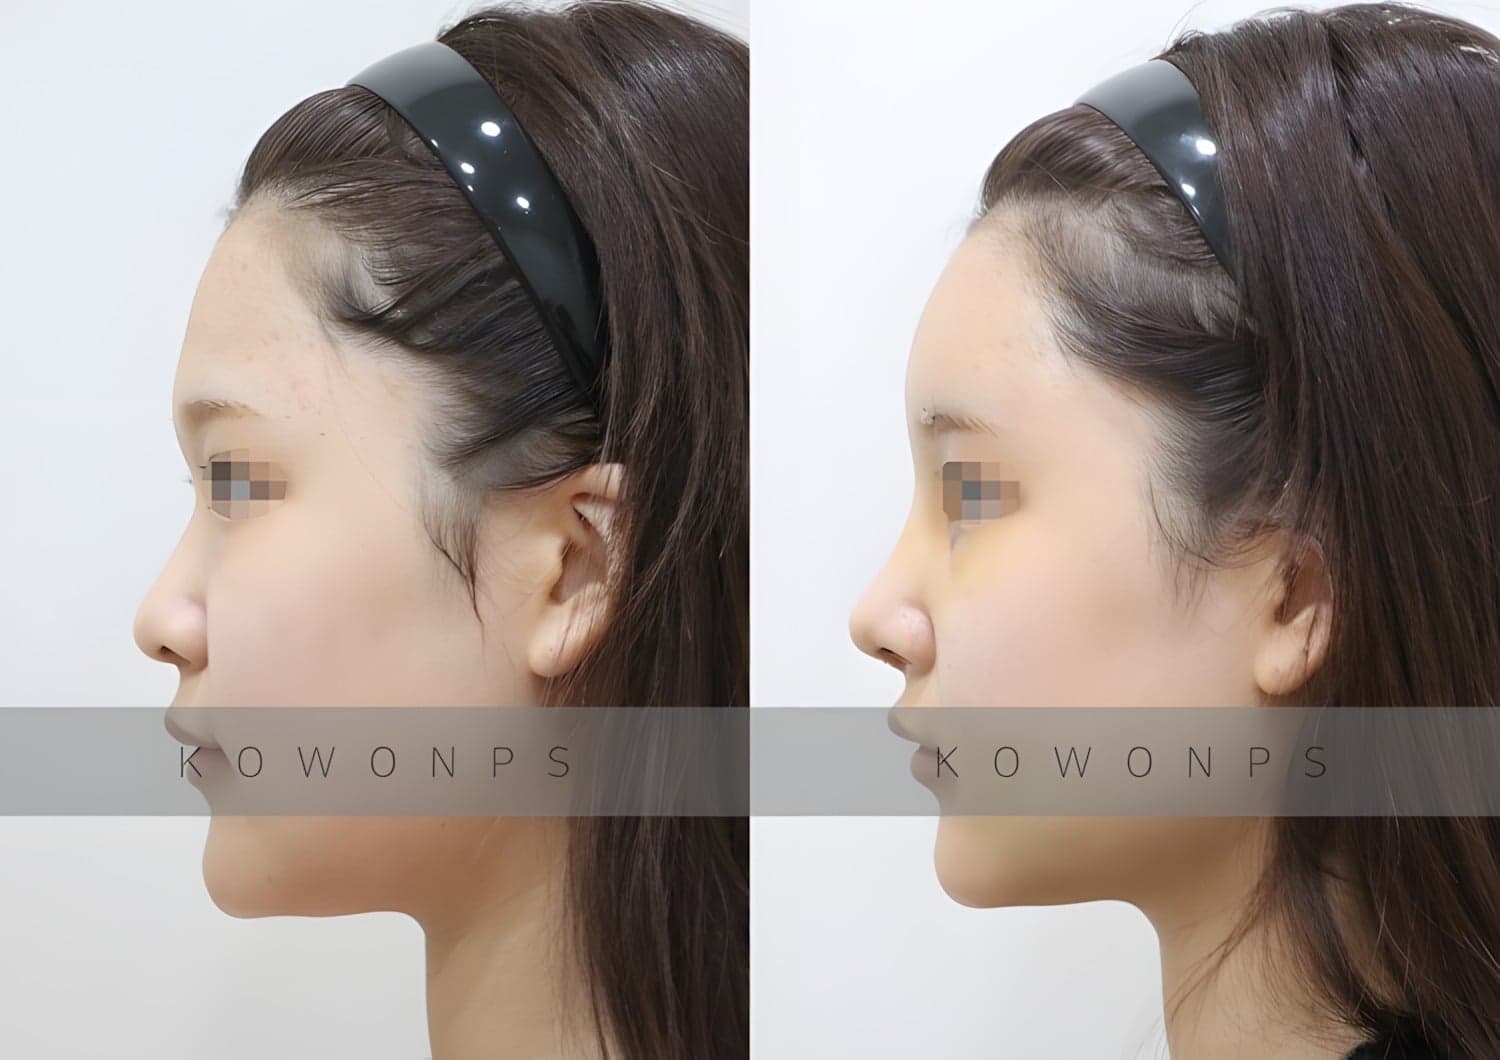
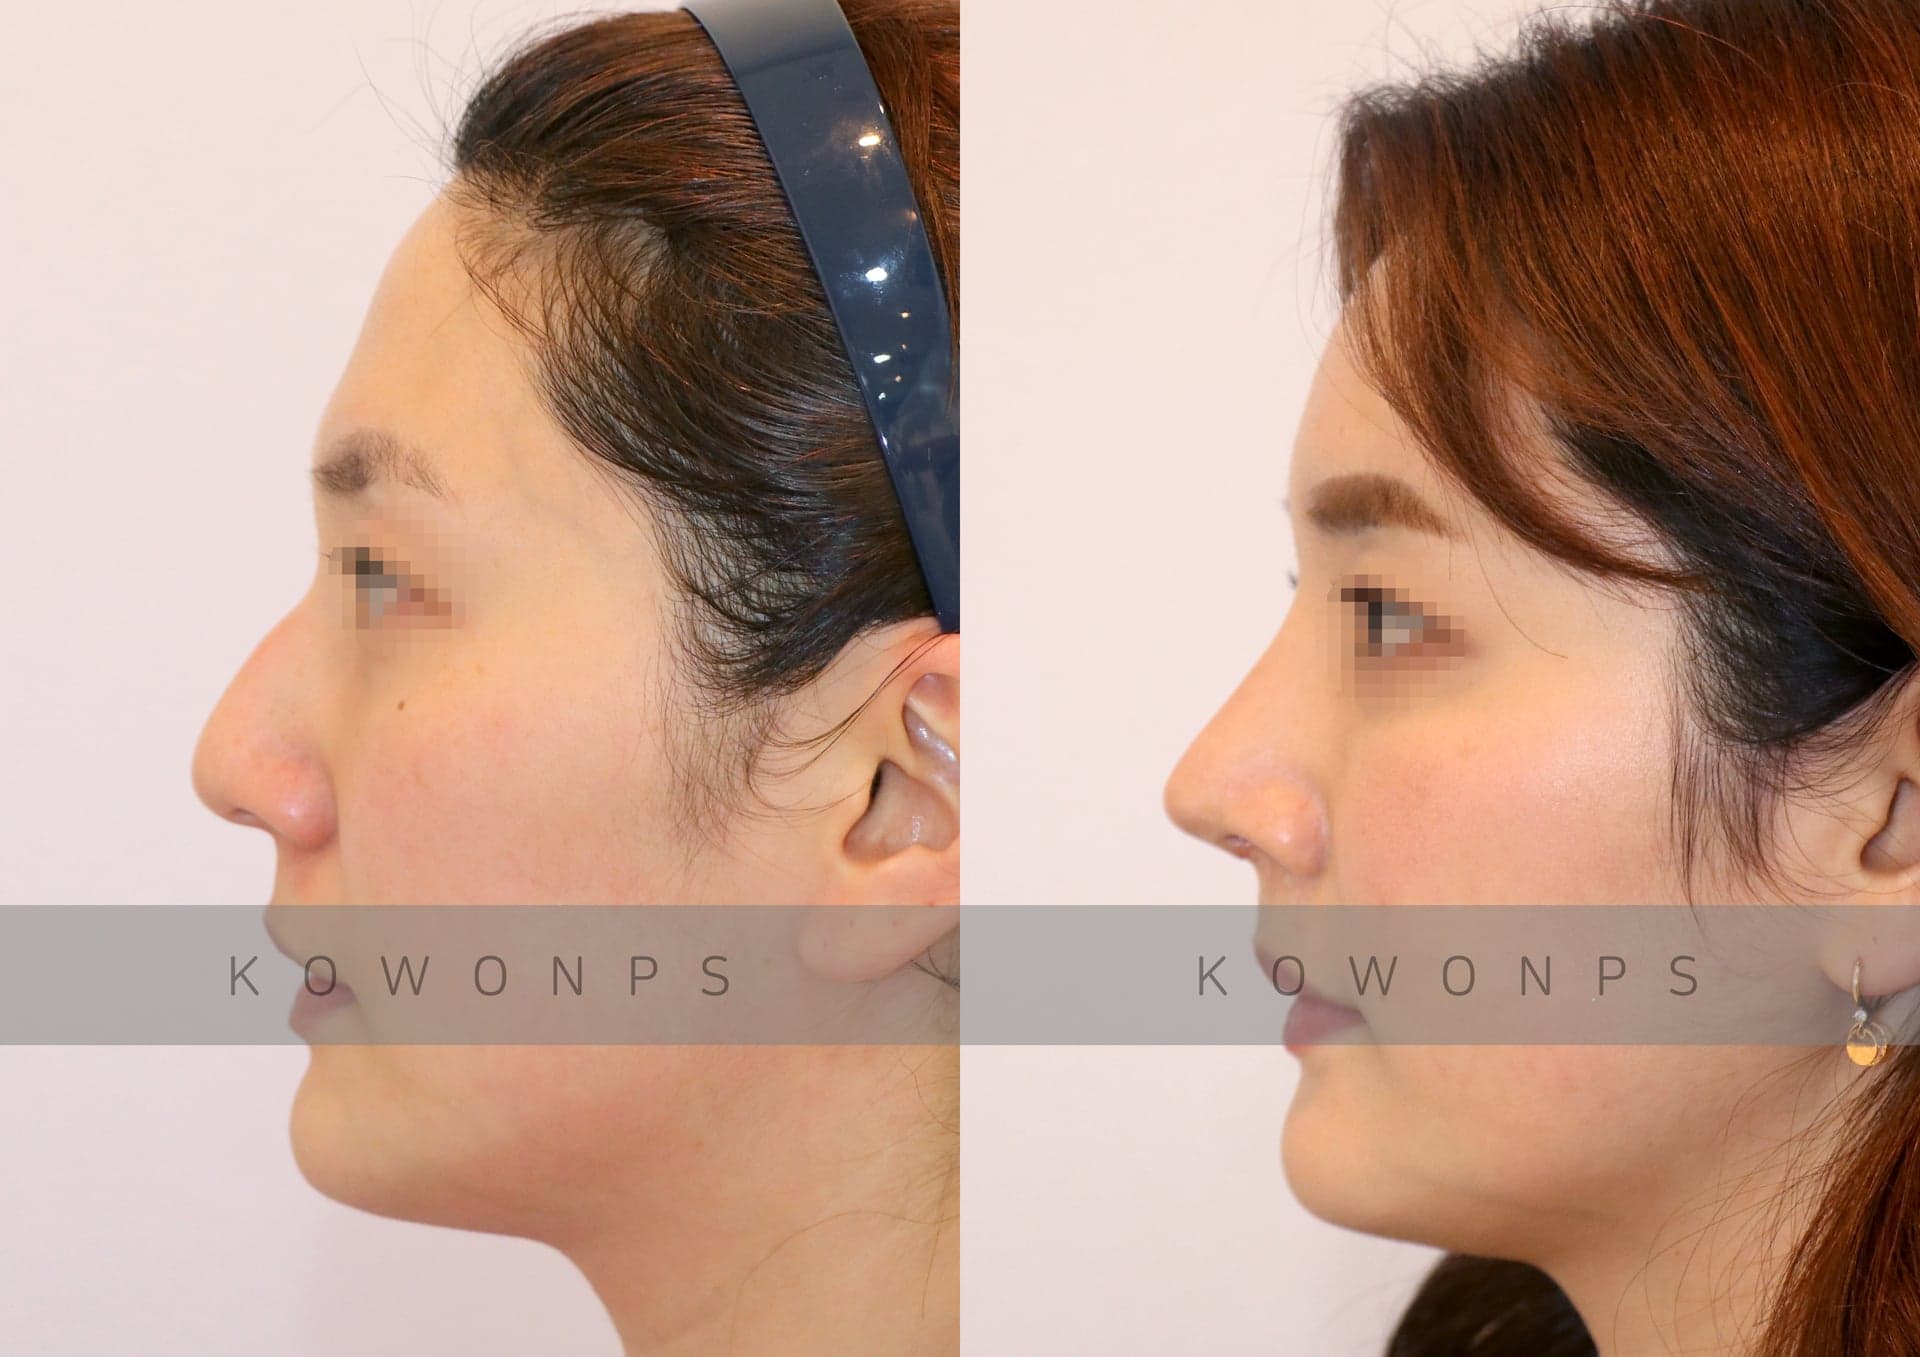
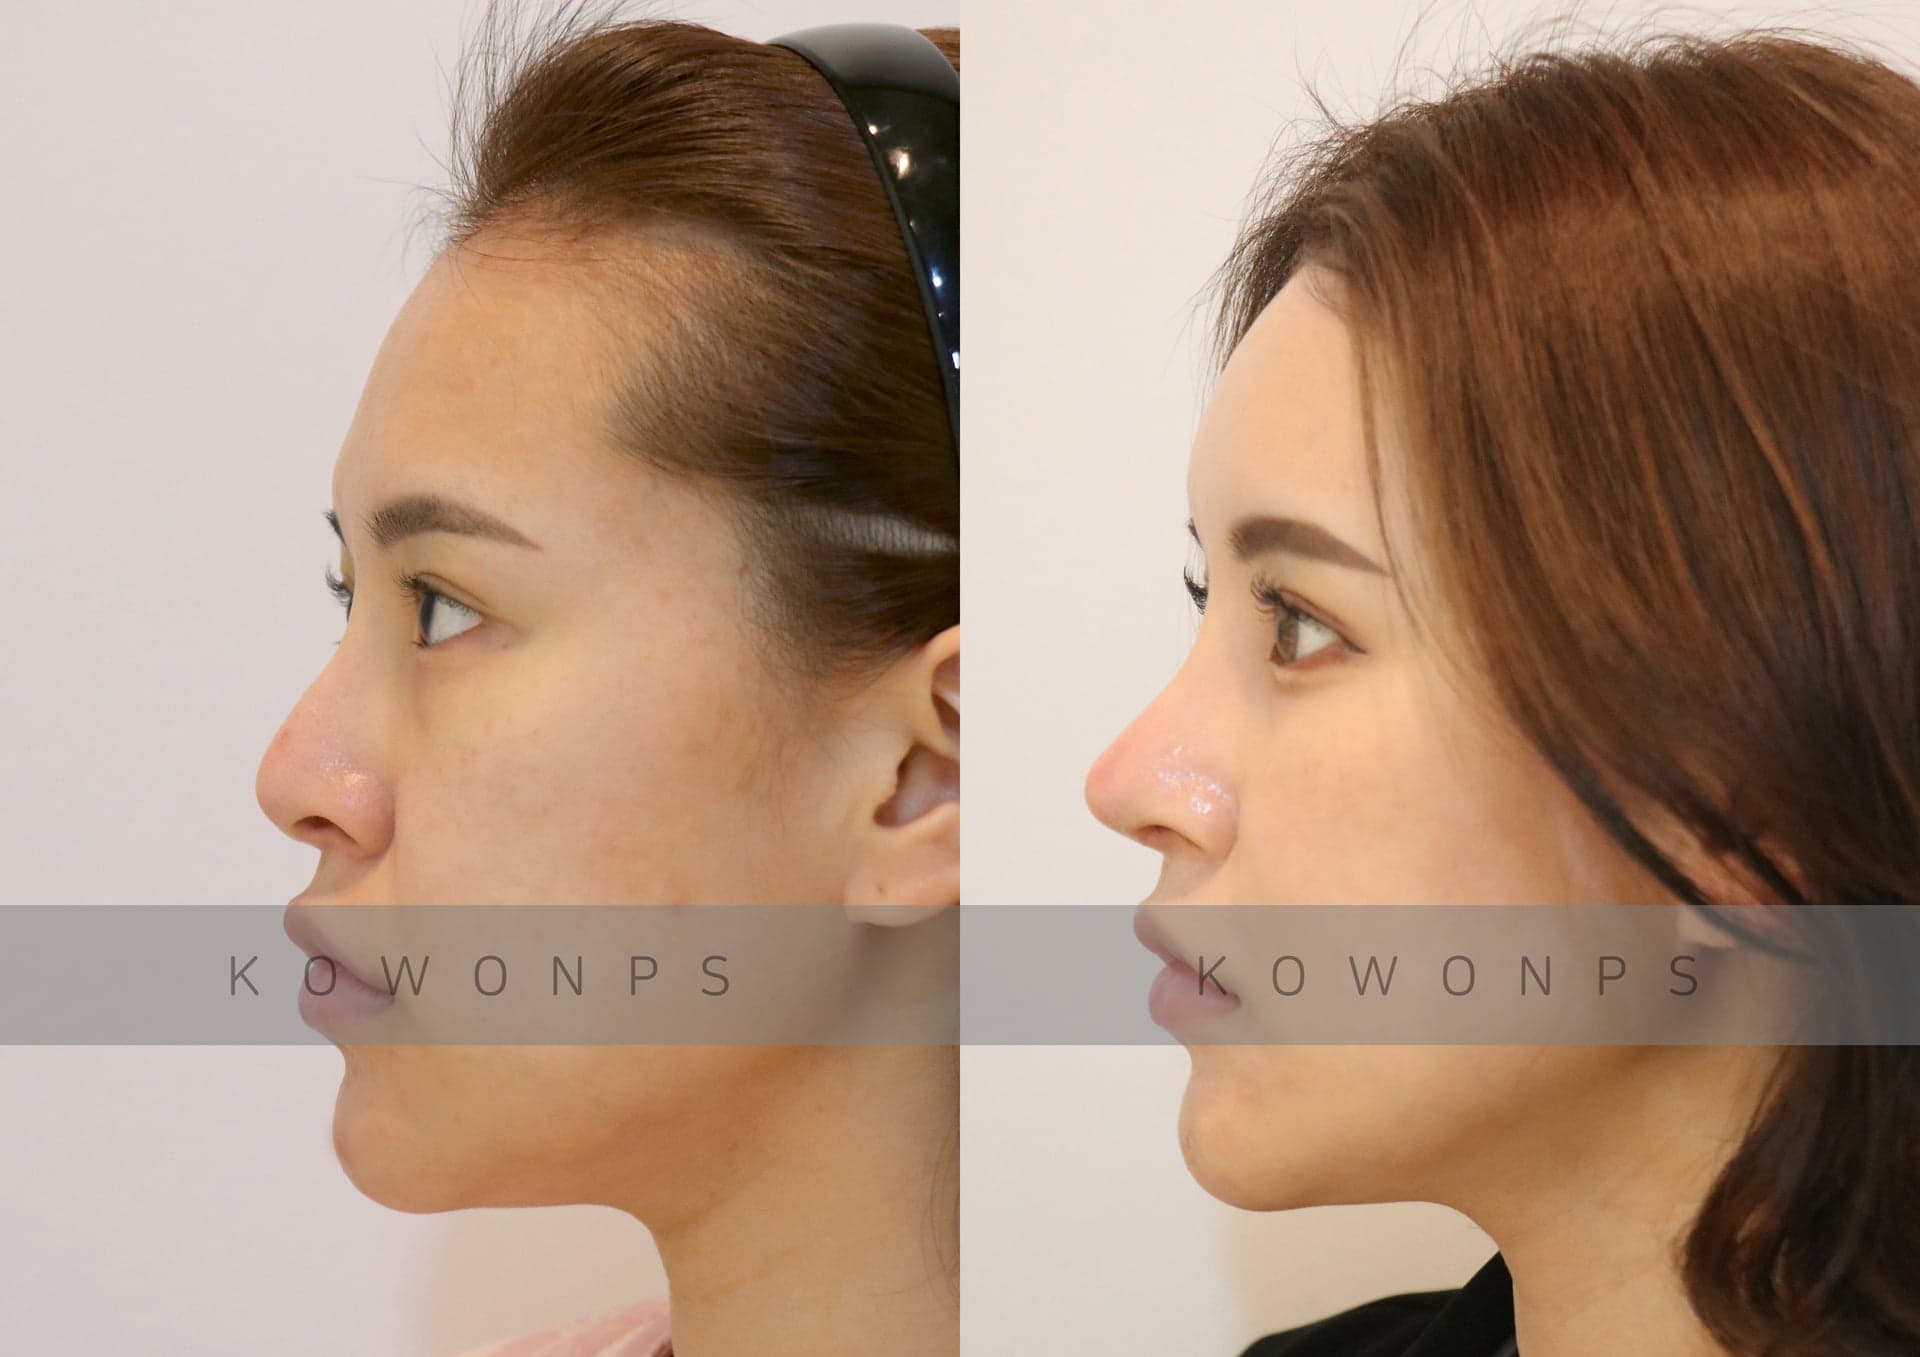
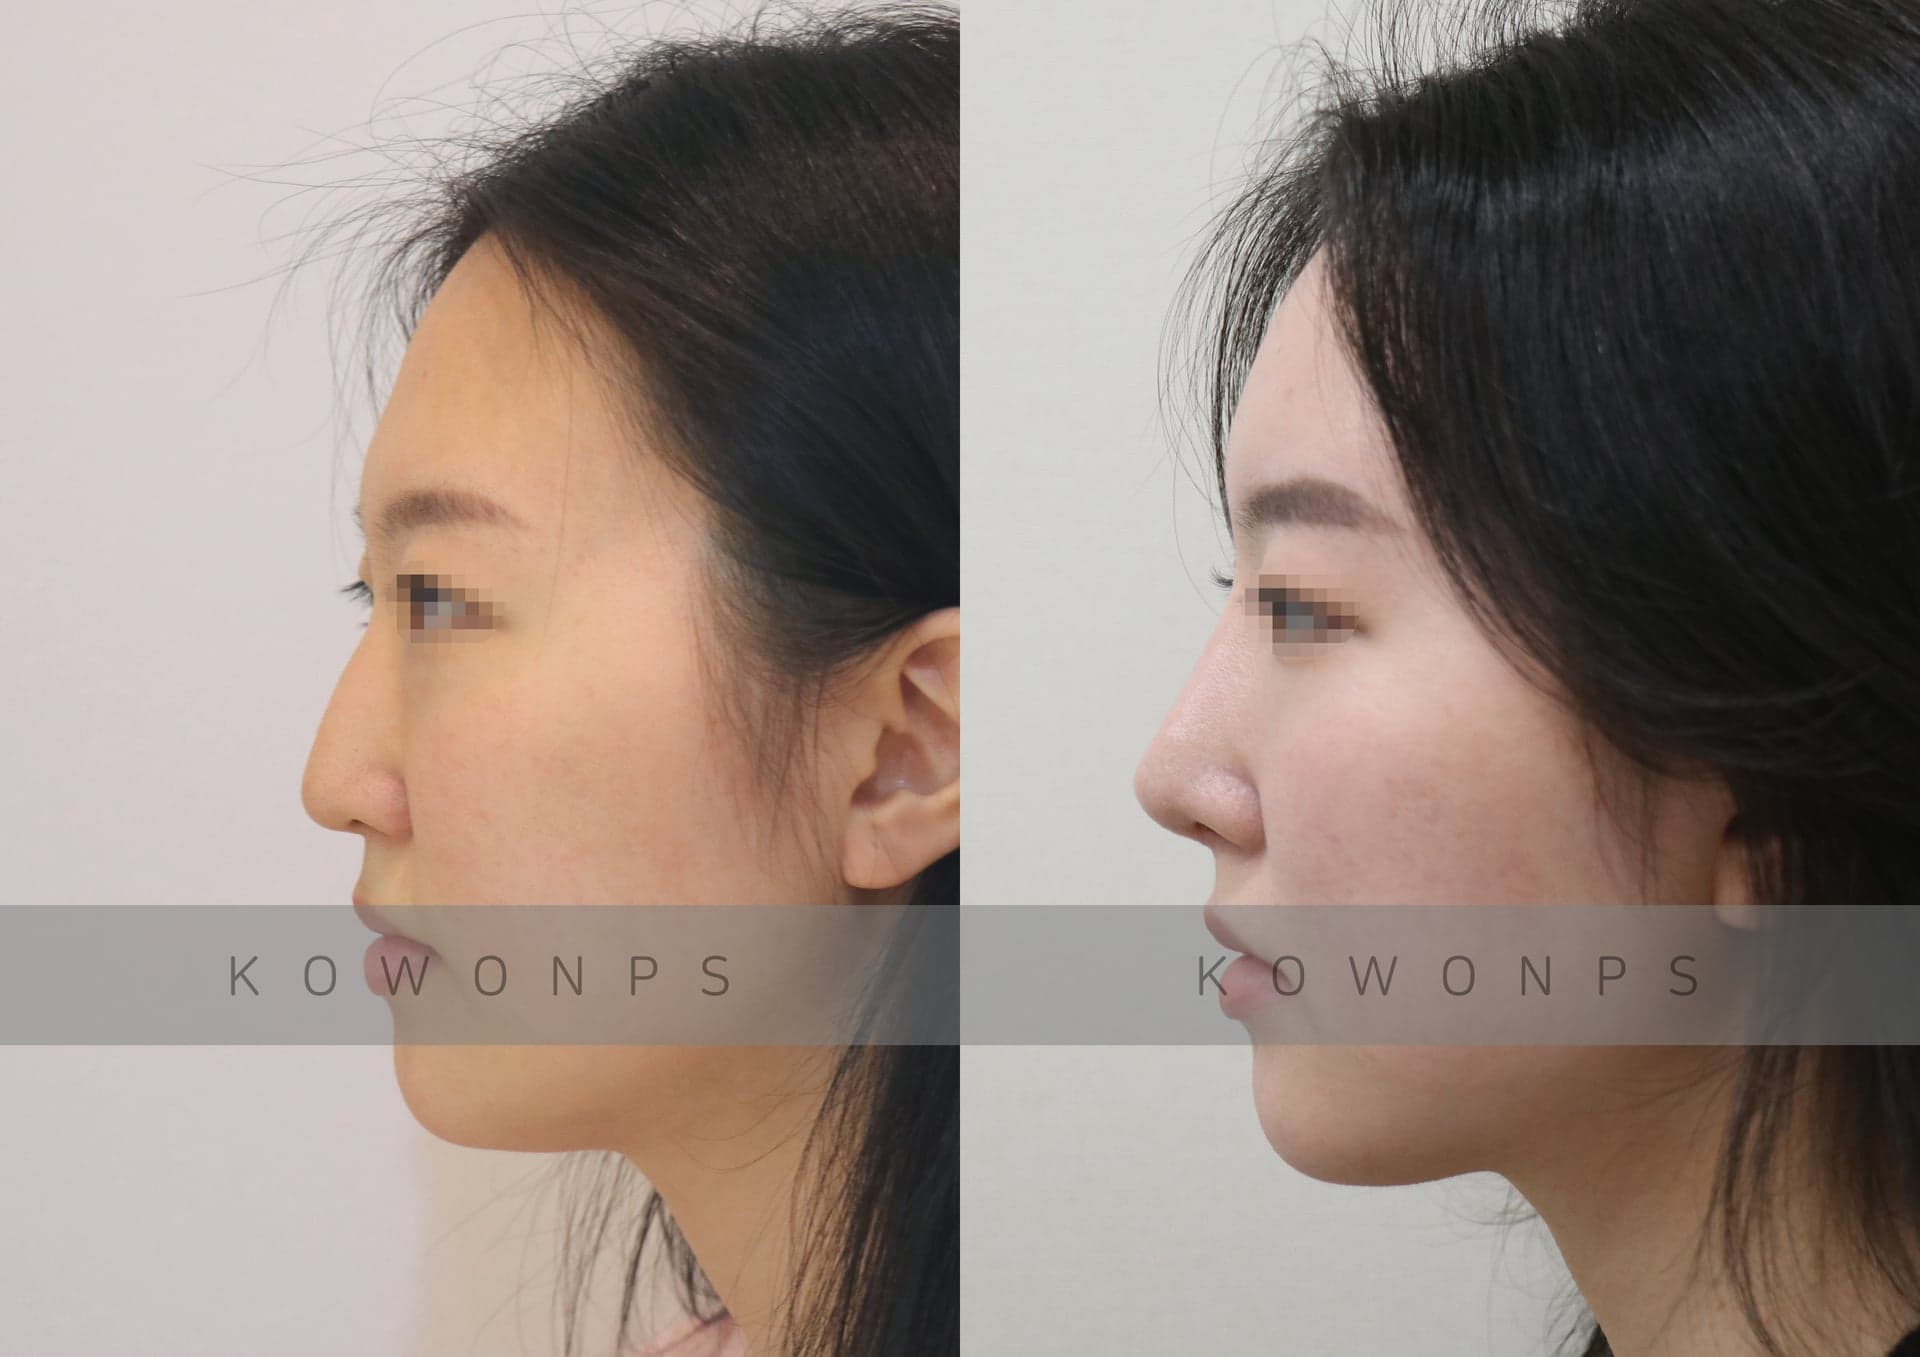
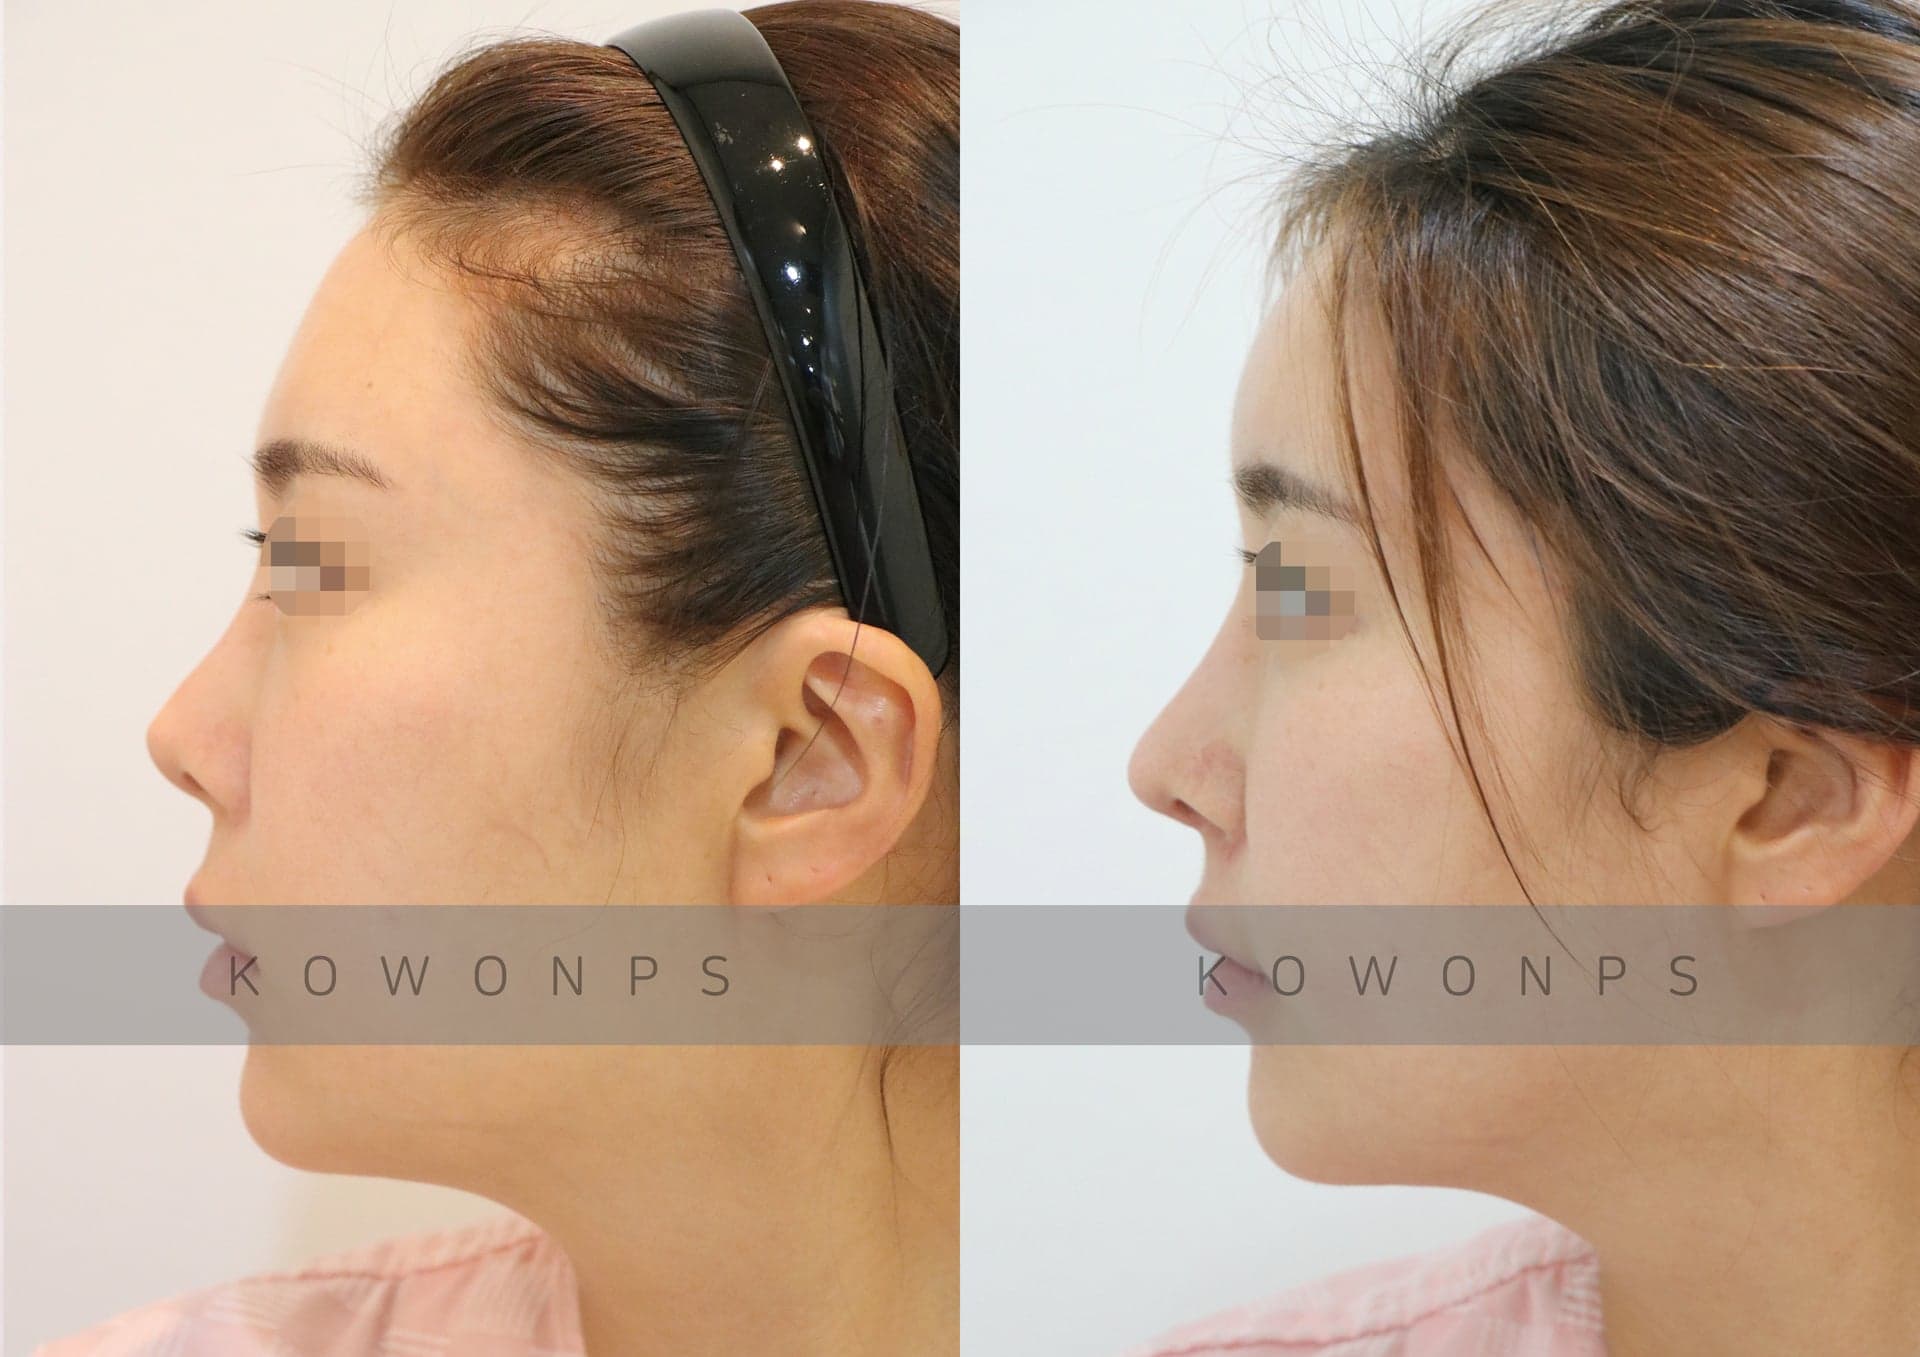
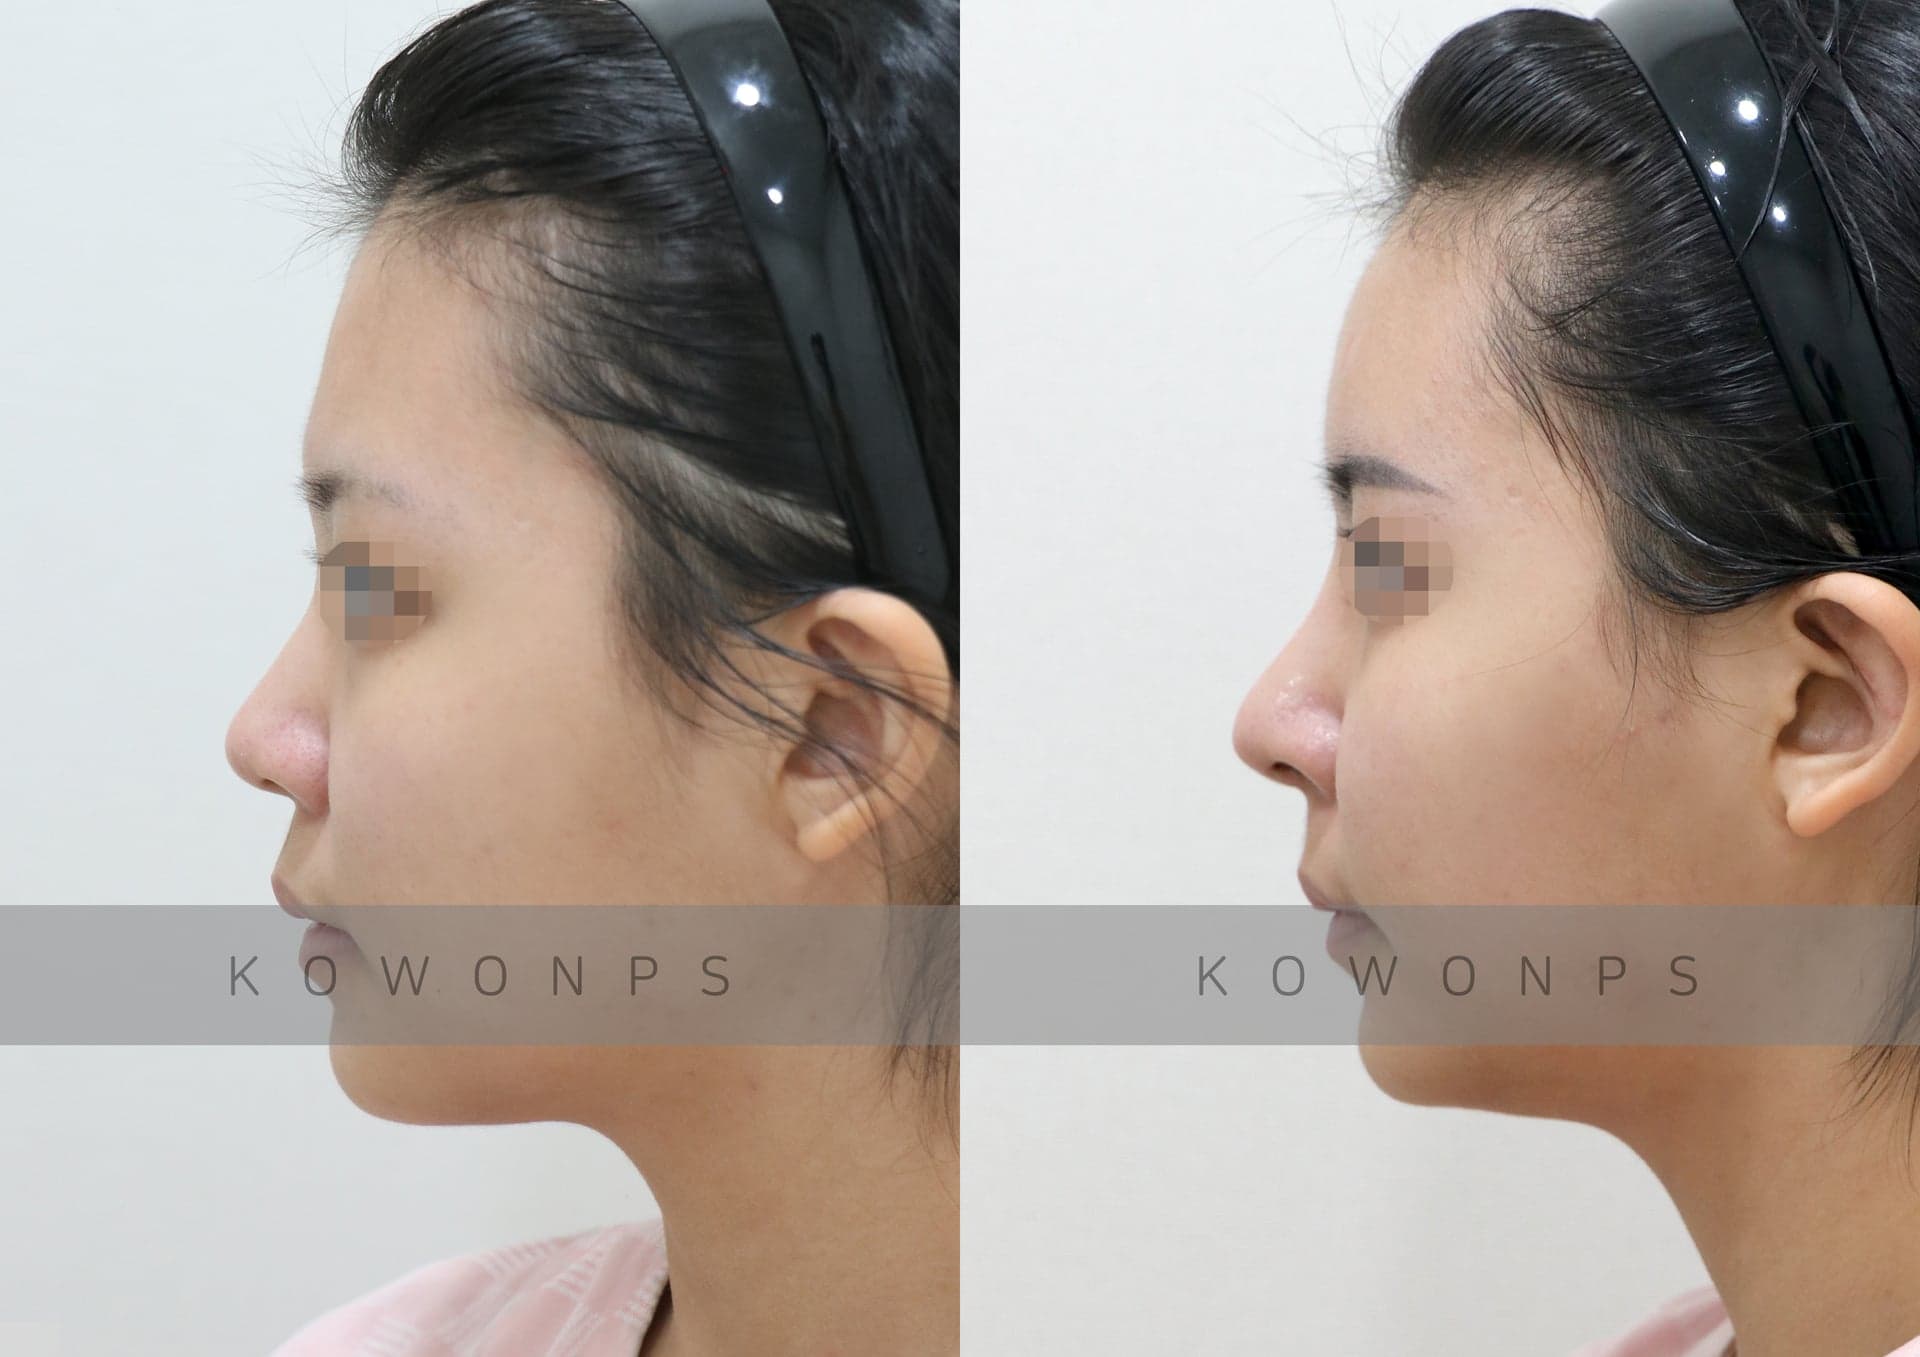
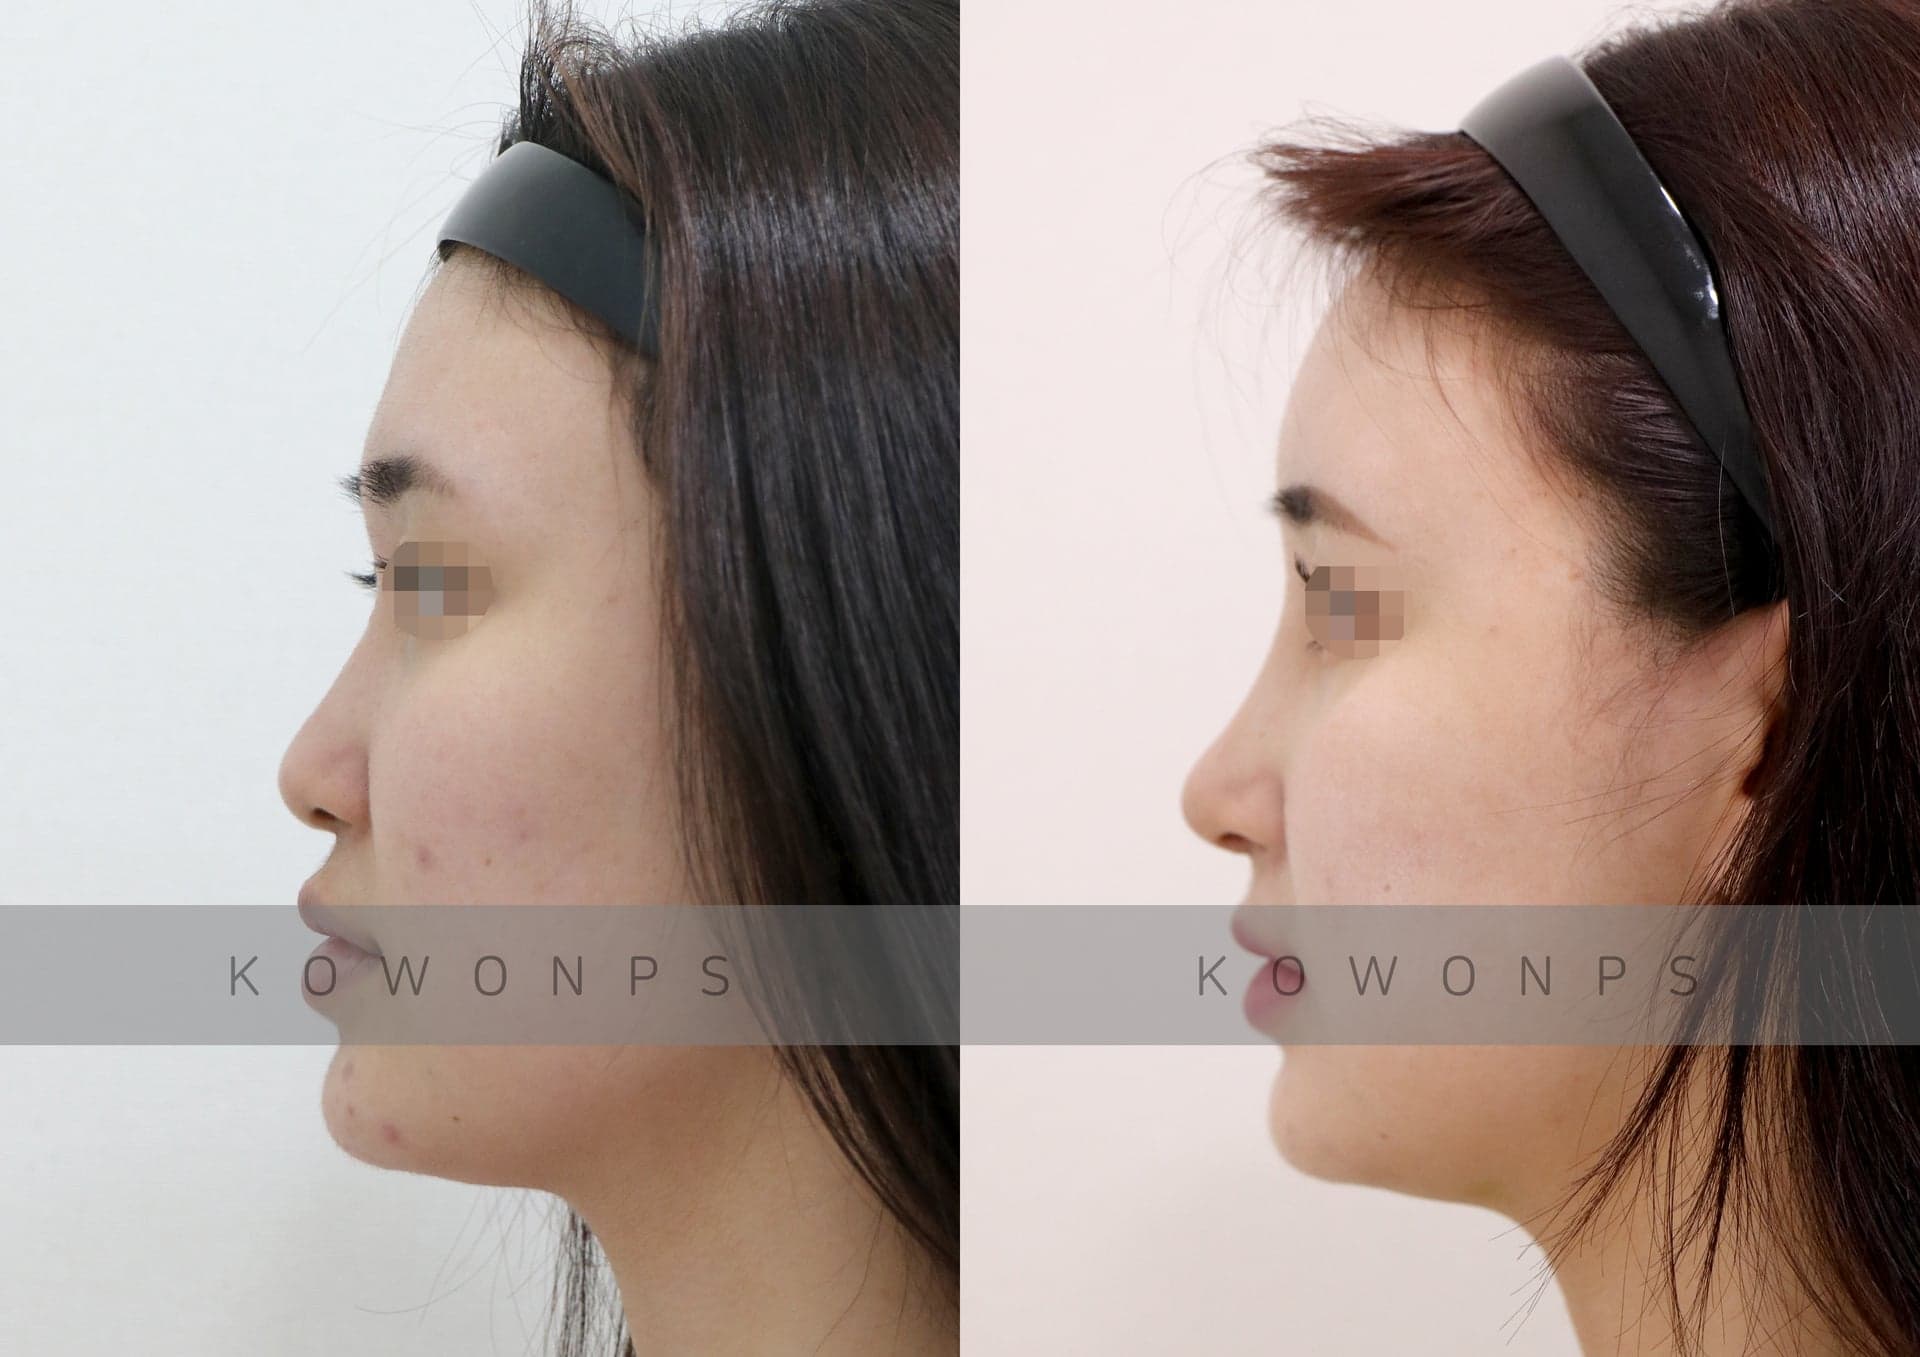
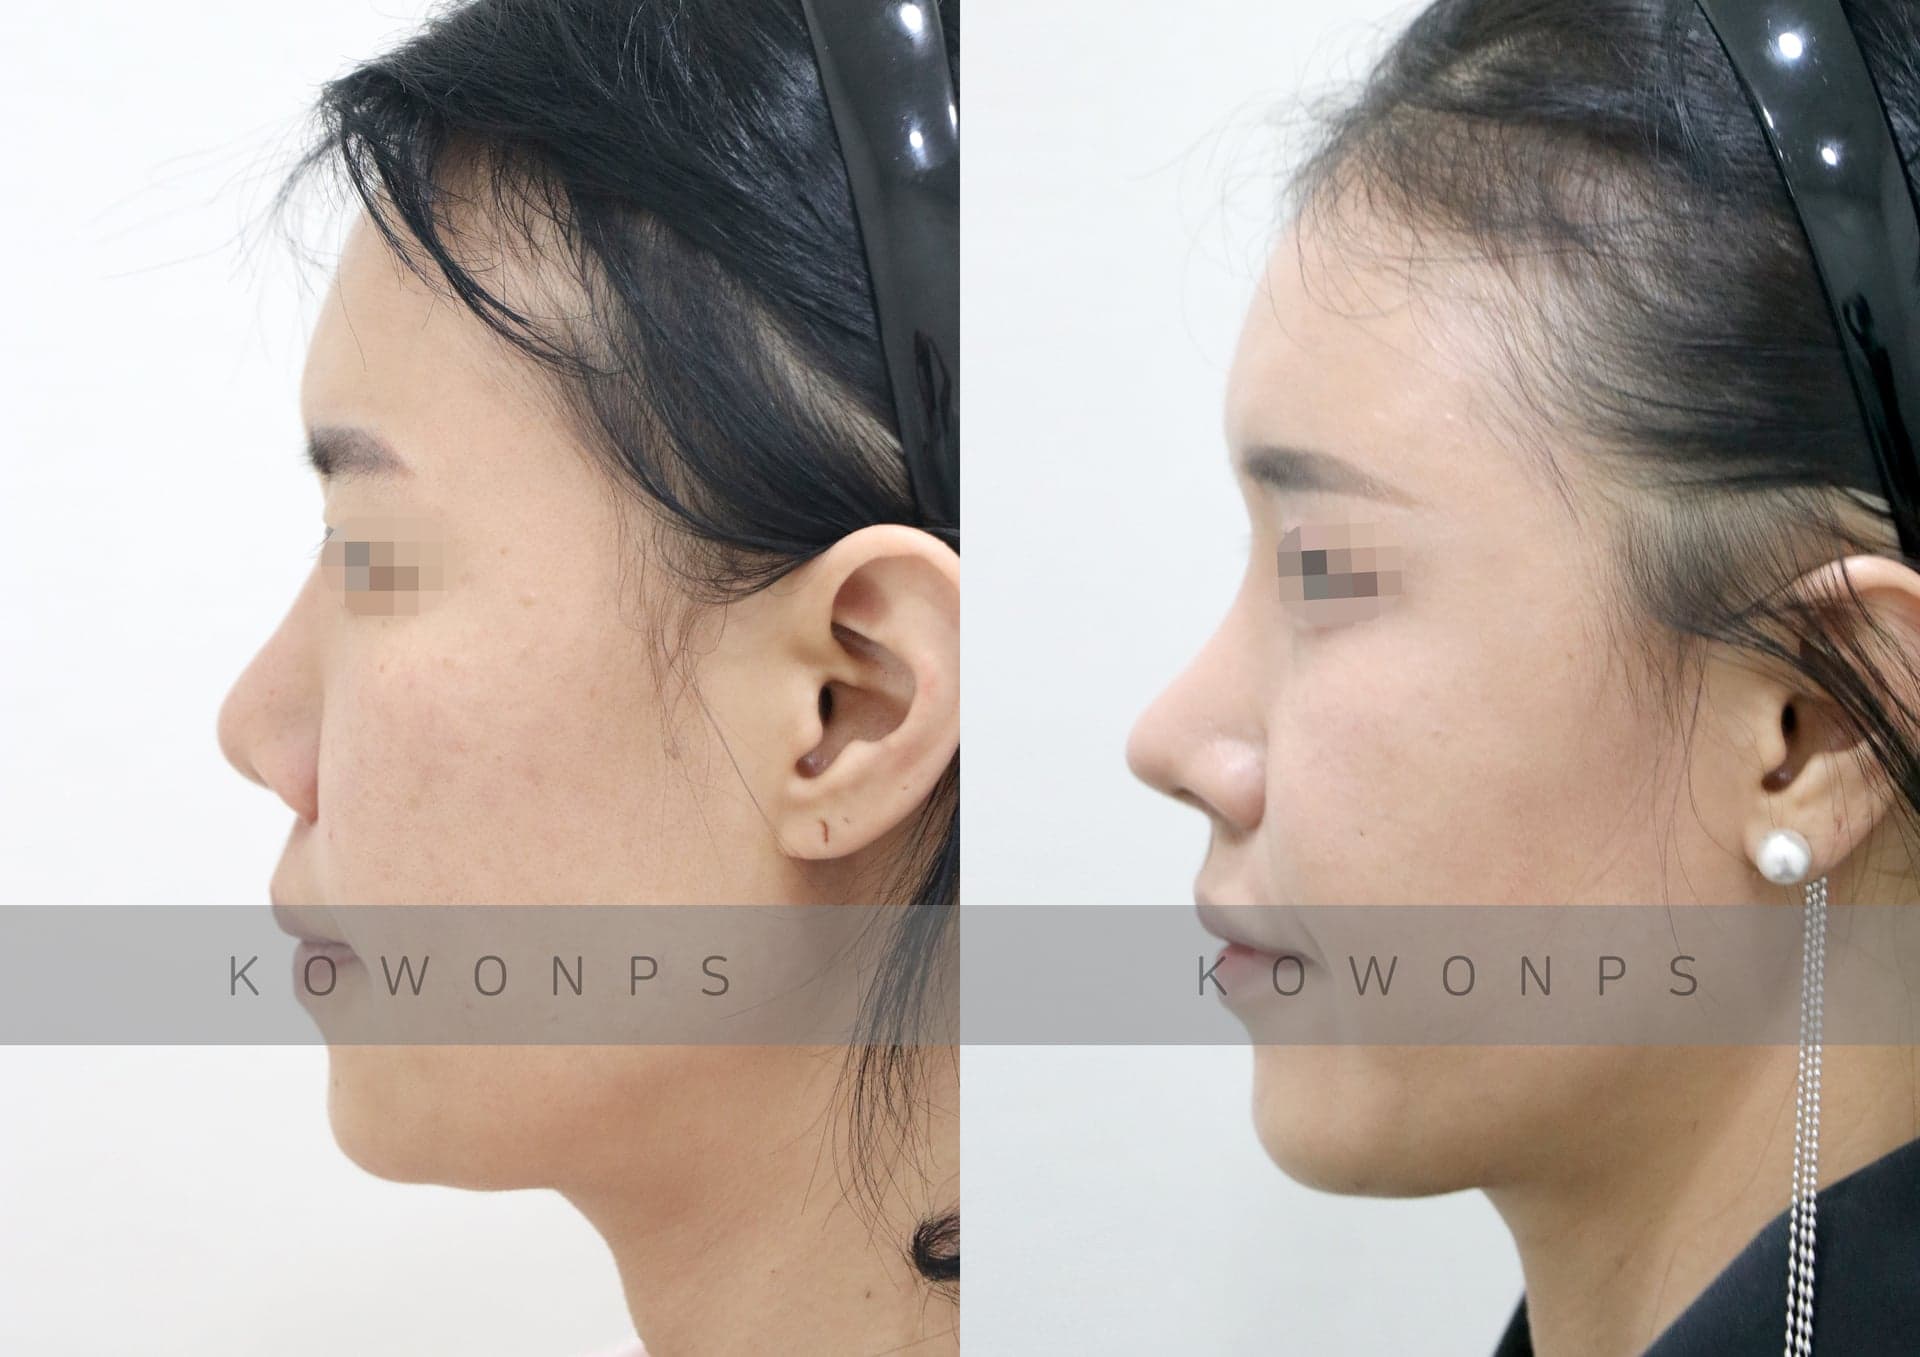
늑연골코성형 · 들린코 · 짧은코 · Bulbous nose · Low bridge · 자가늑연골 · 리브핏 · 6일차 · Upturned · short nose들린코·짧은코·복코 코수술 전후사진(6일차) – 자가늑연골로 코끝을 내린 뒤 옆모습과 45도  BeforeAfter
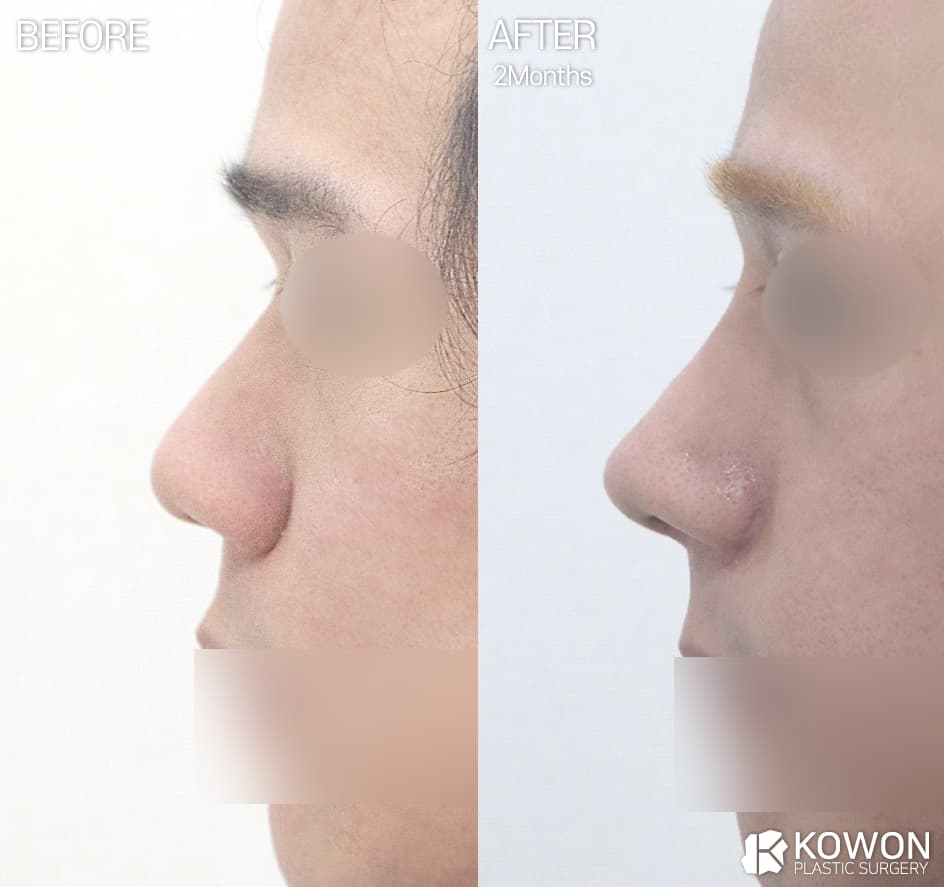
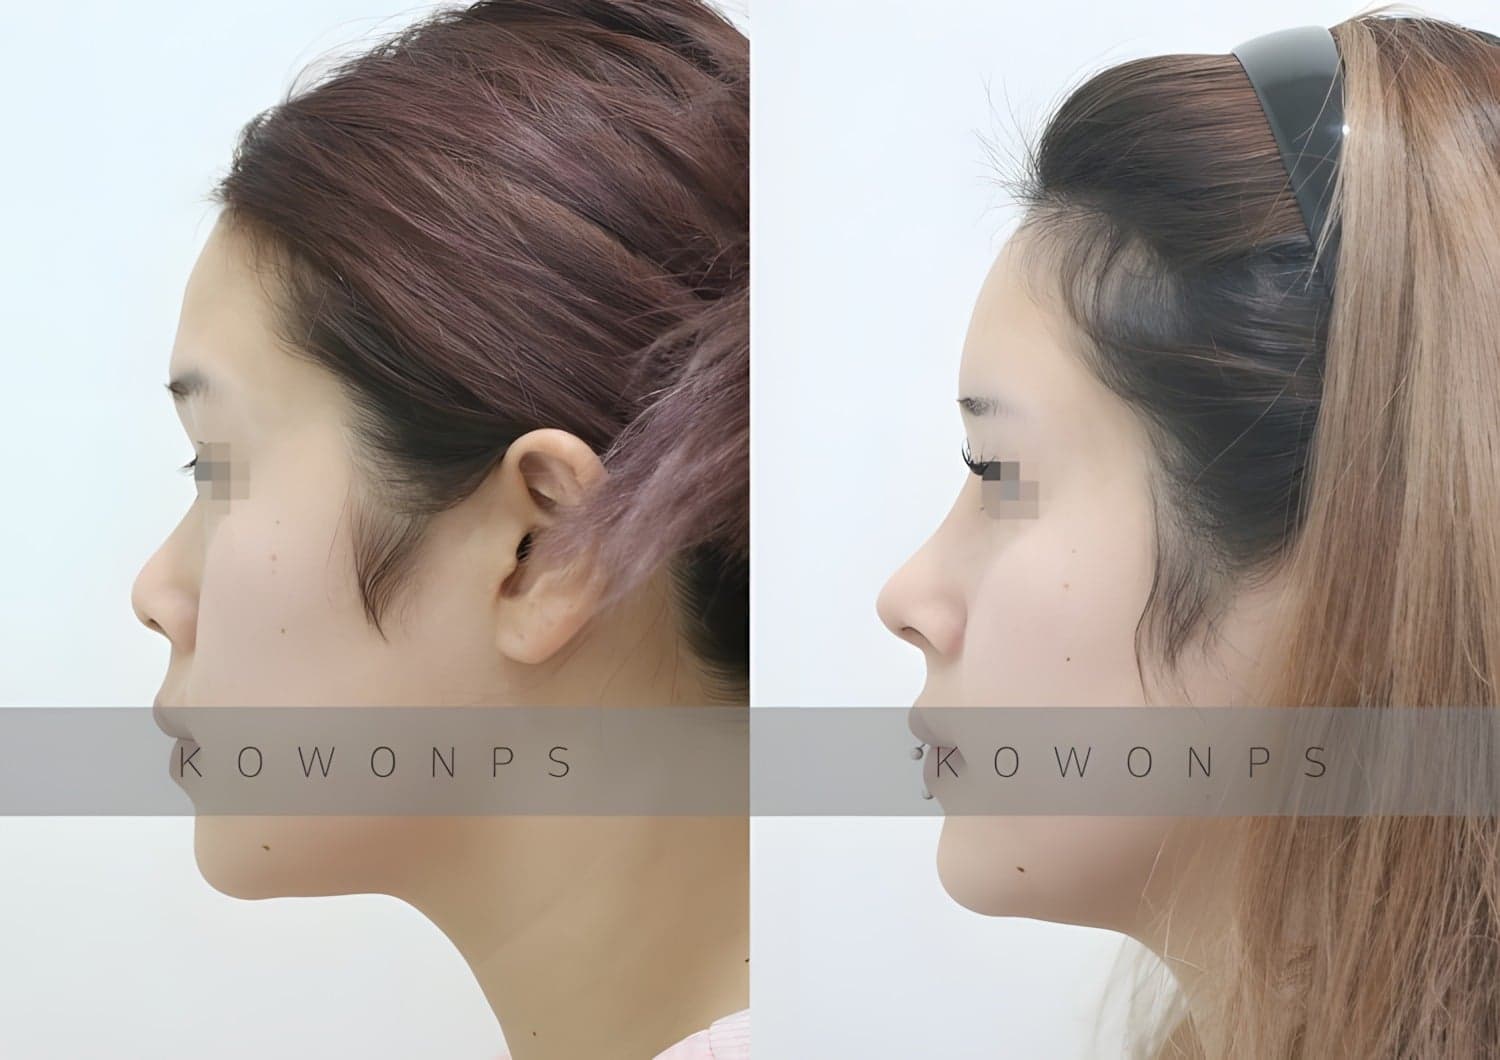
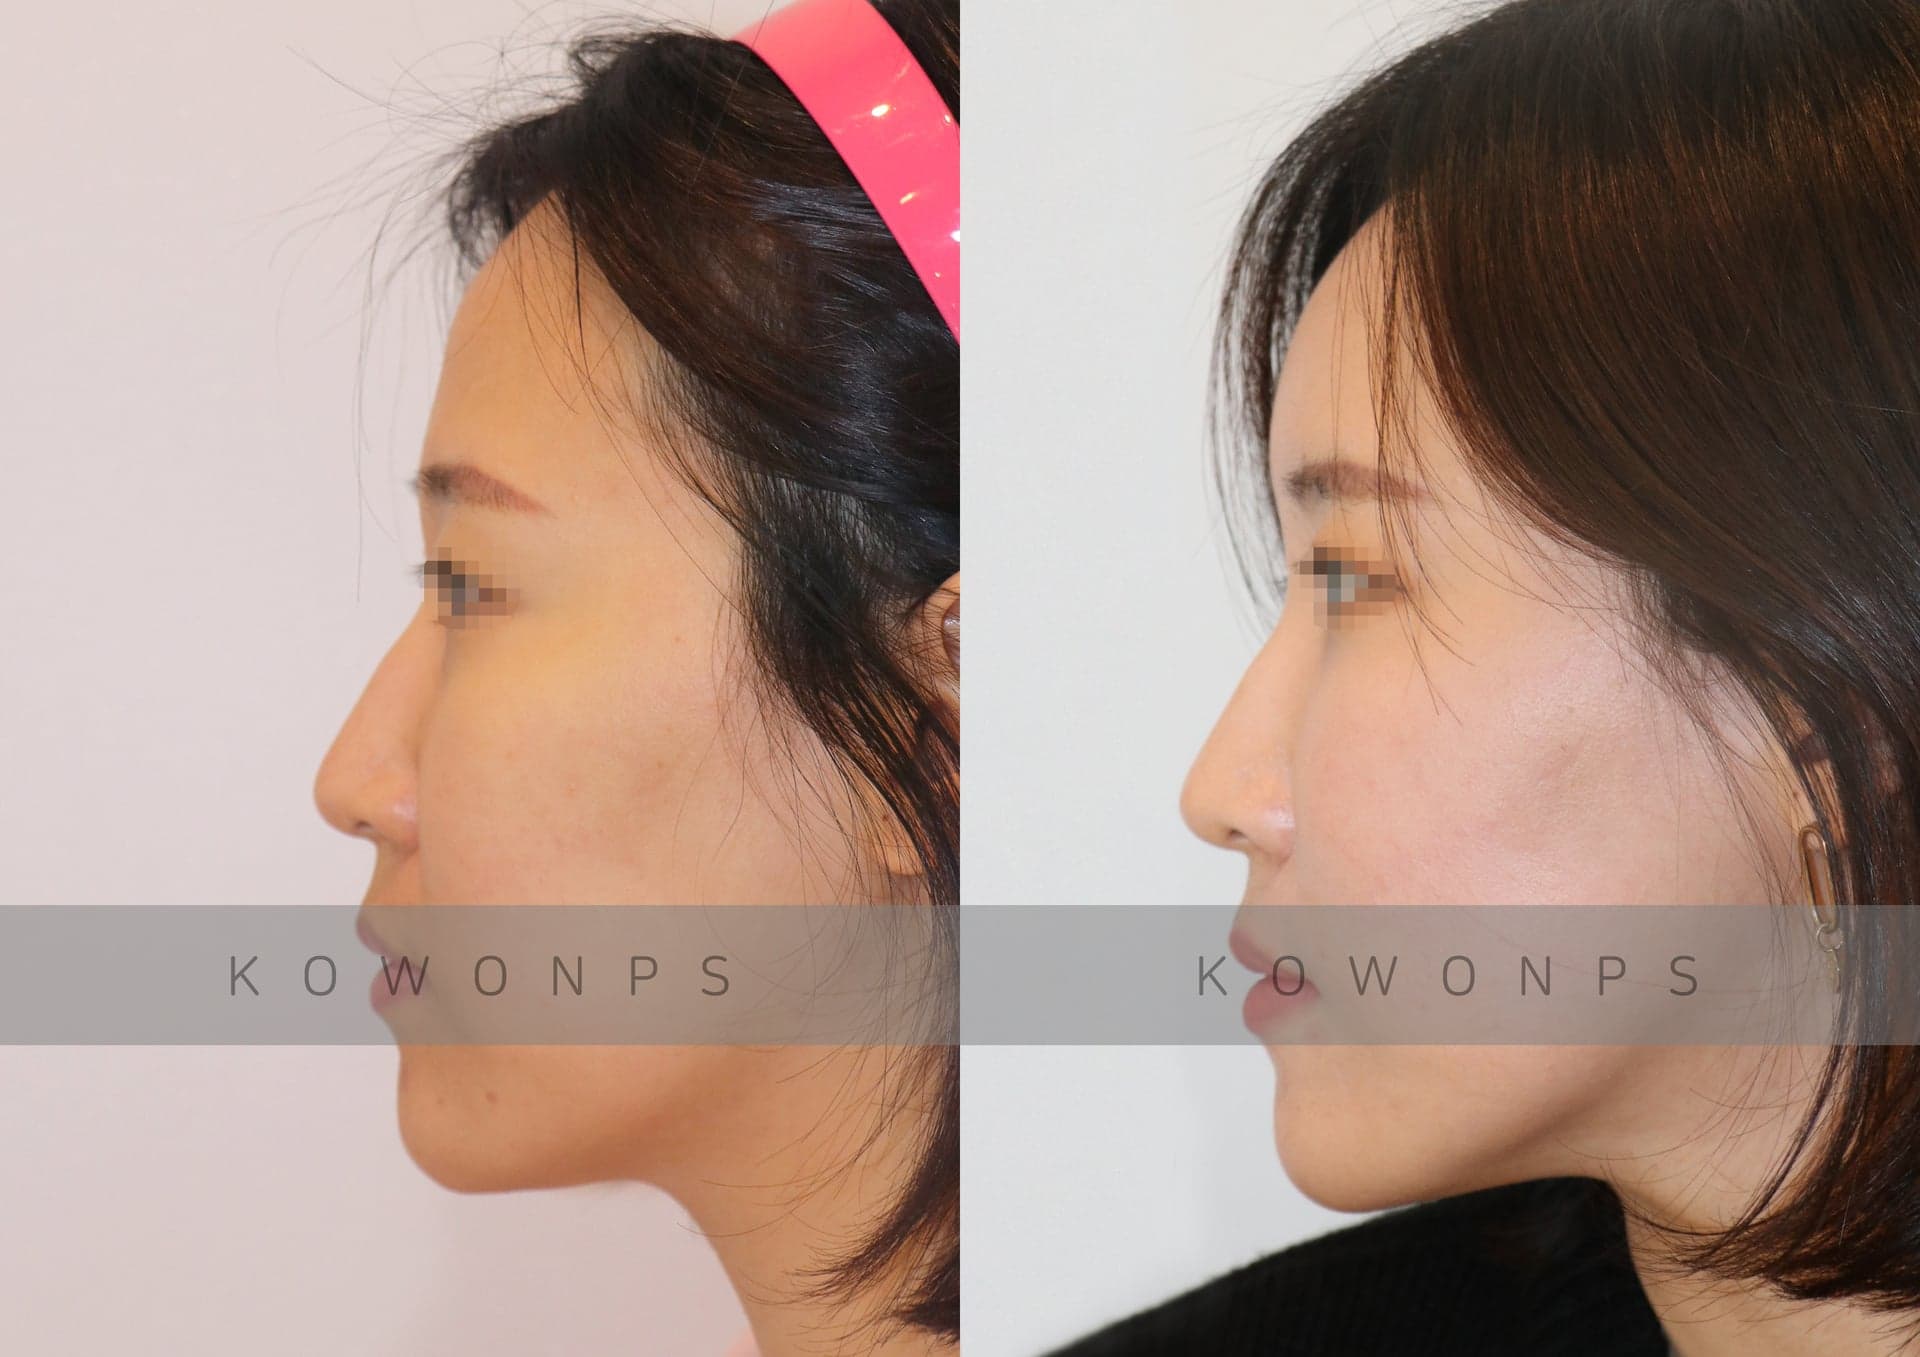
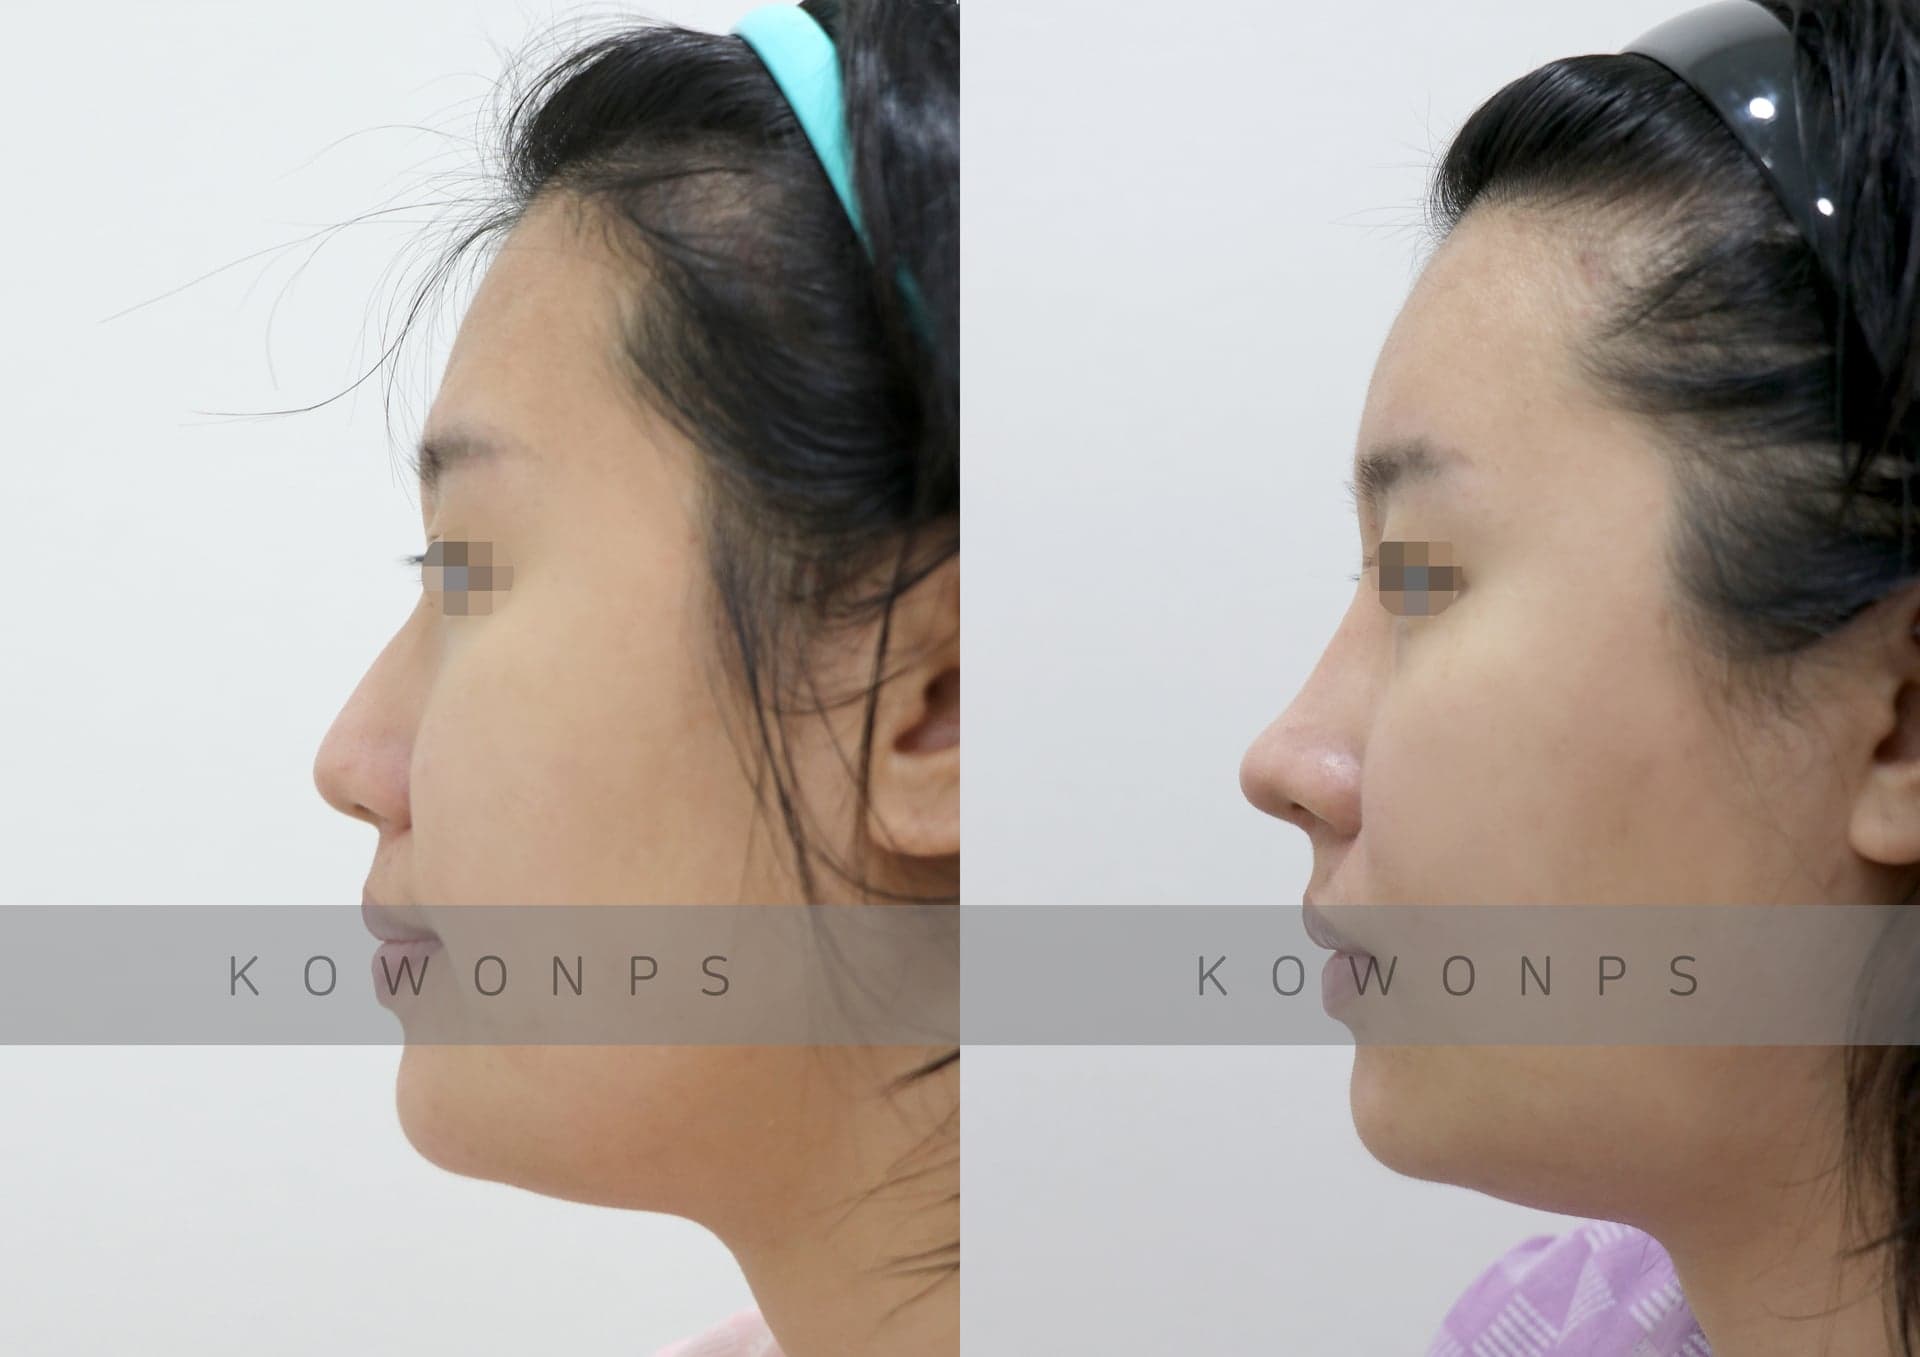
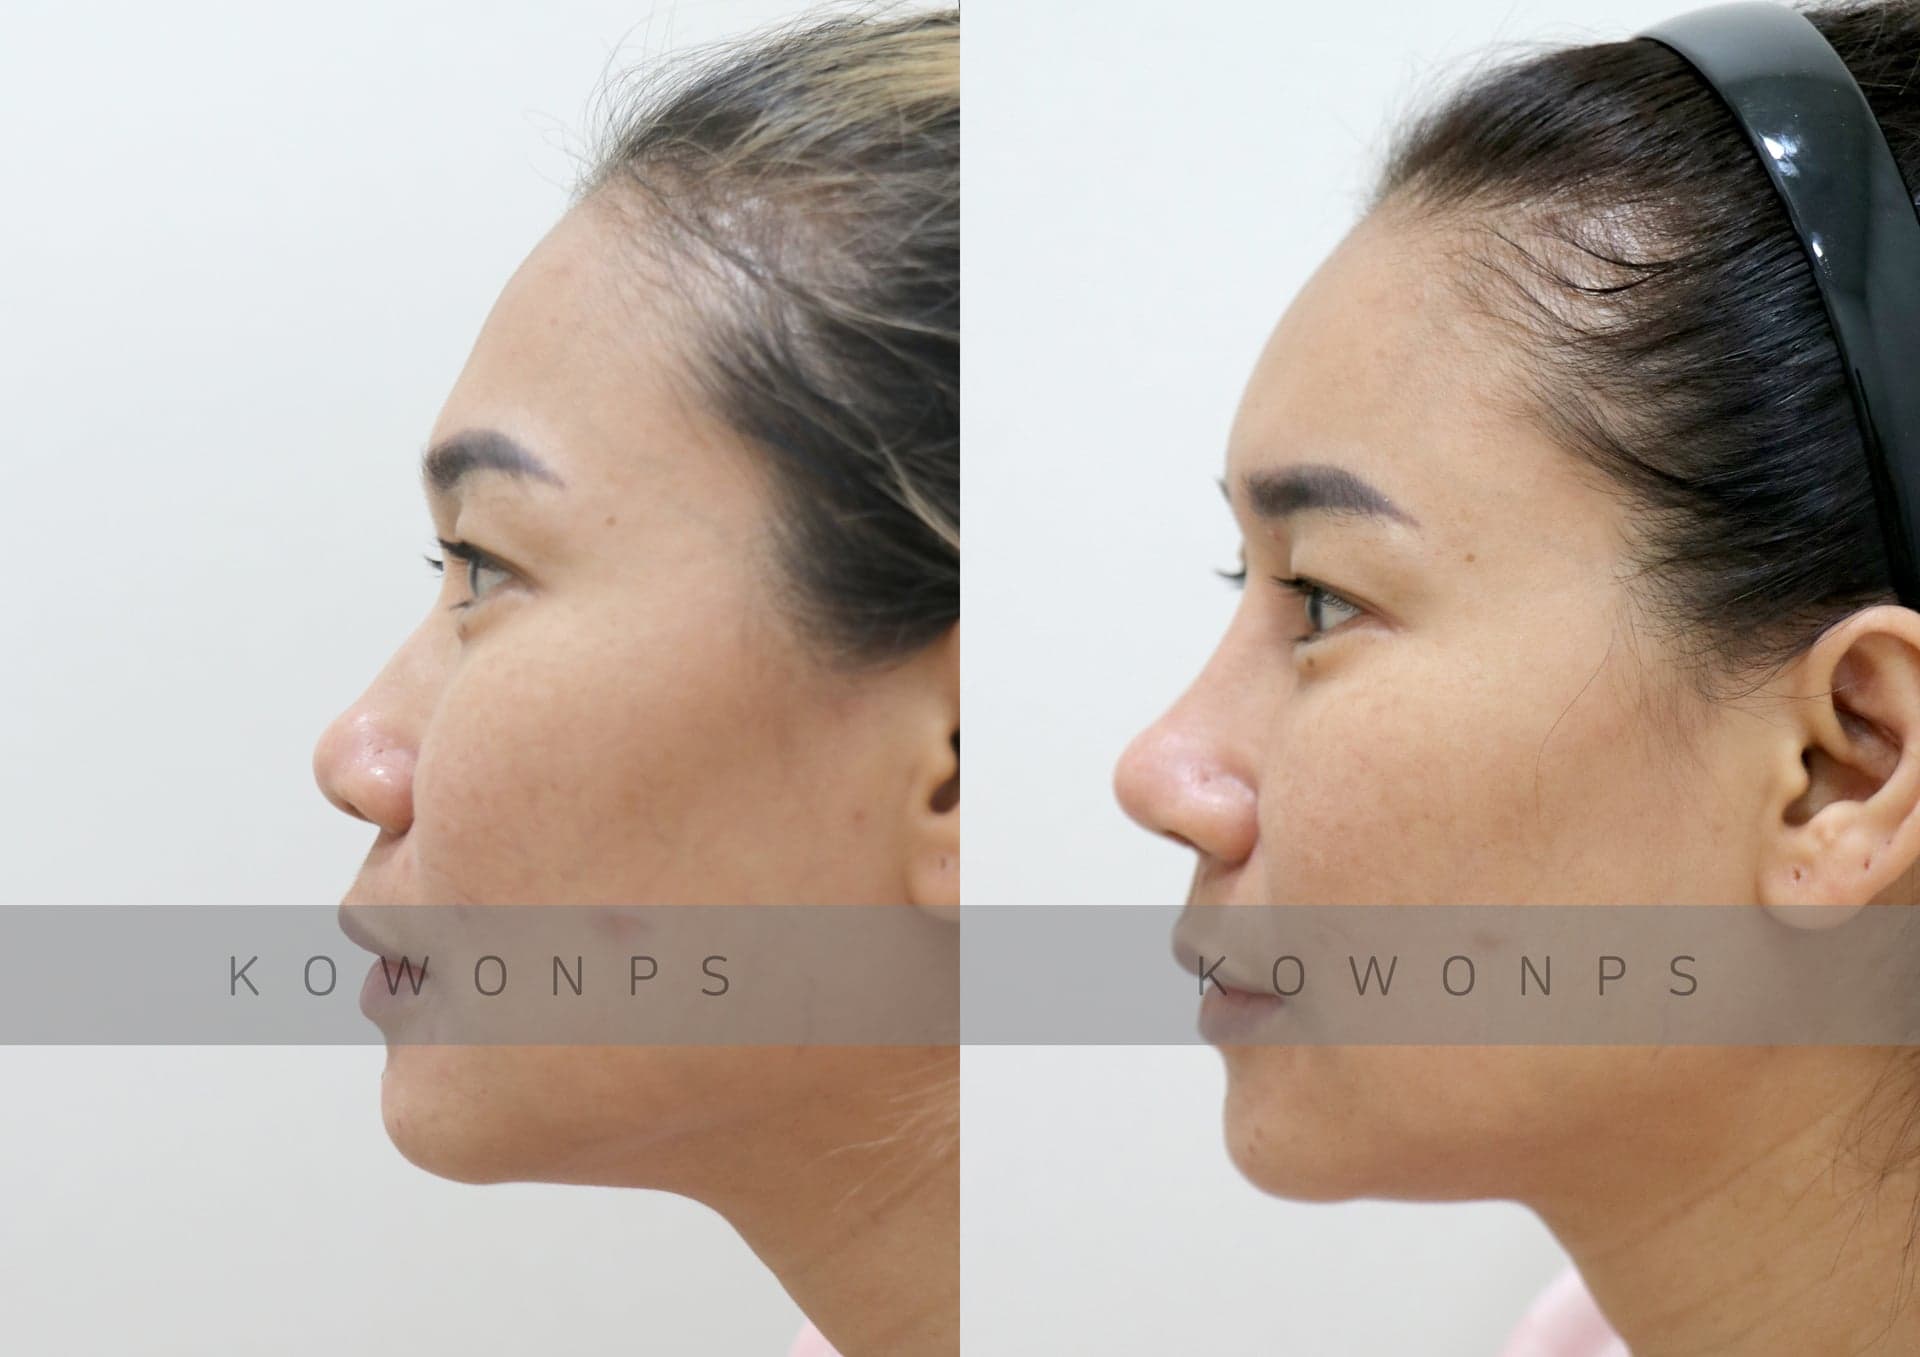
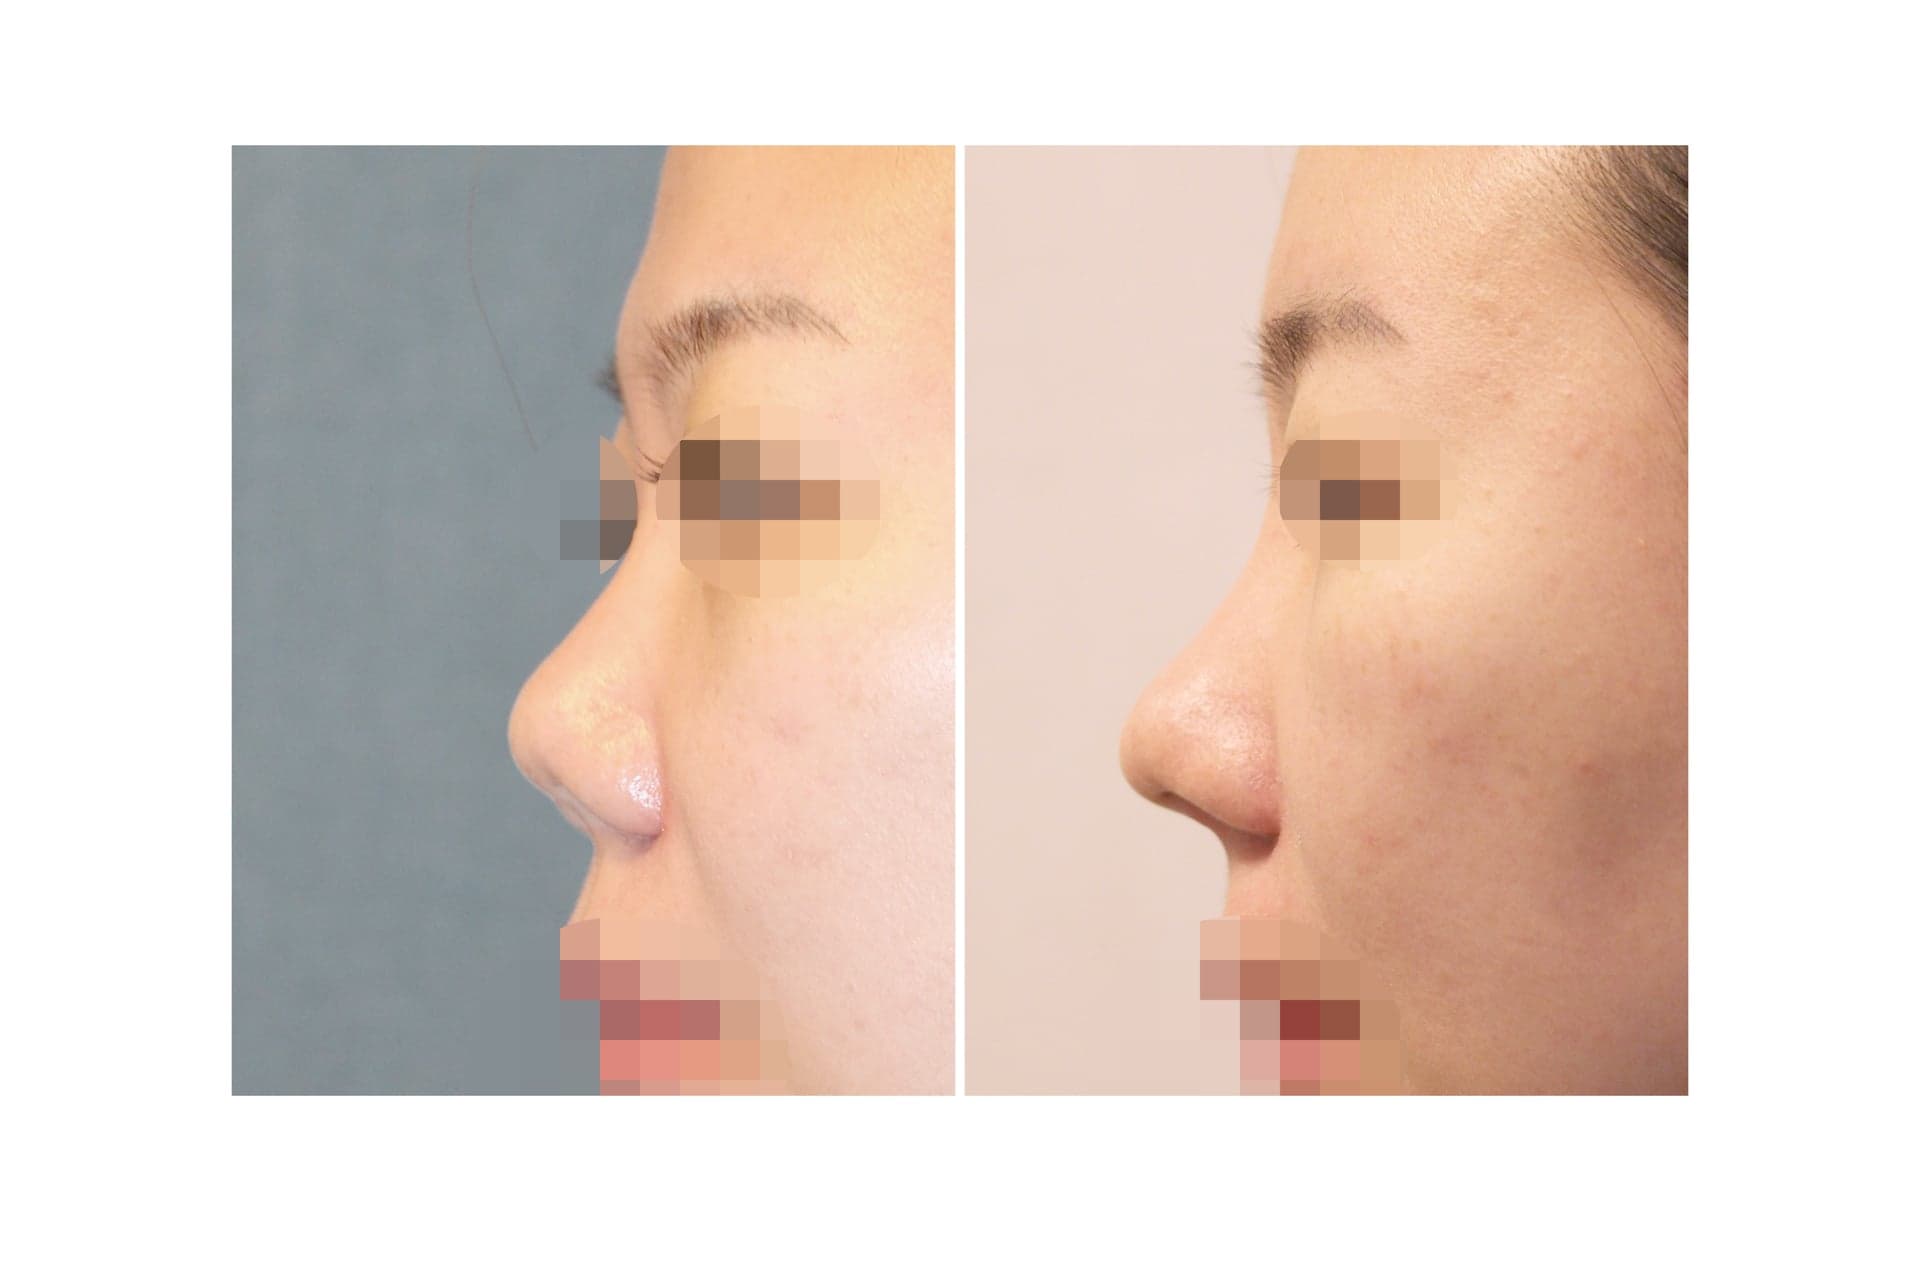
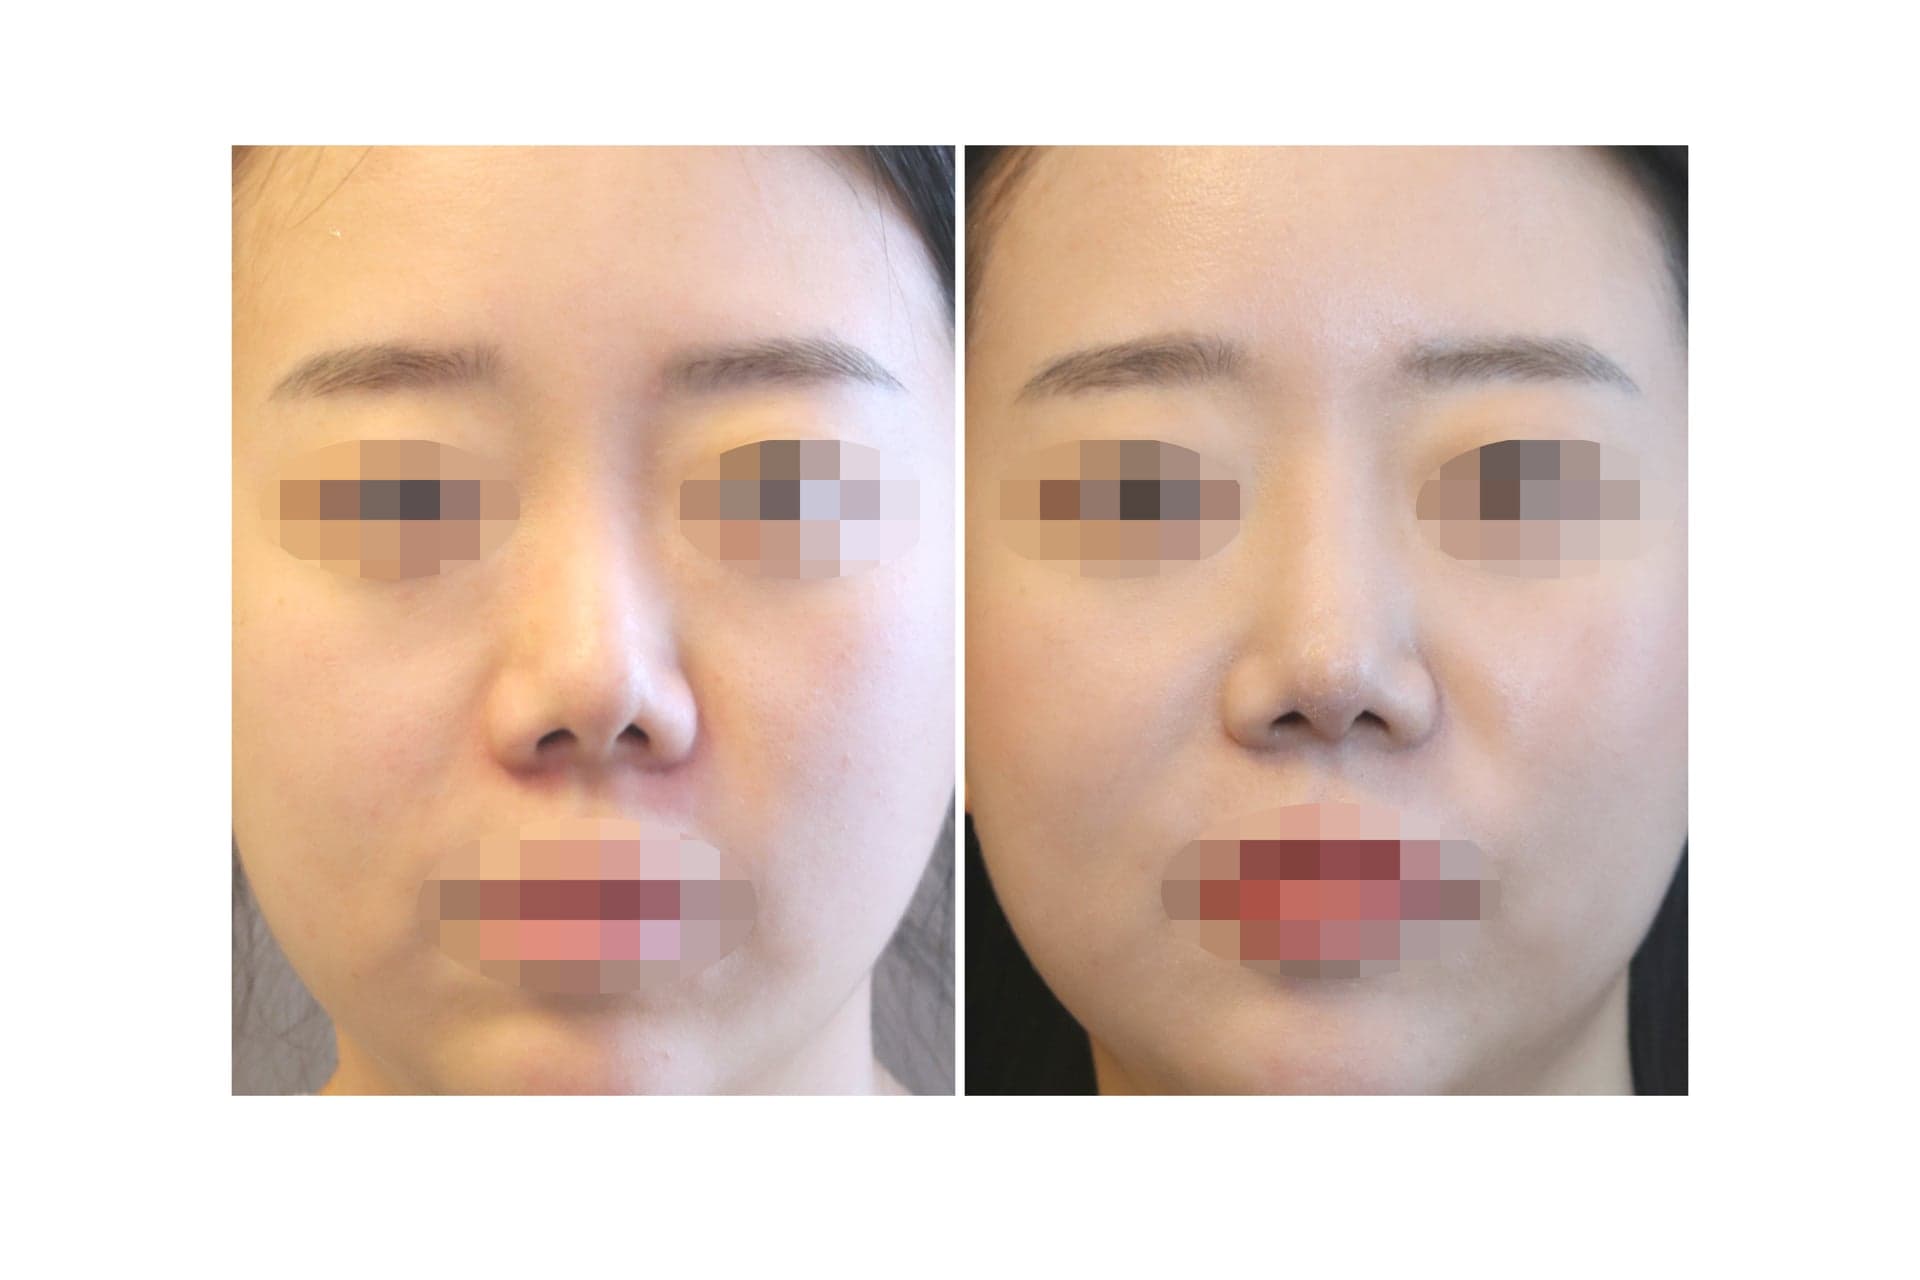
남자코성형 · Male rhinoplasty · 큰코 · Bulbous nose · 콧볼축소 · 절골 · 맞춤실리콘 · 2개월남자 큰코·복코 코수술 전후사진(2개월) – 높이지 않고 줄여서 정돈한 남자코성형  BeforeAfter
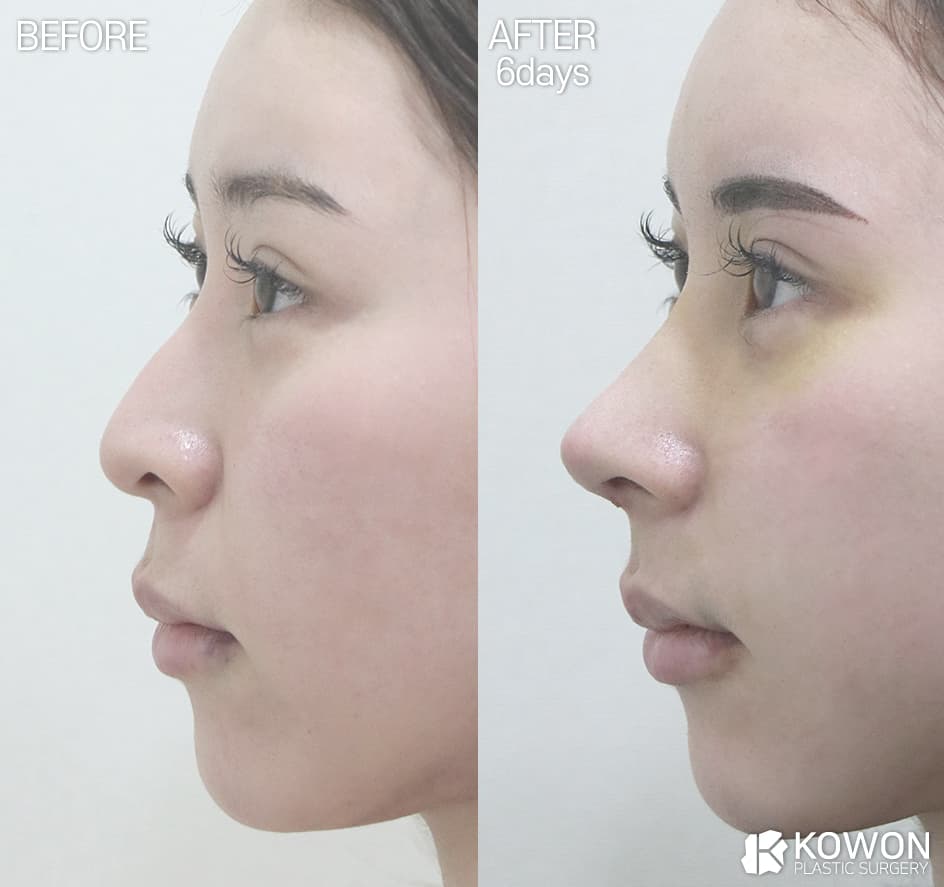
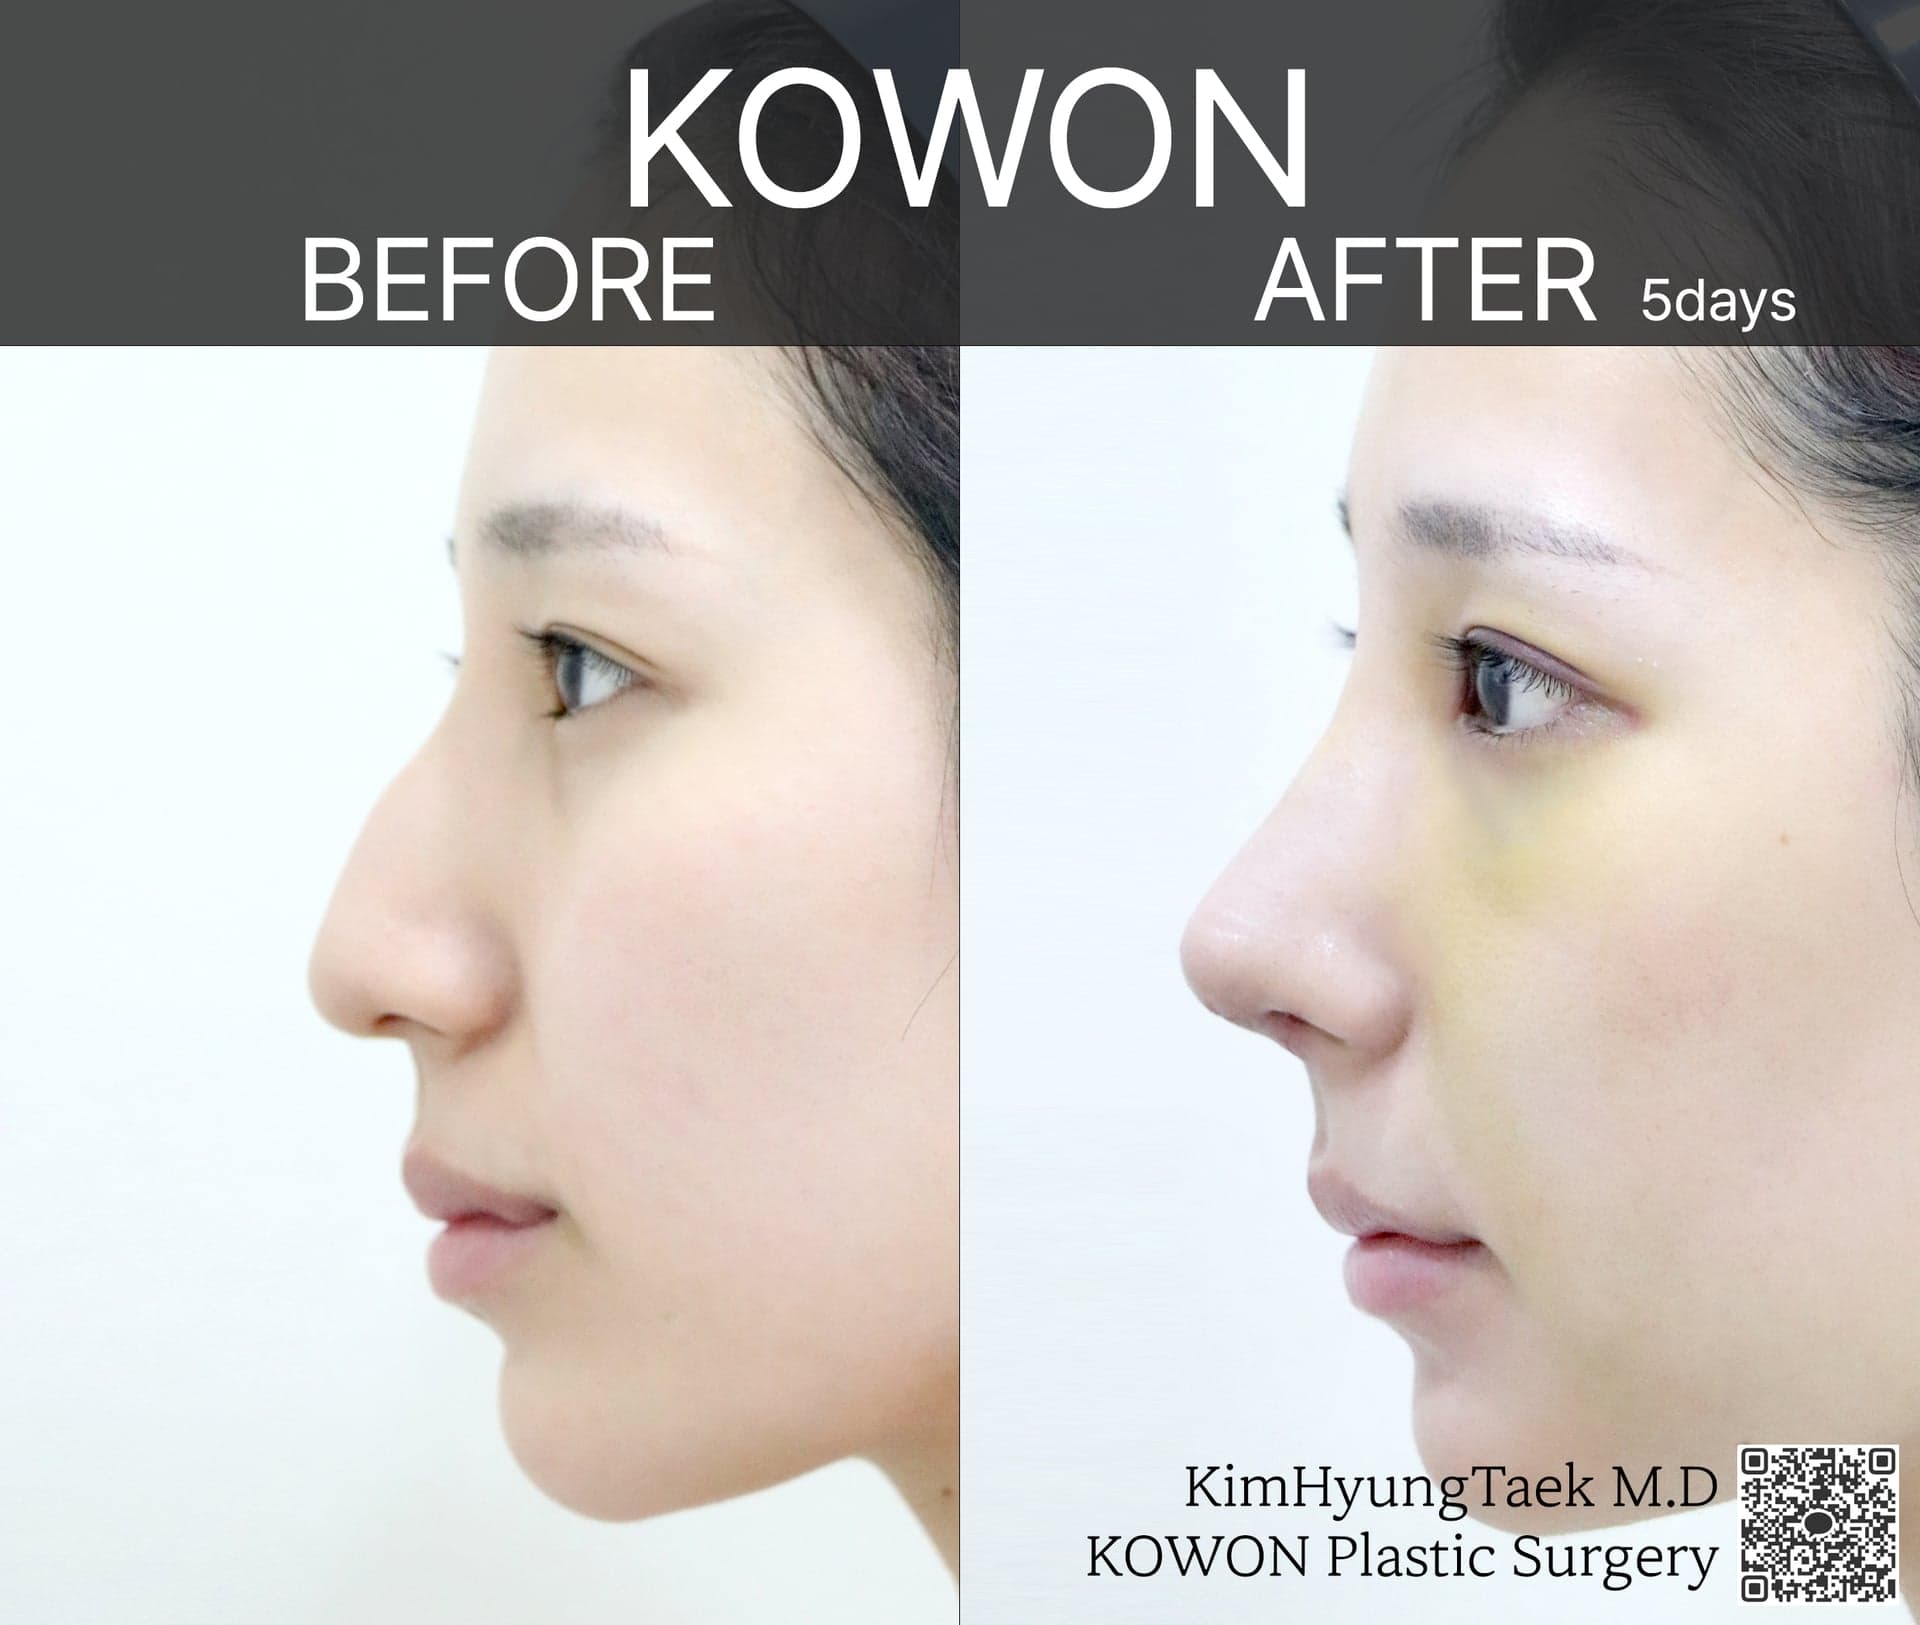
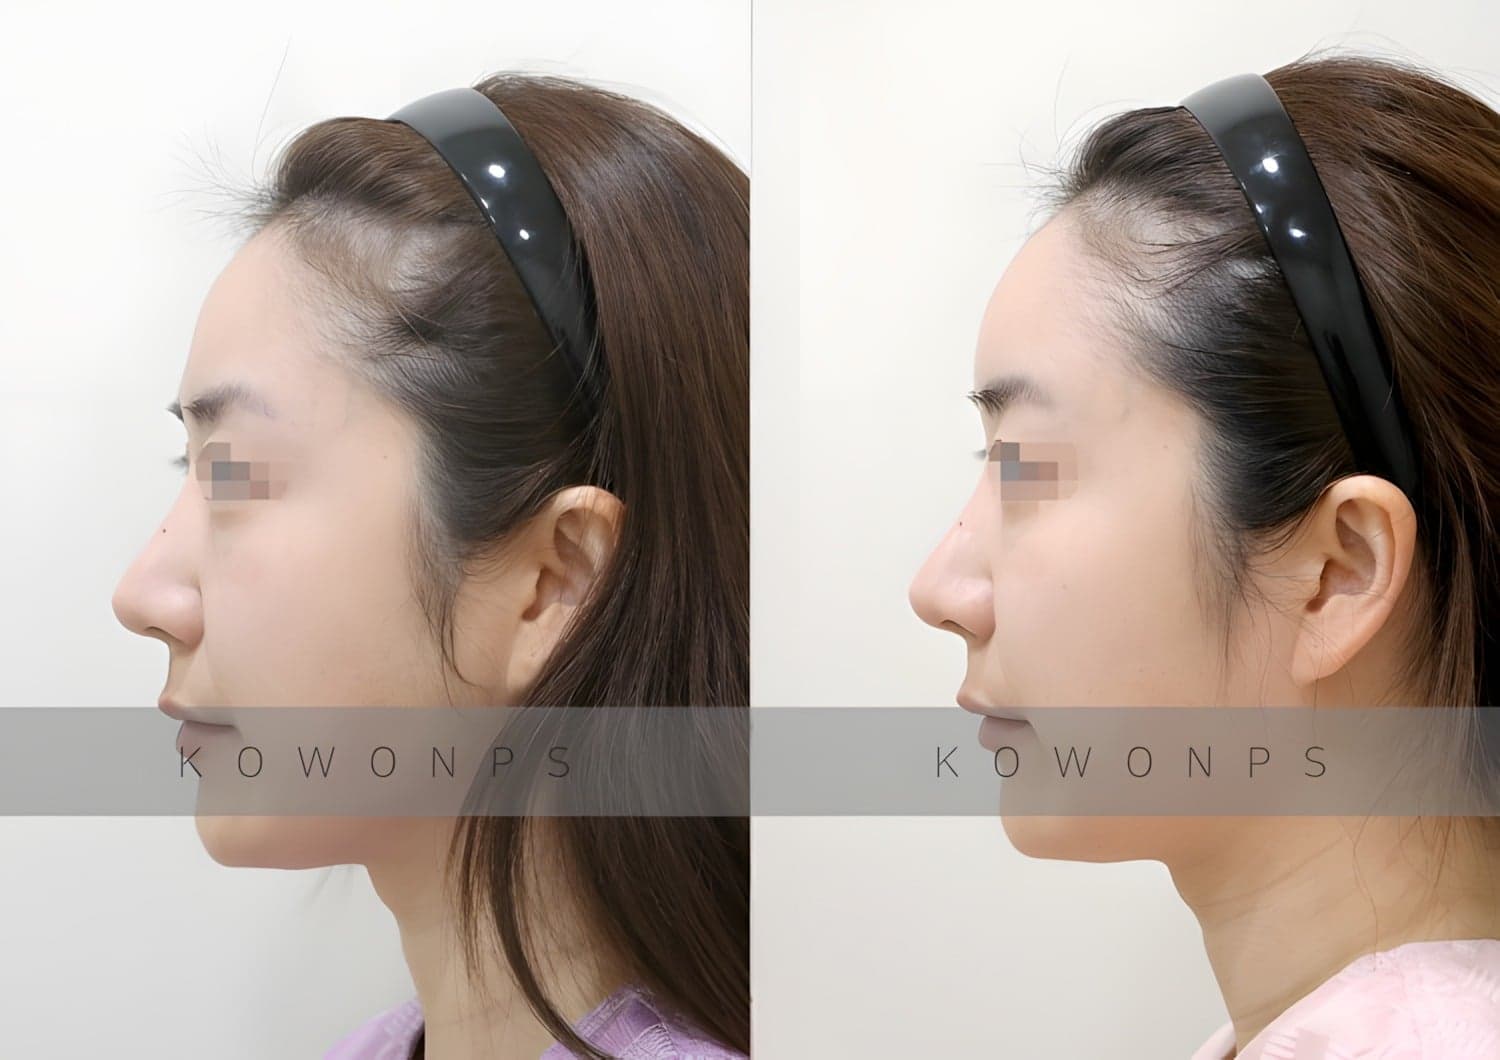
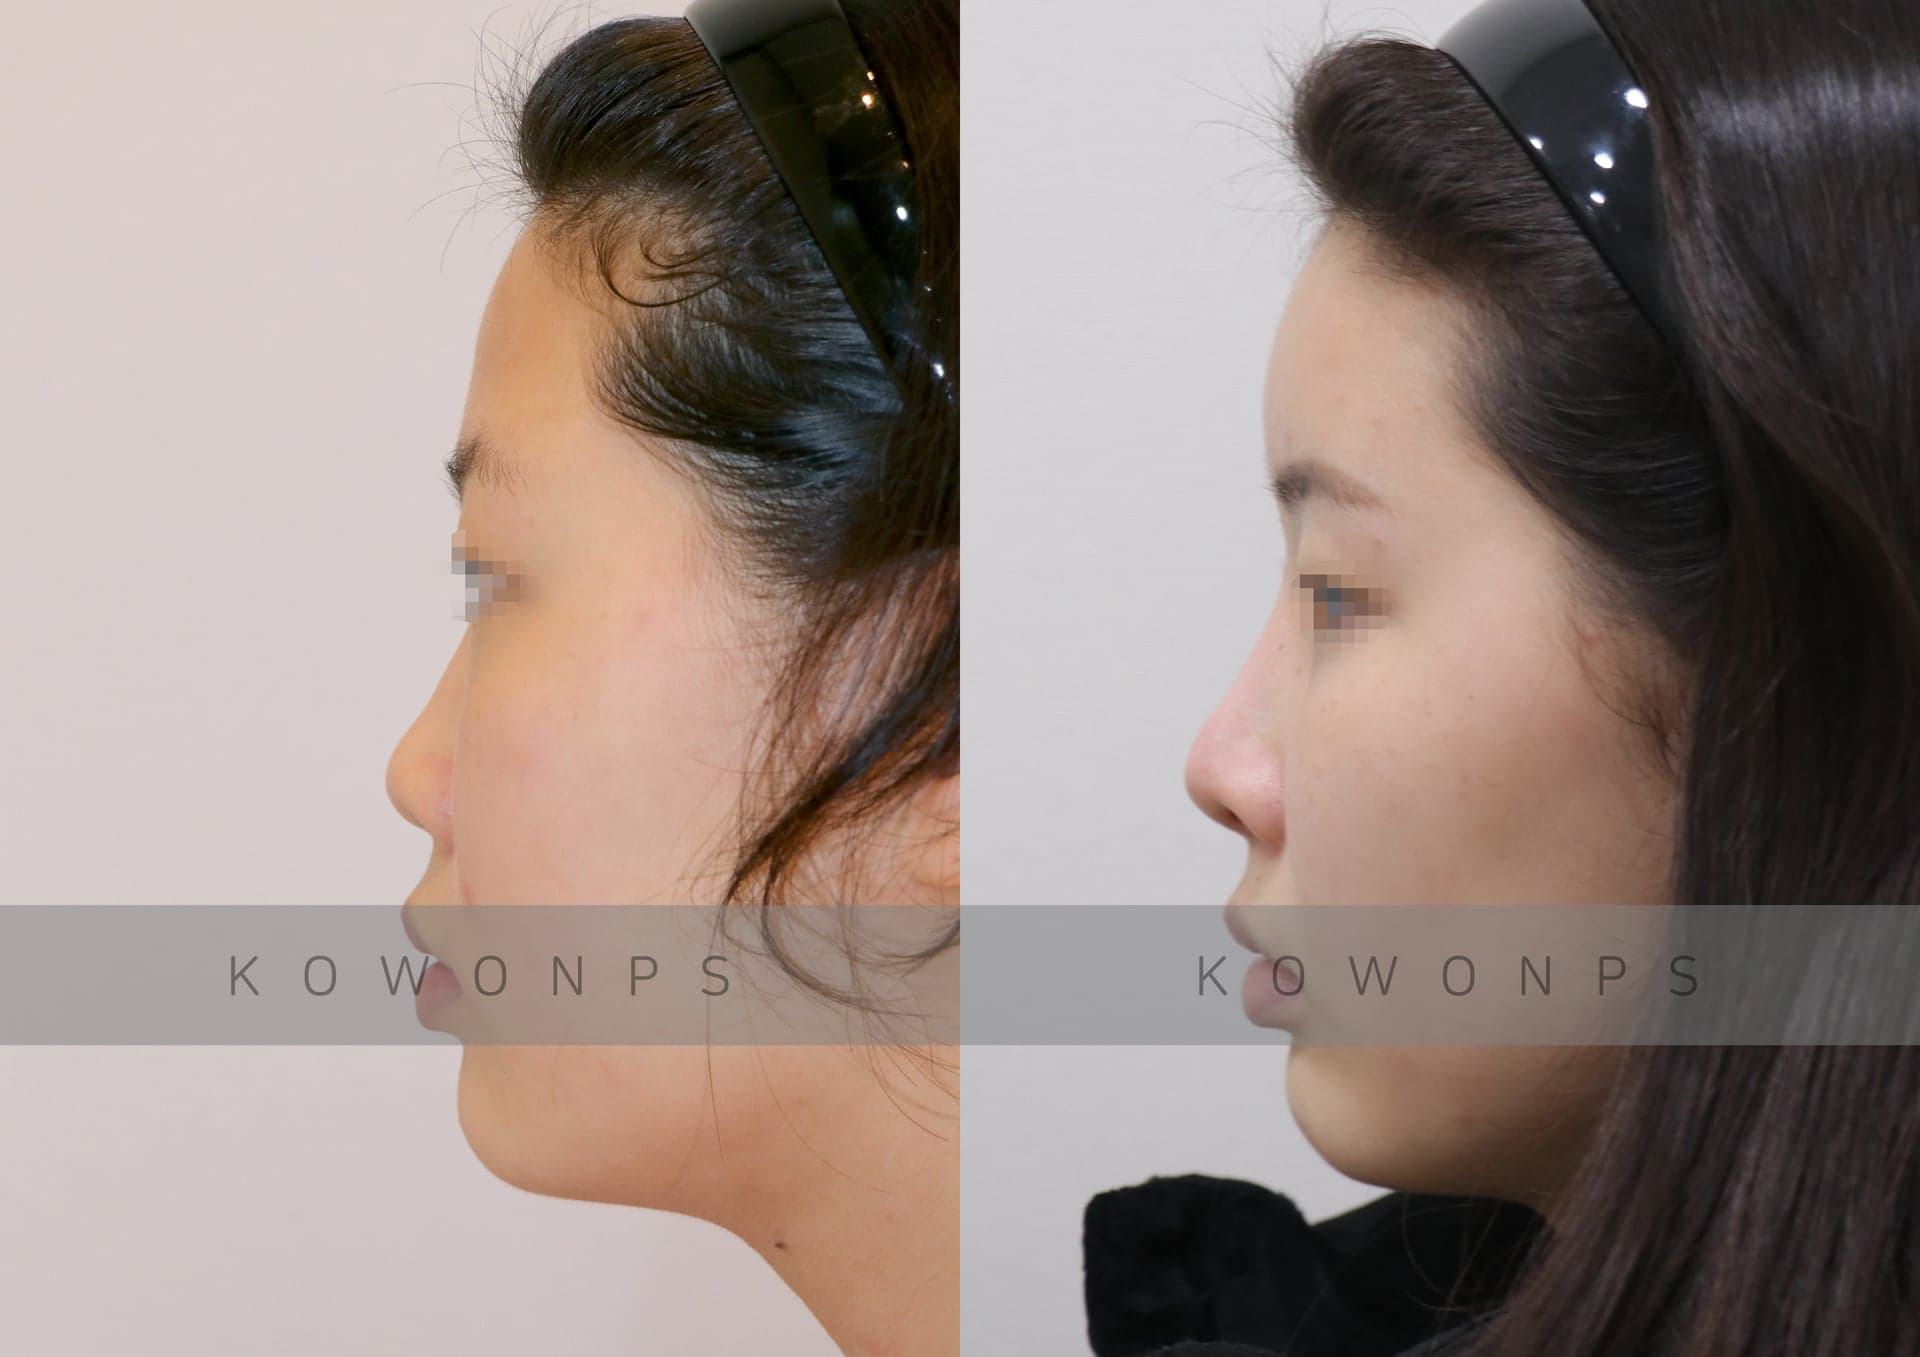
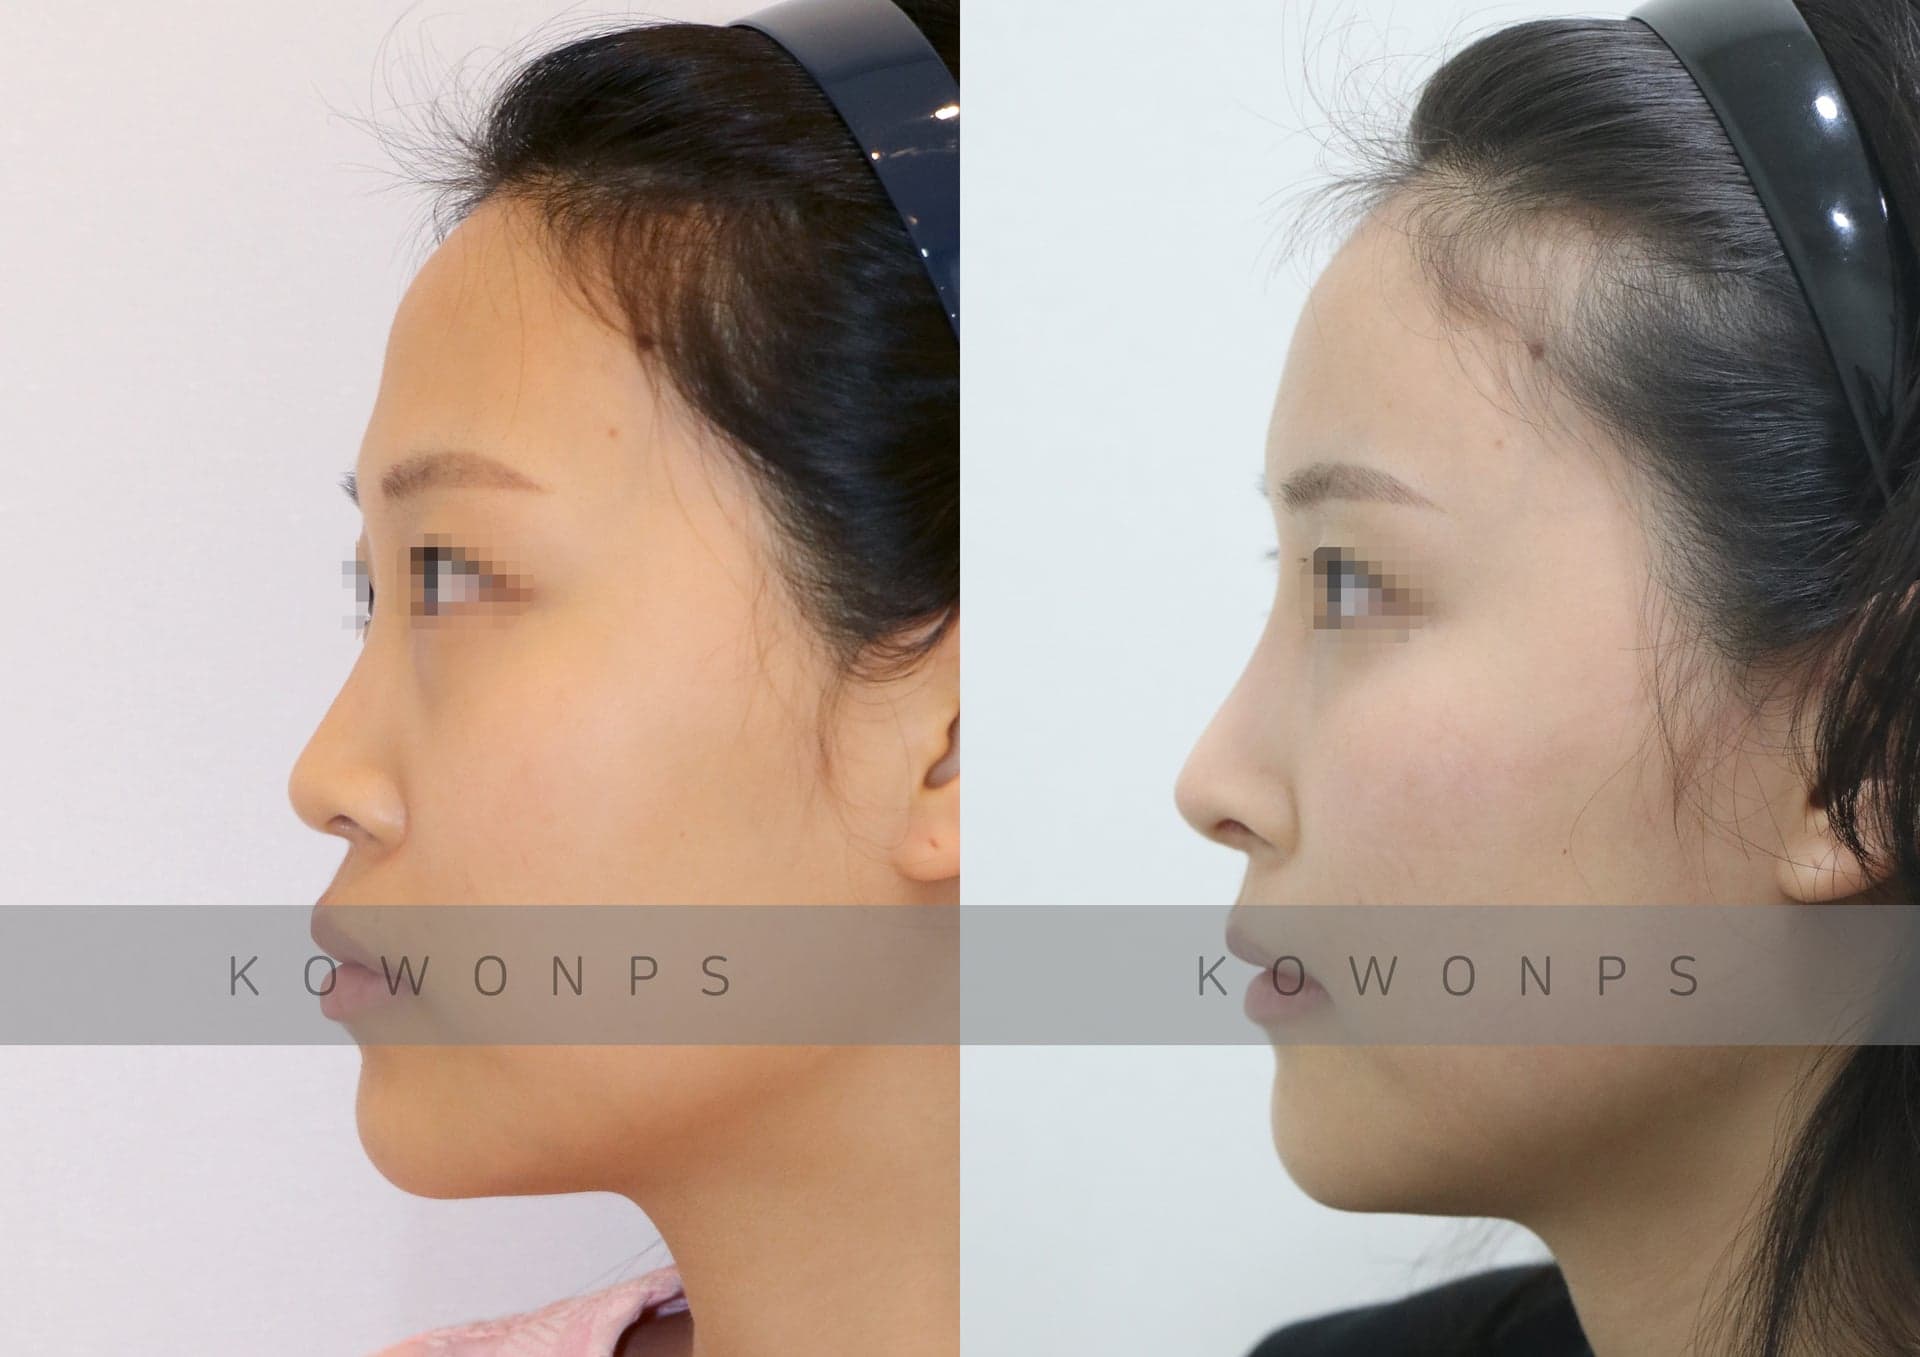
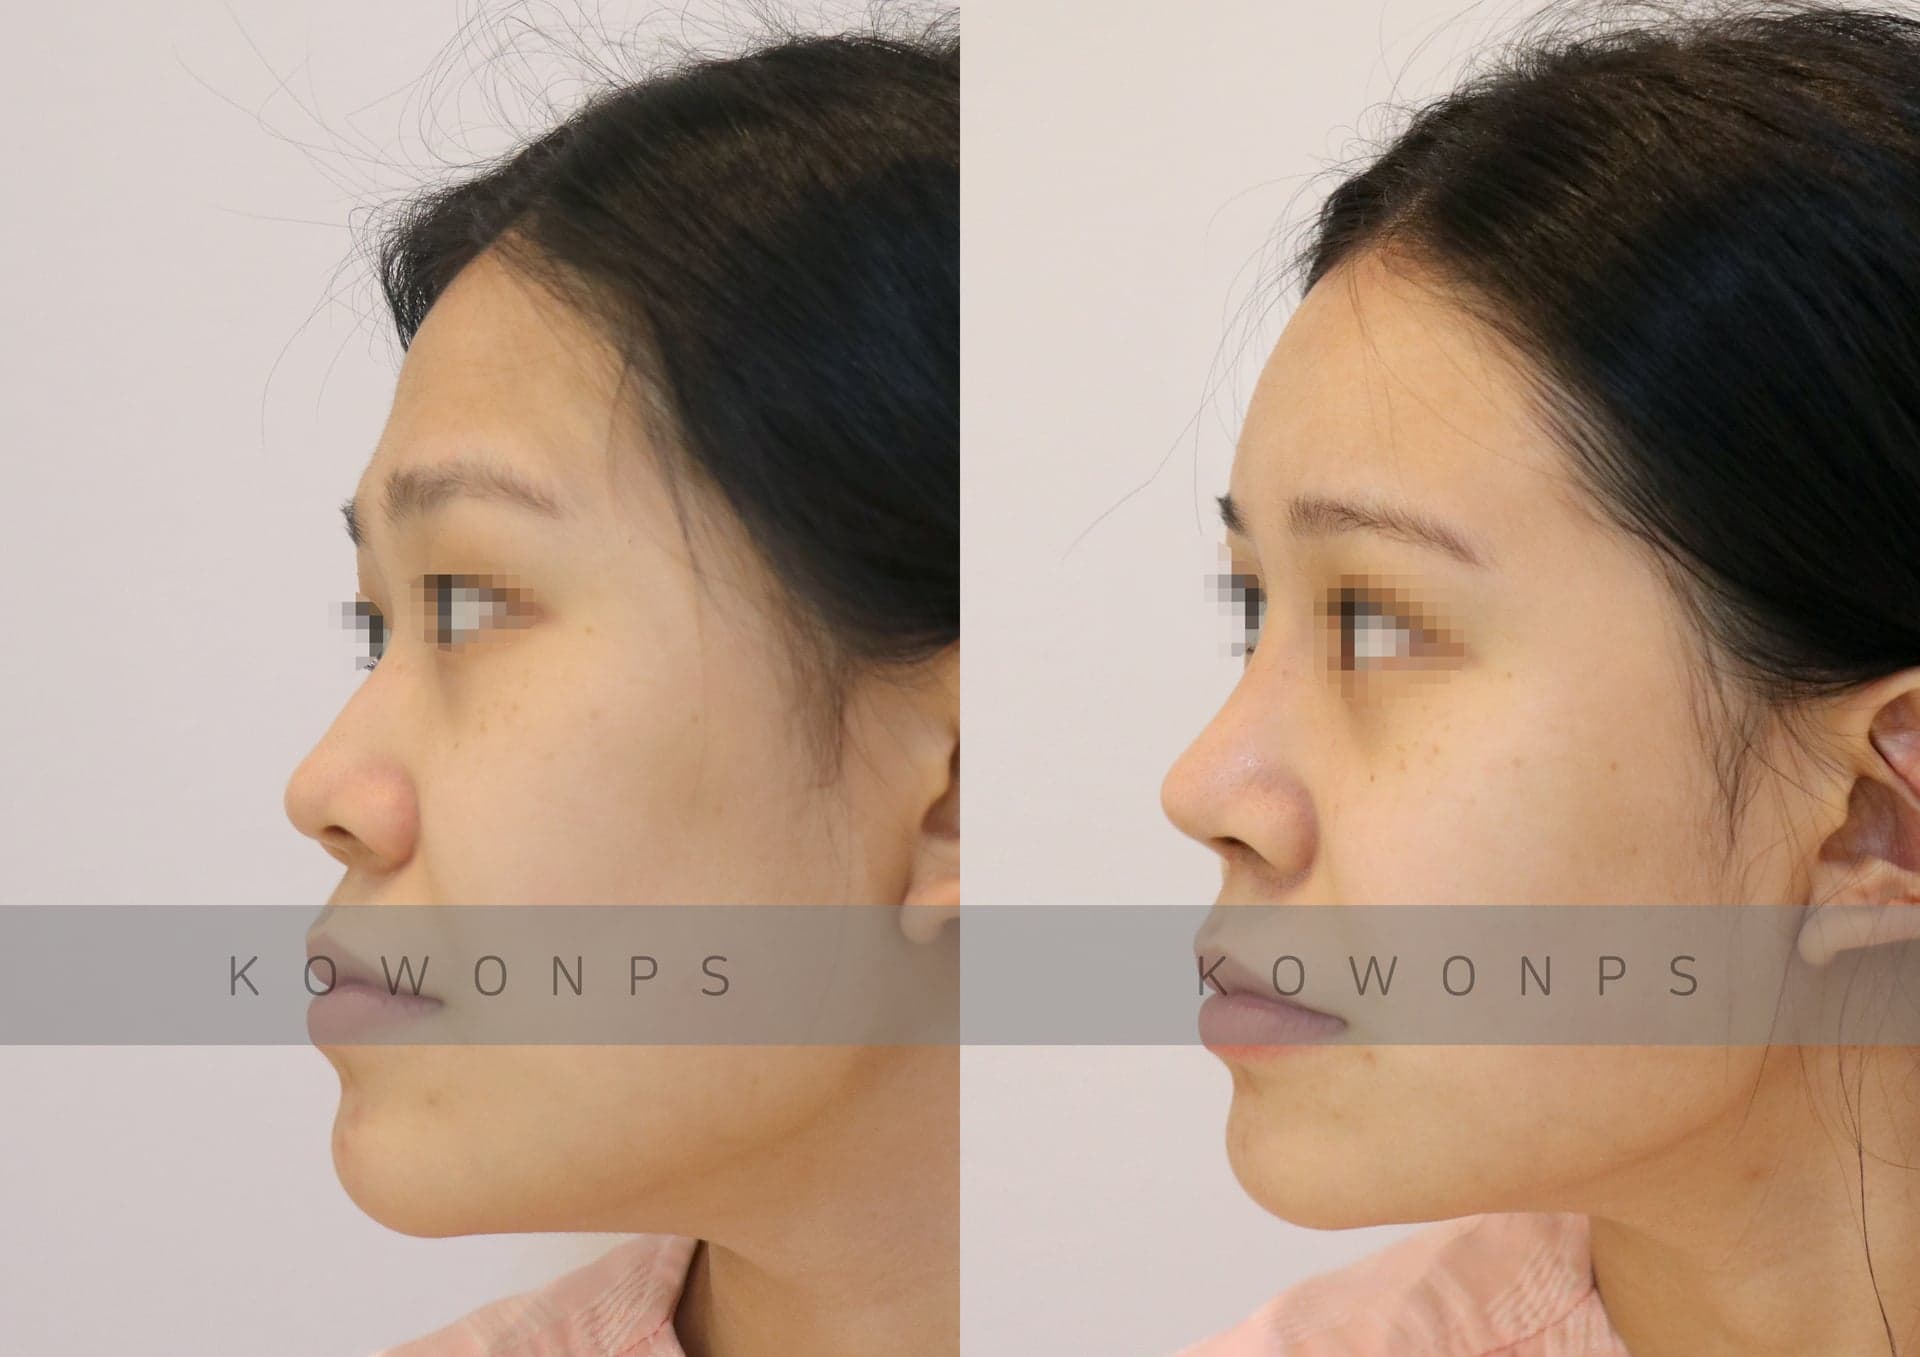
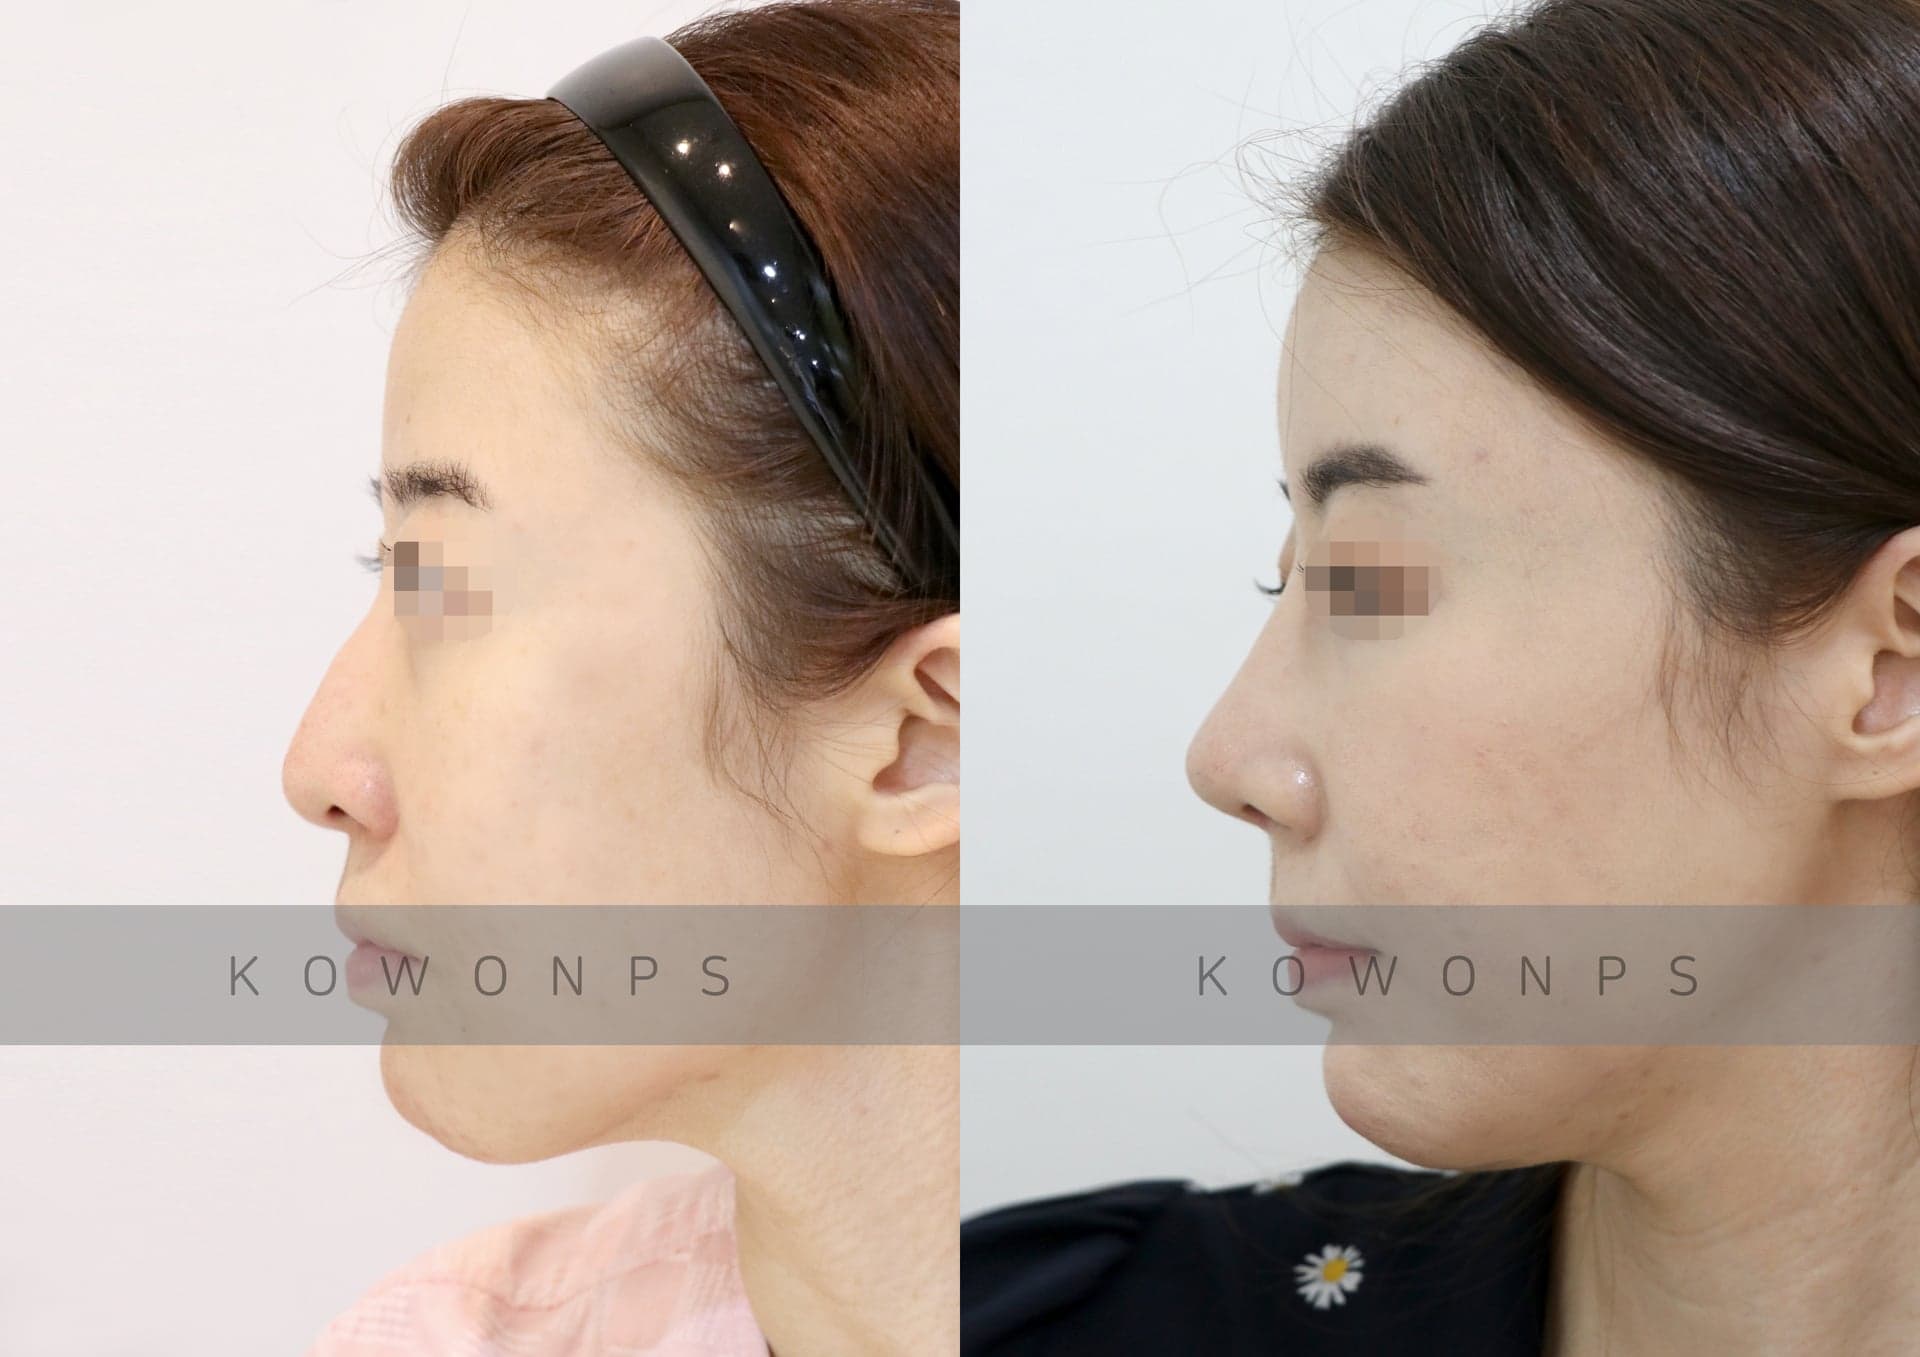
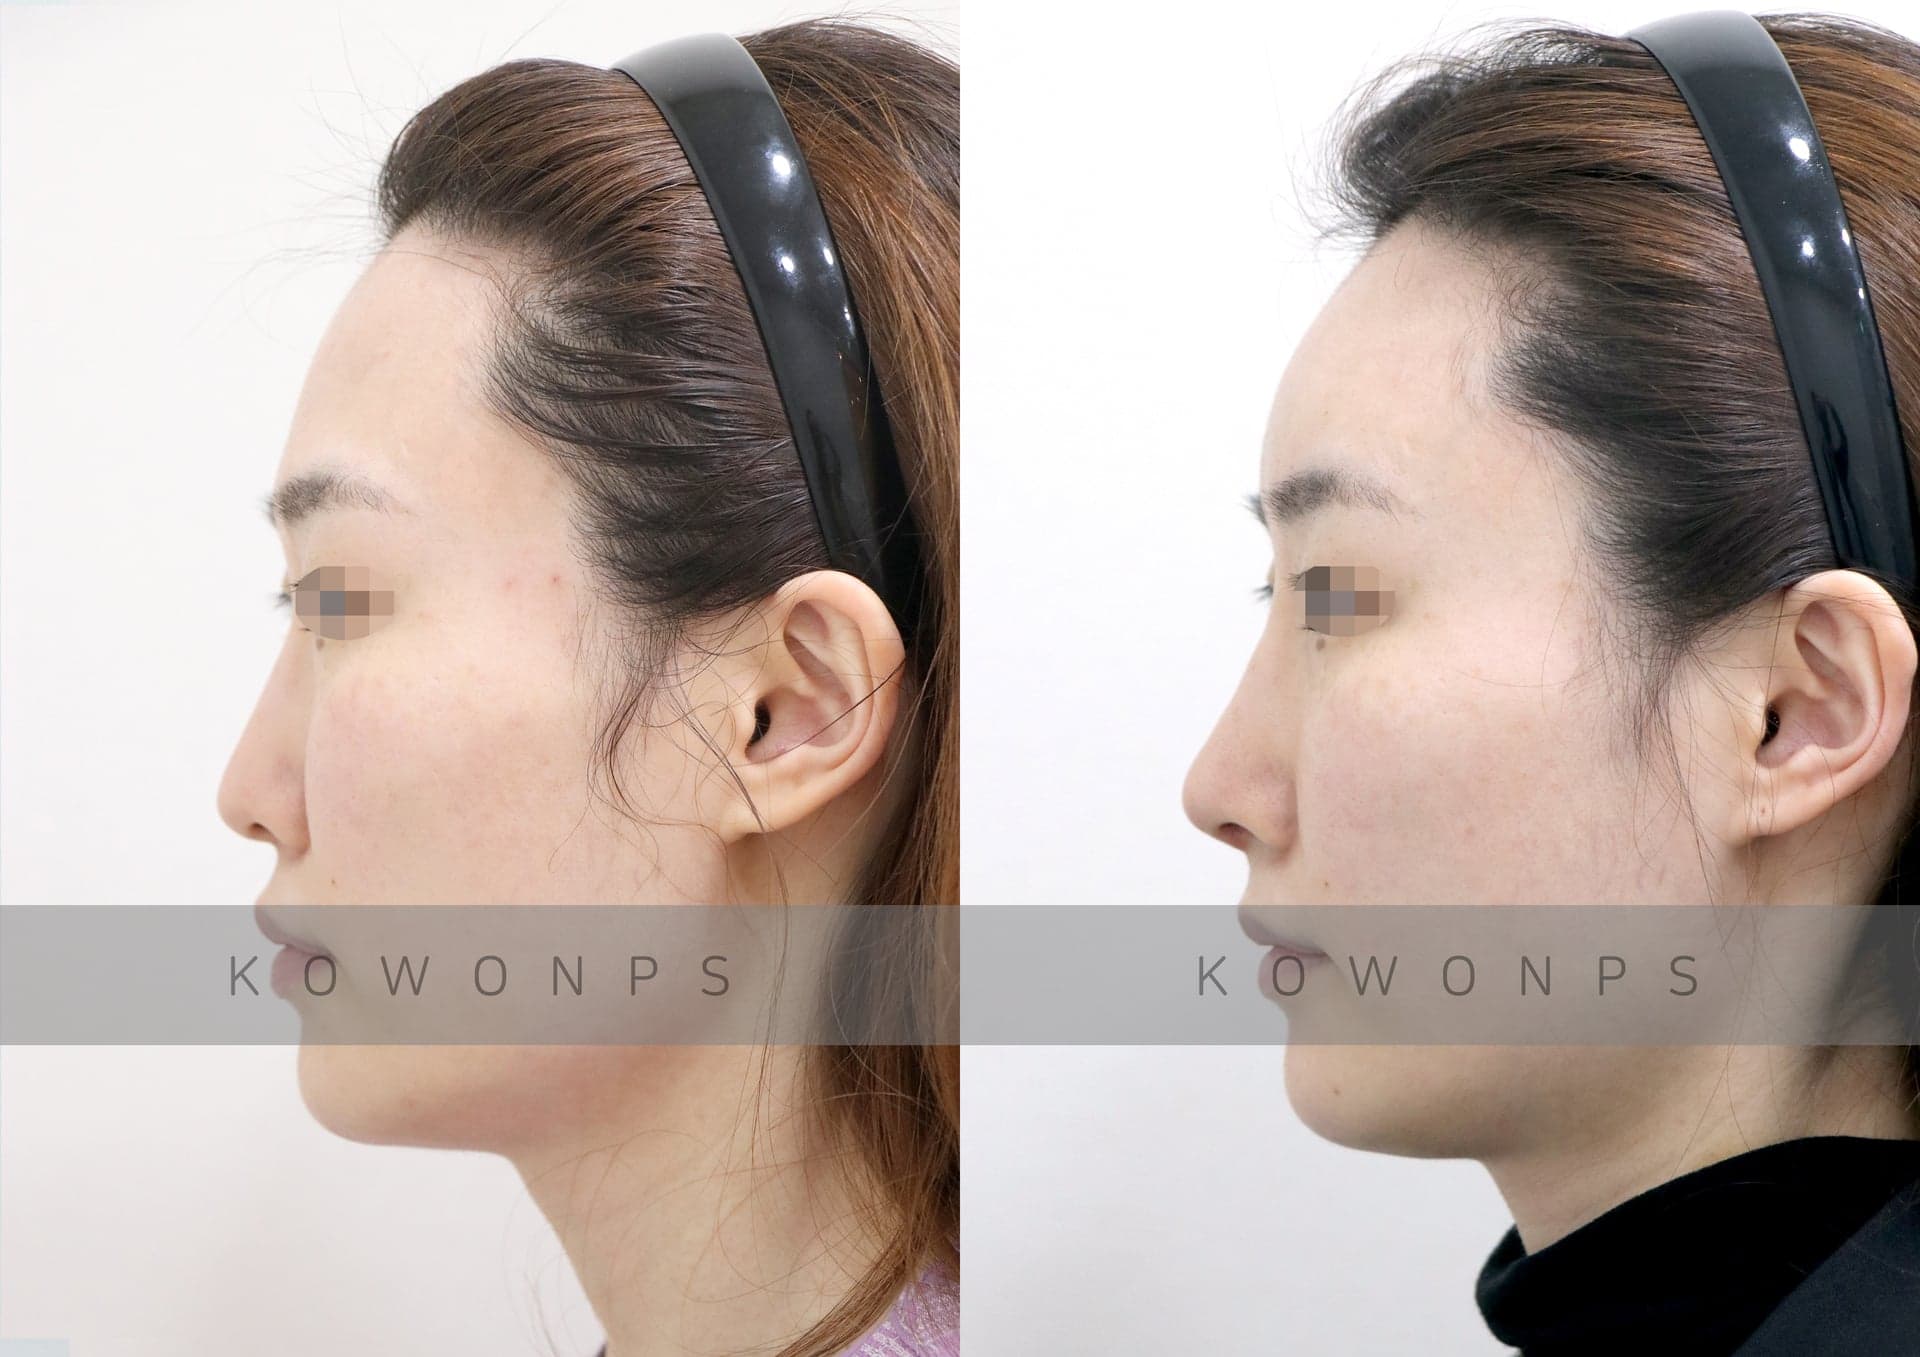
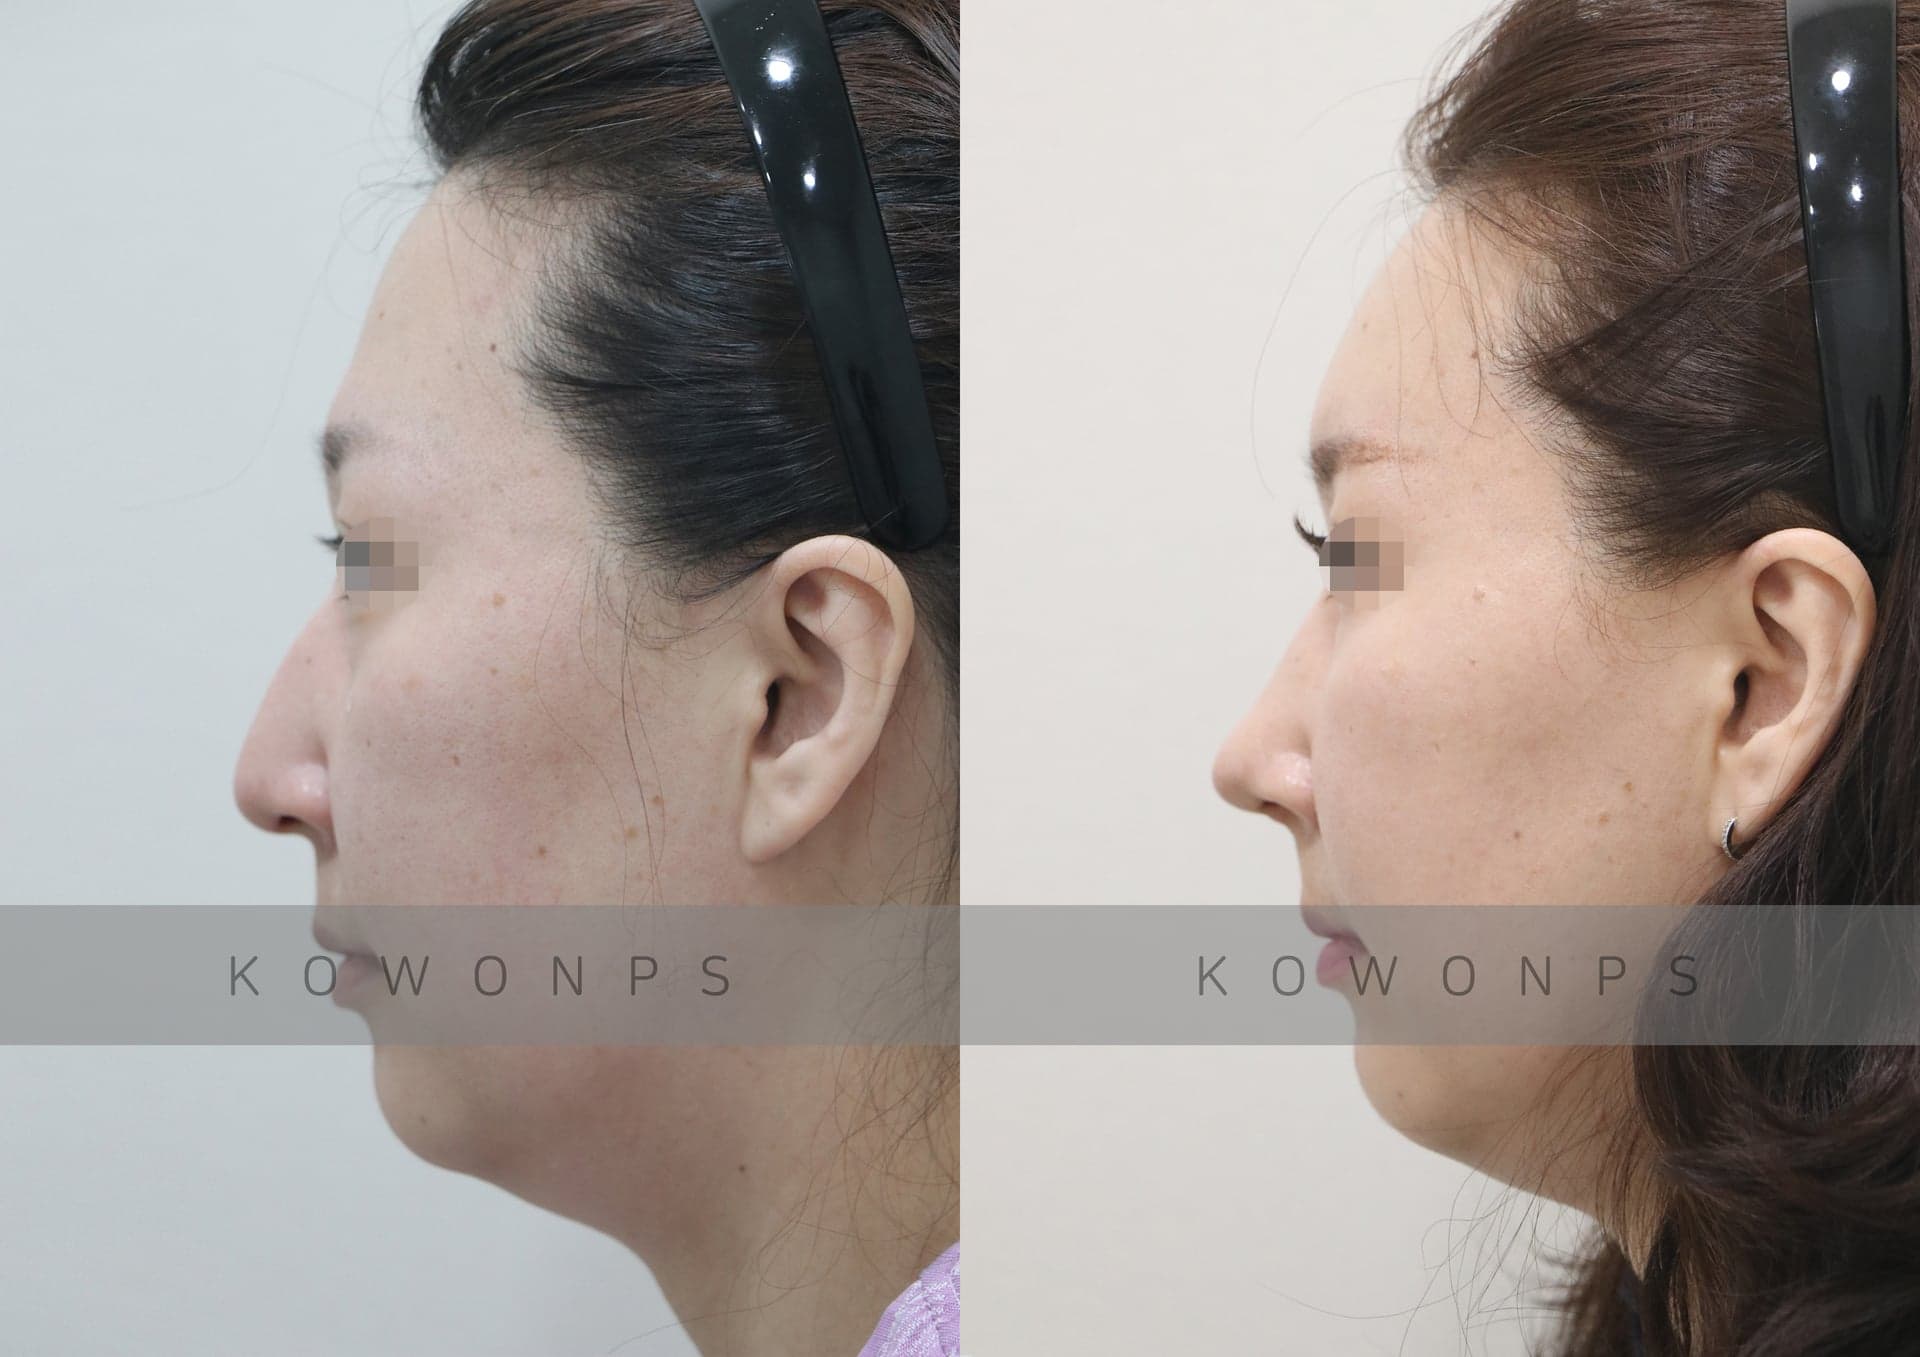
늑연골코성형 · Low bridge · Hump nose · Deviated nose · 비중격만곡증 · 자가늑연골 · 무보형물코성형낮은코·매부리코·휜코 코수술 전후사진(6일차) – 보형물 없이 자가늑연골로 세운 직반코  BeforeAfter
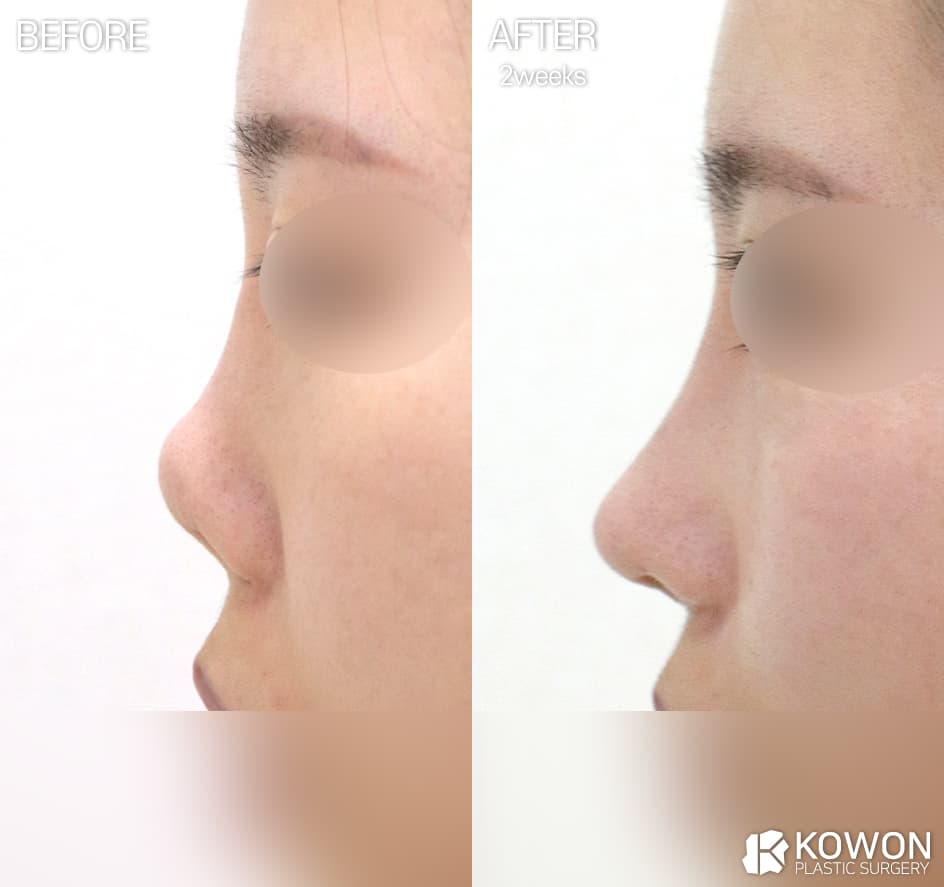
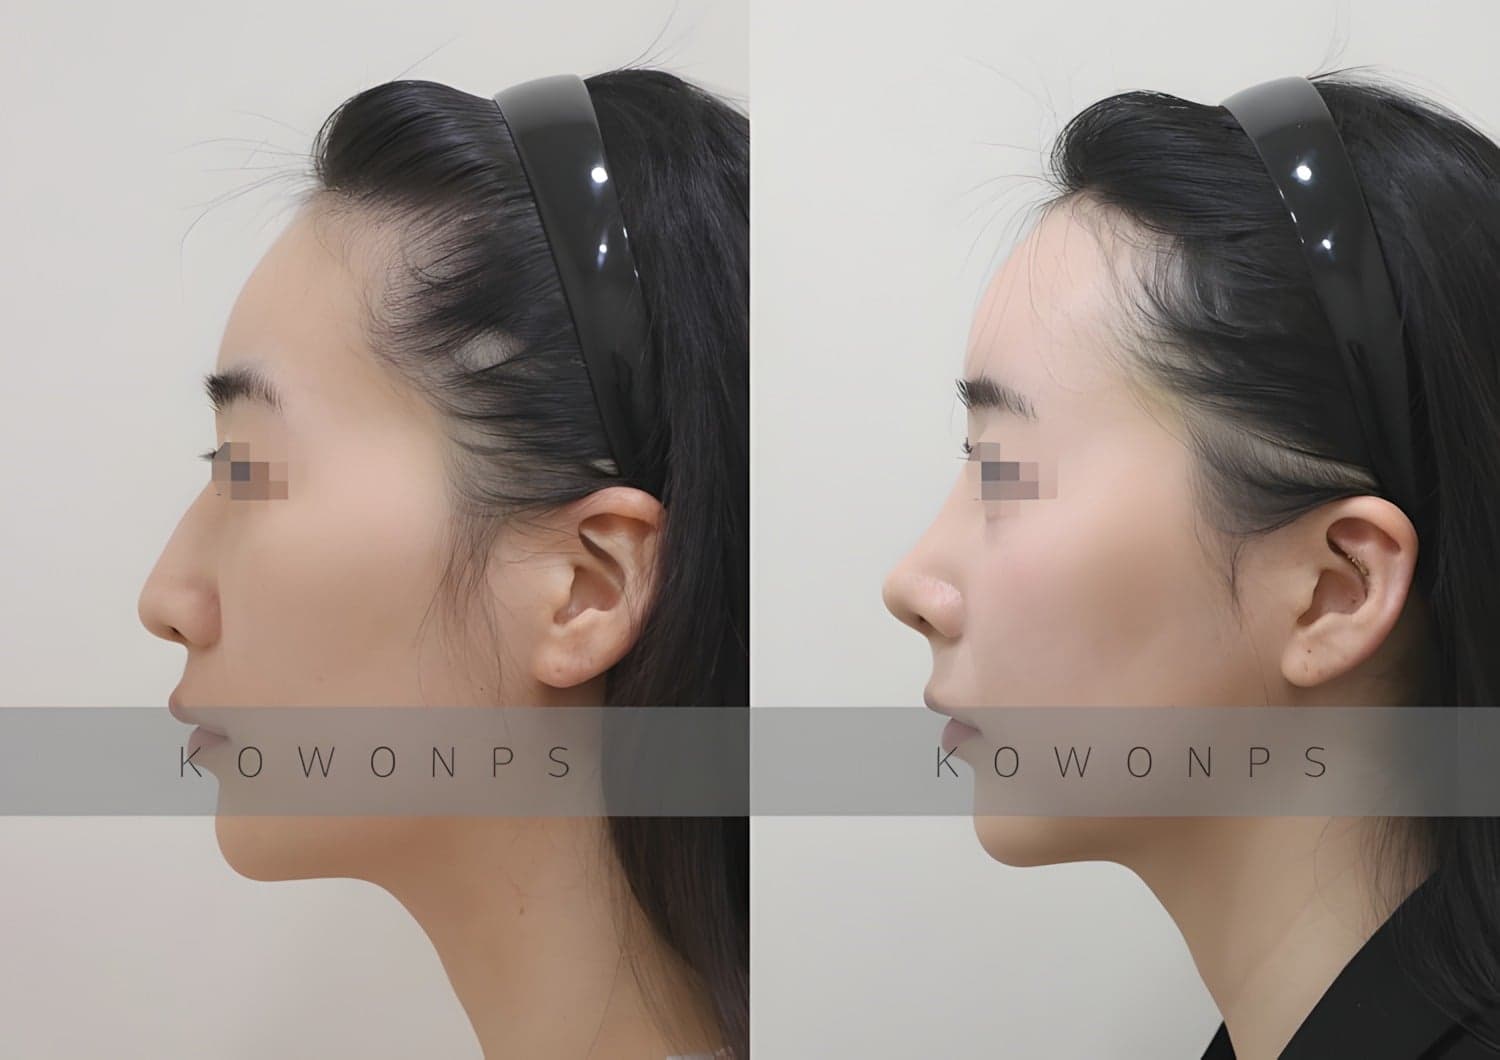
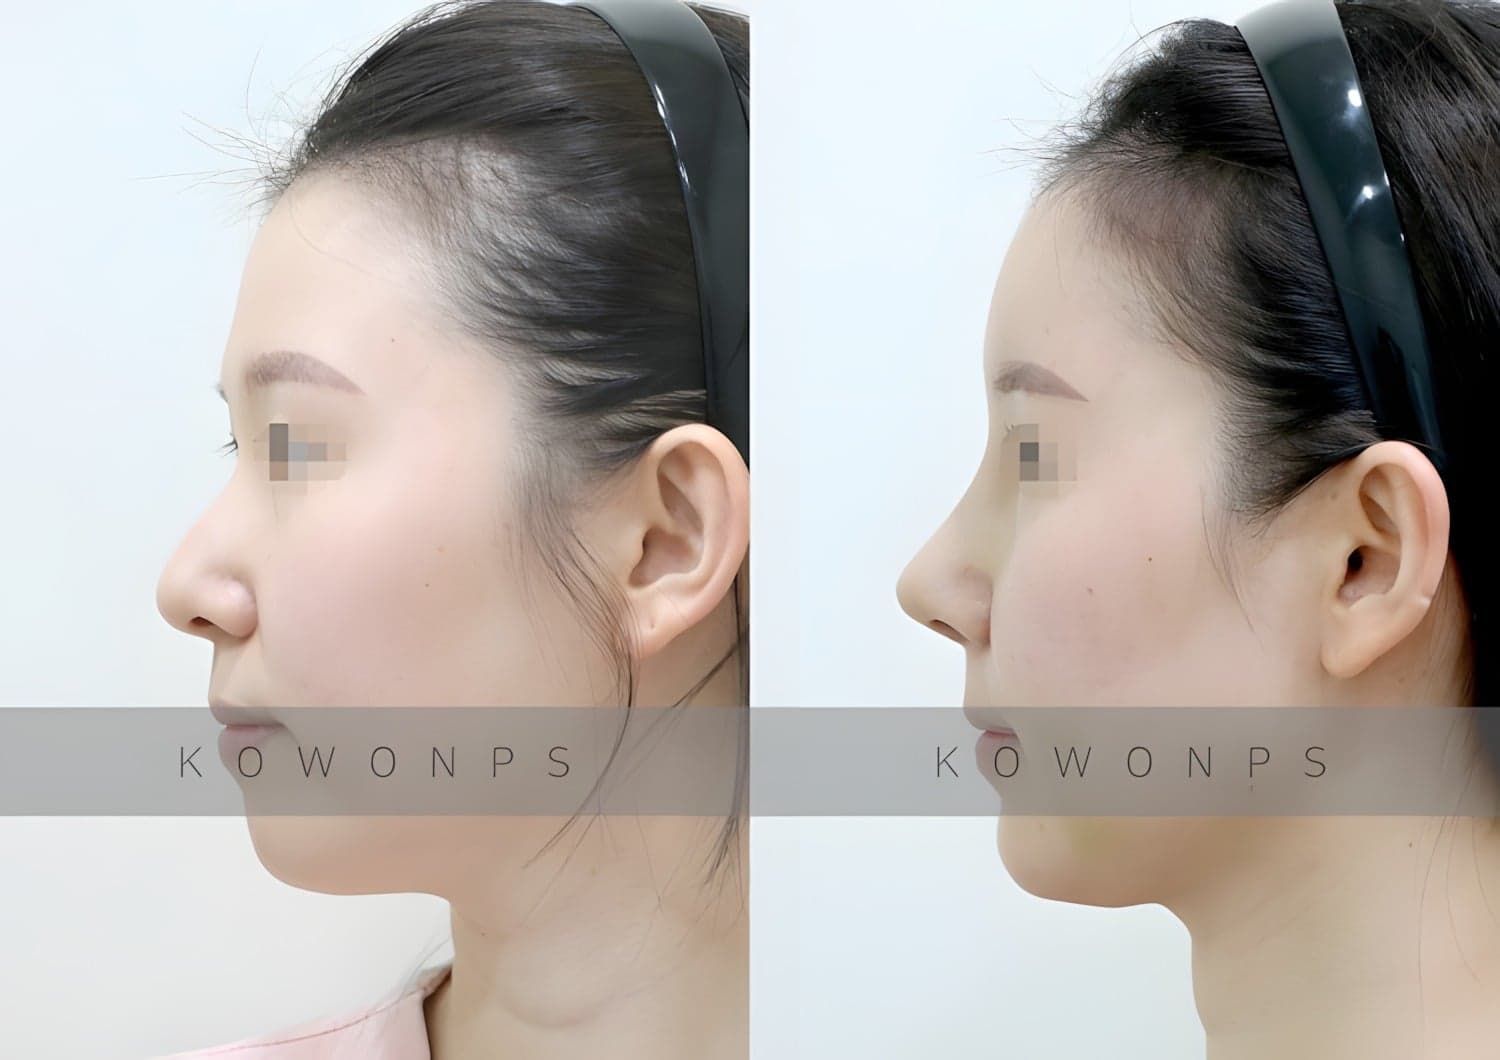
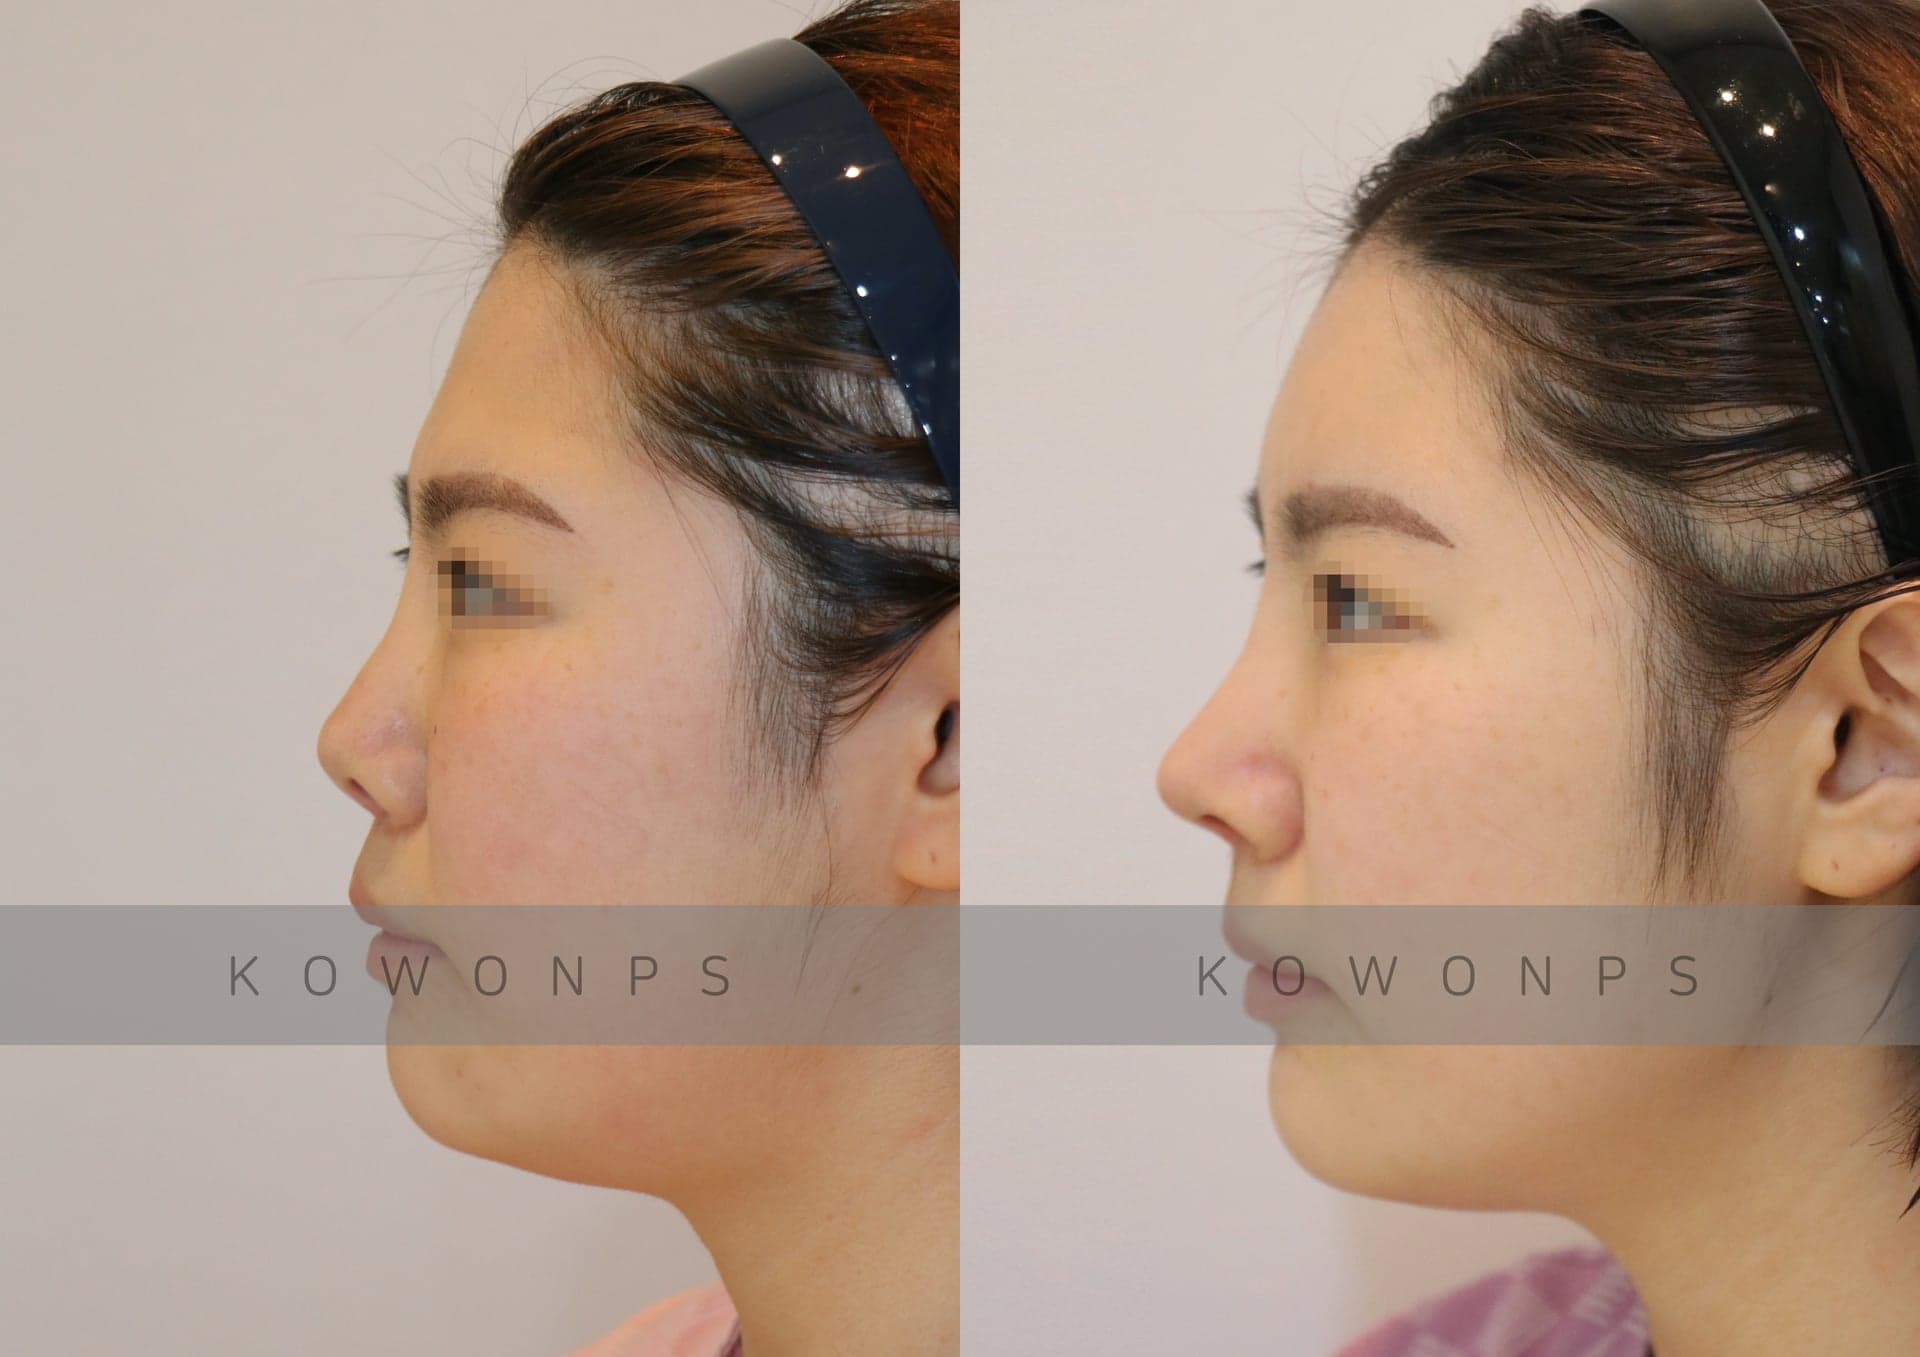
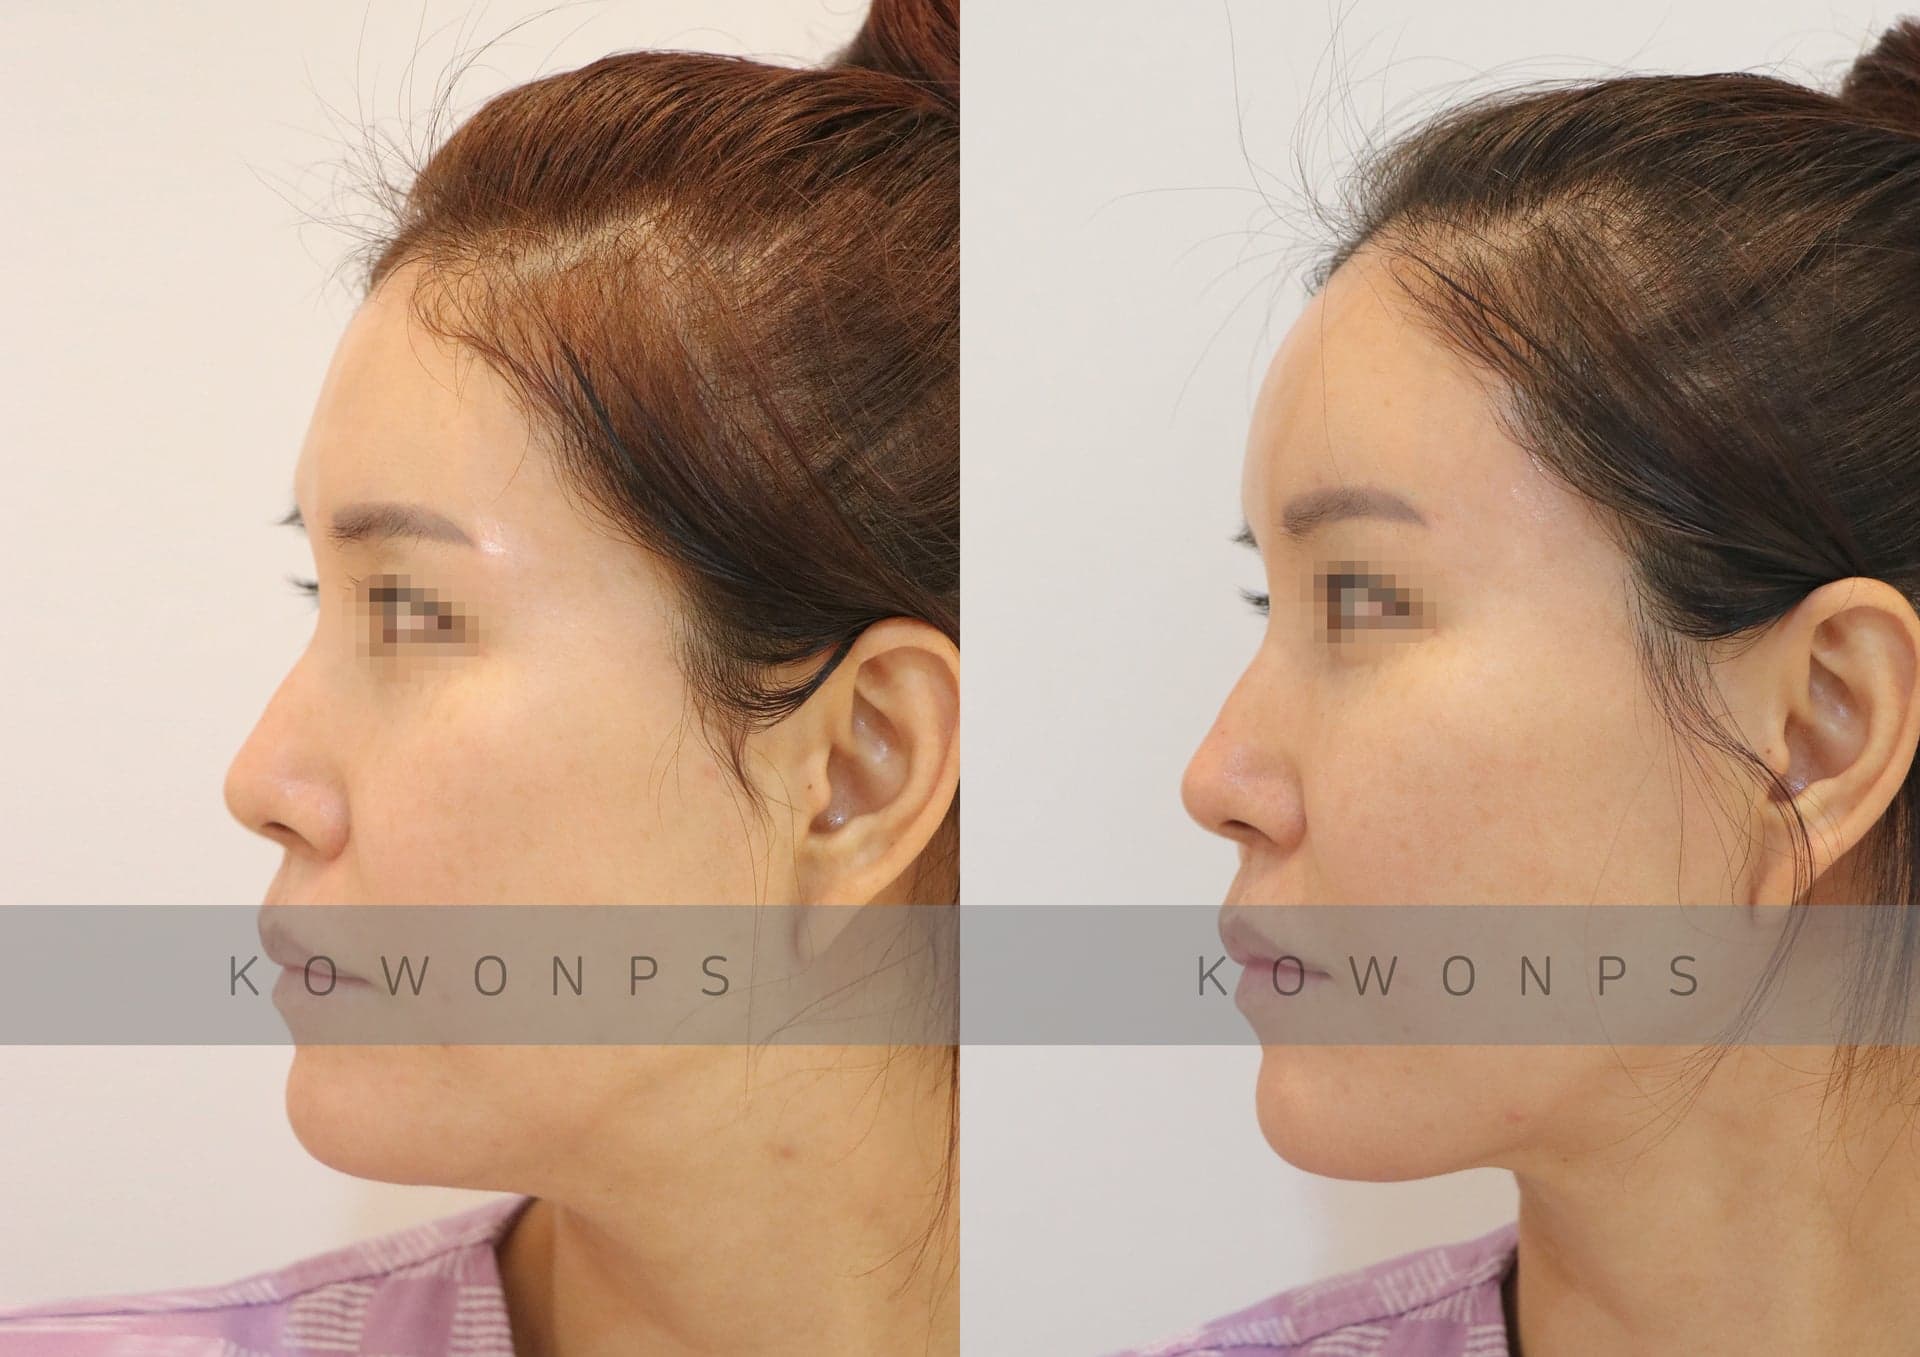
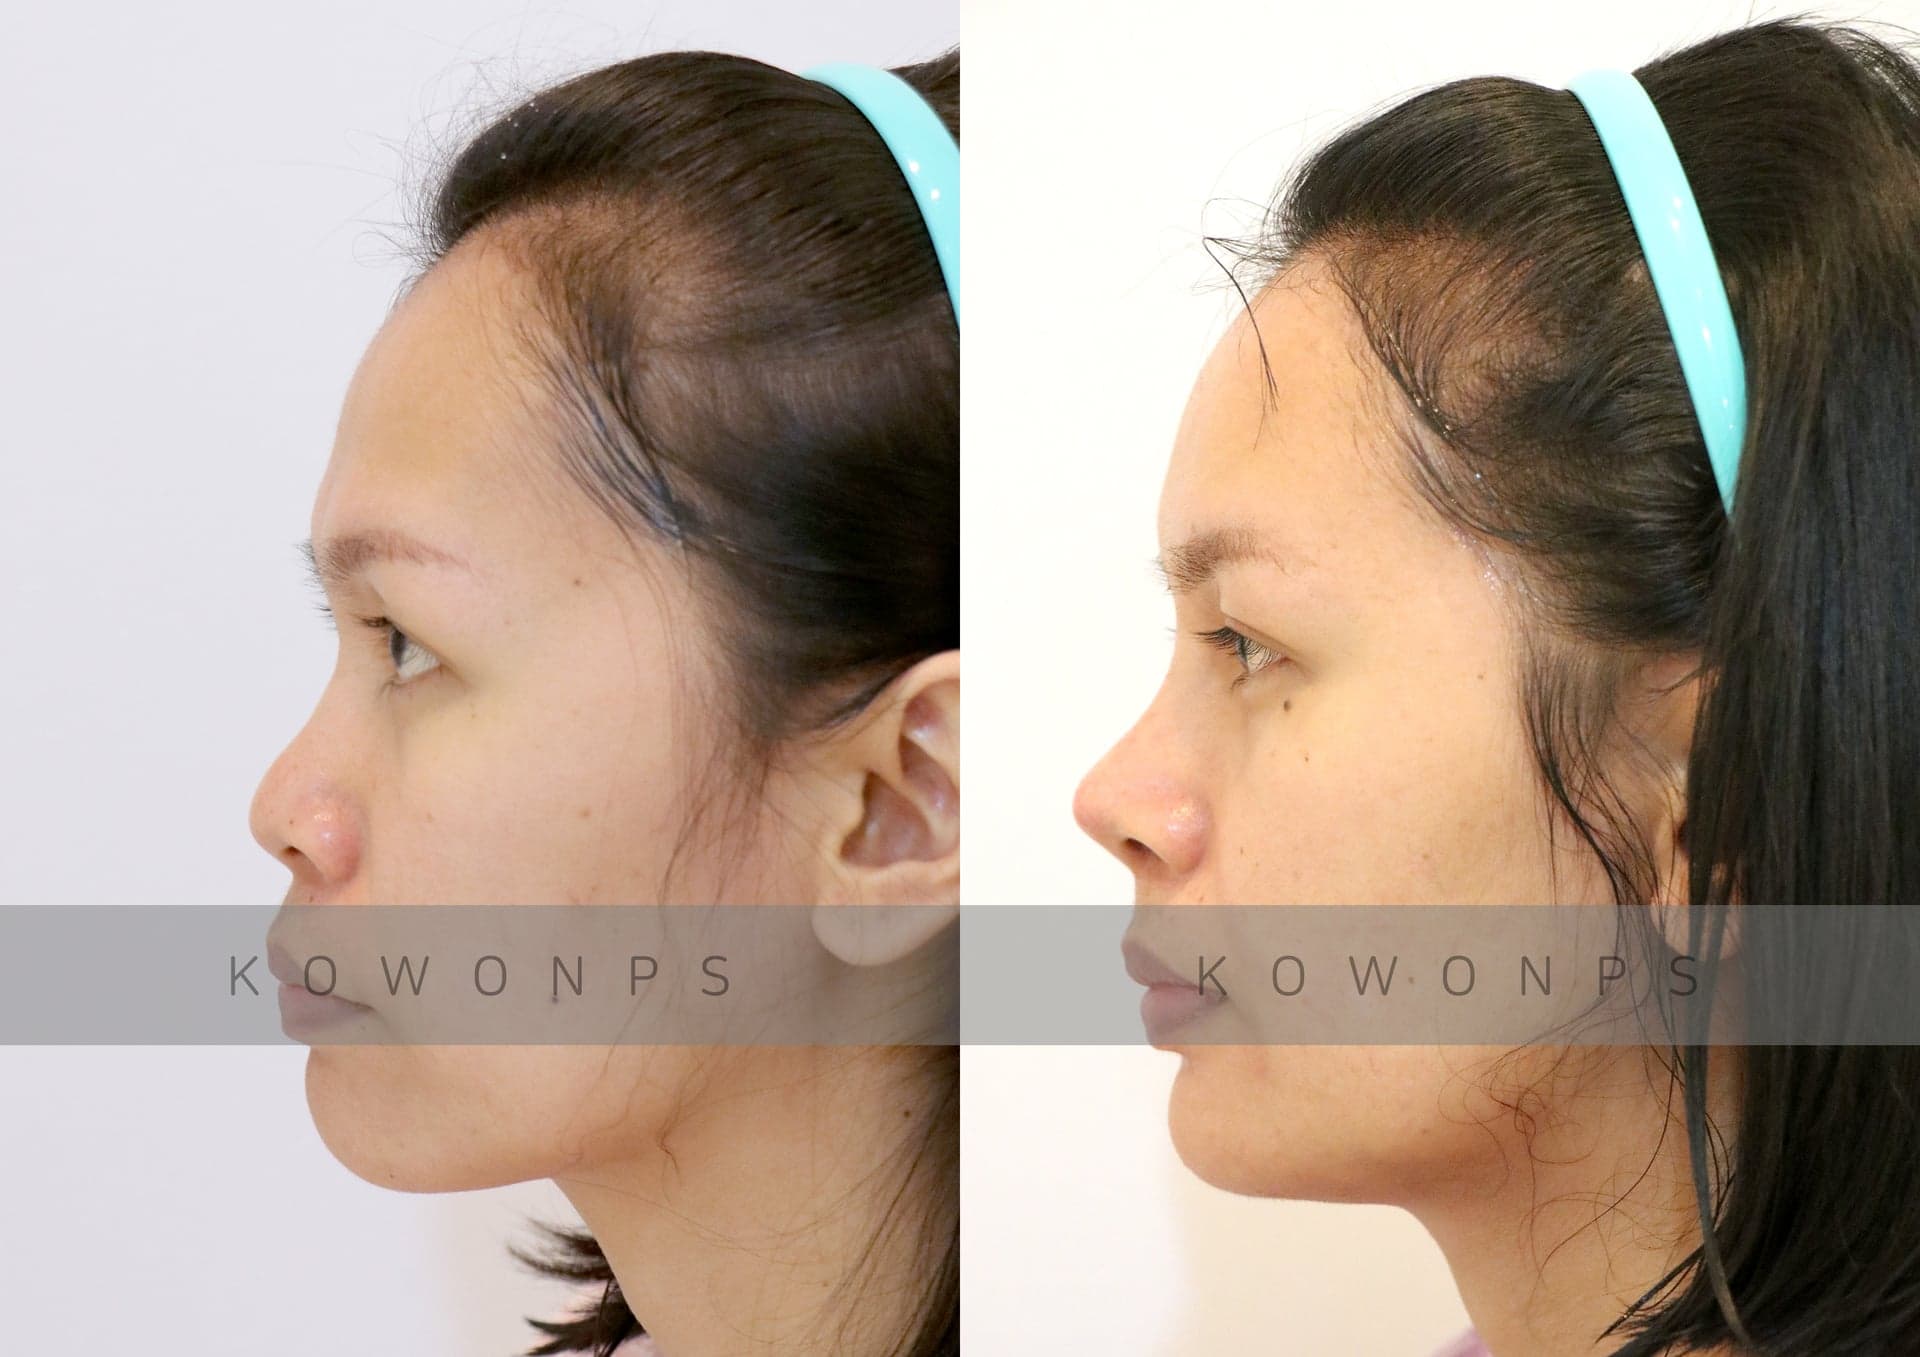
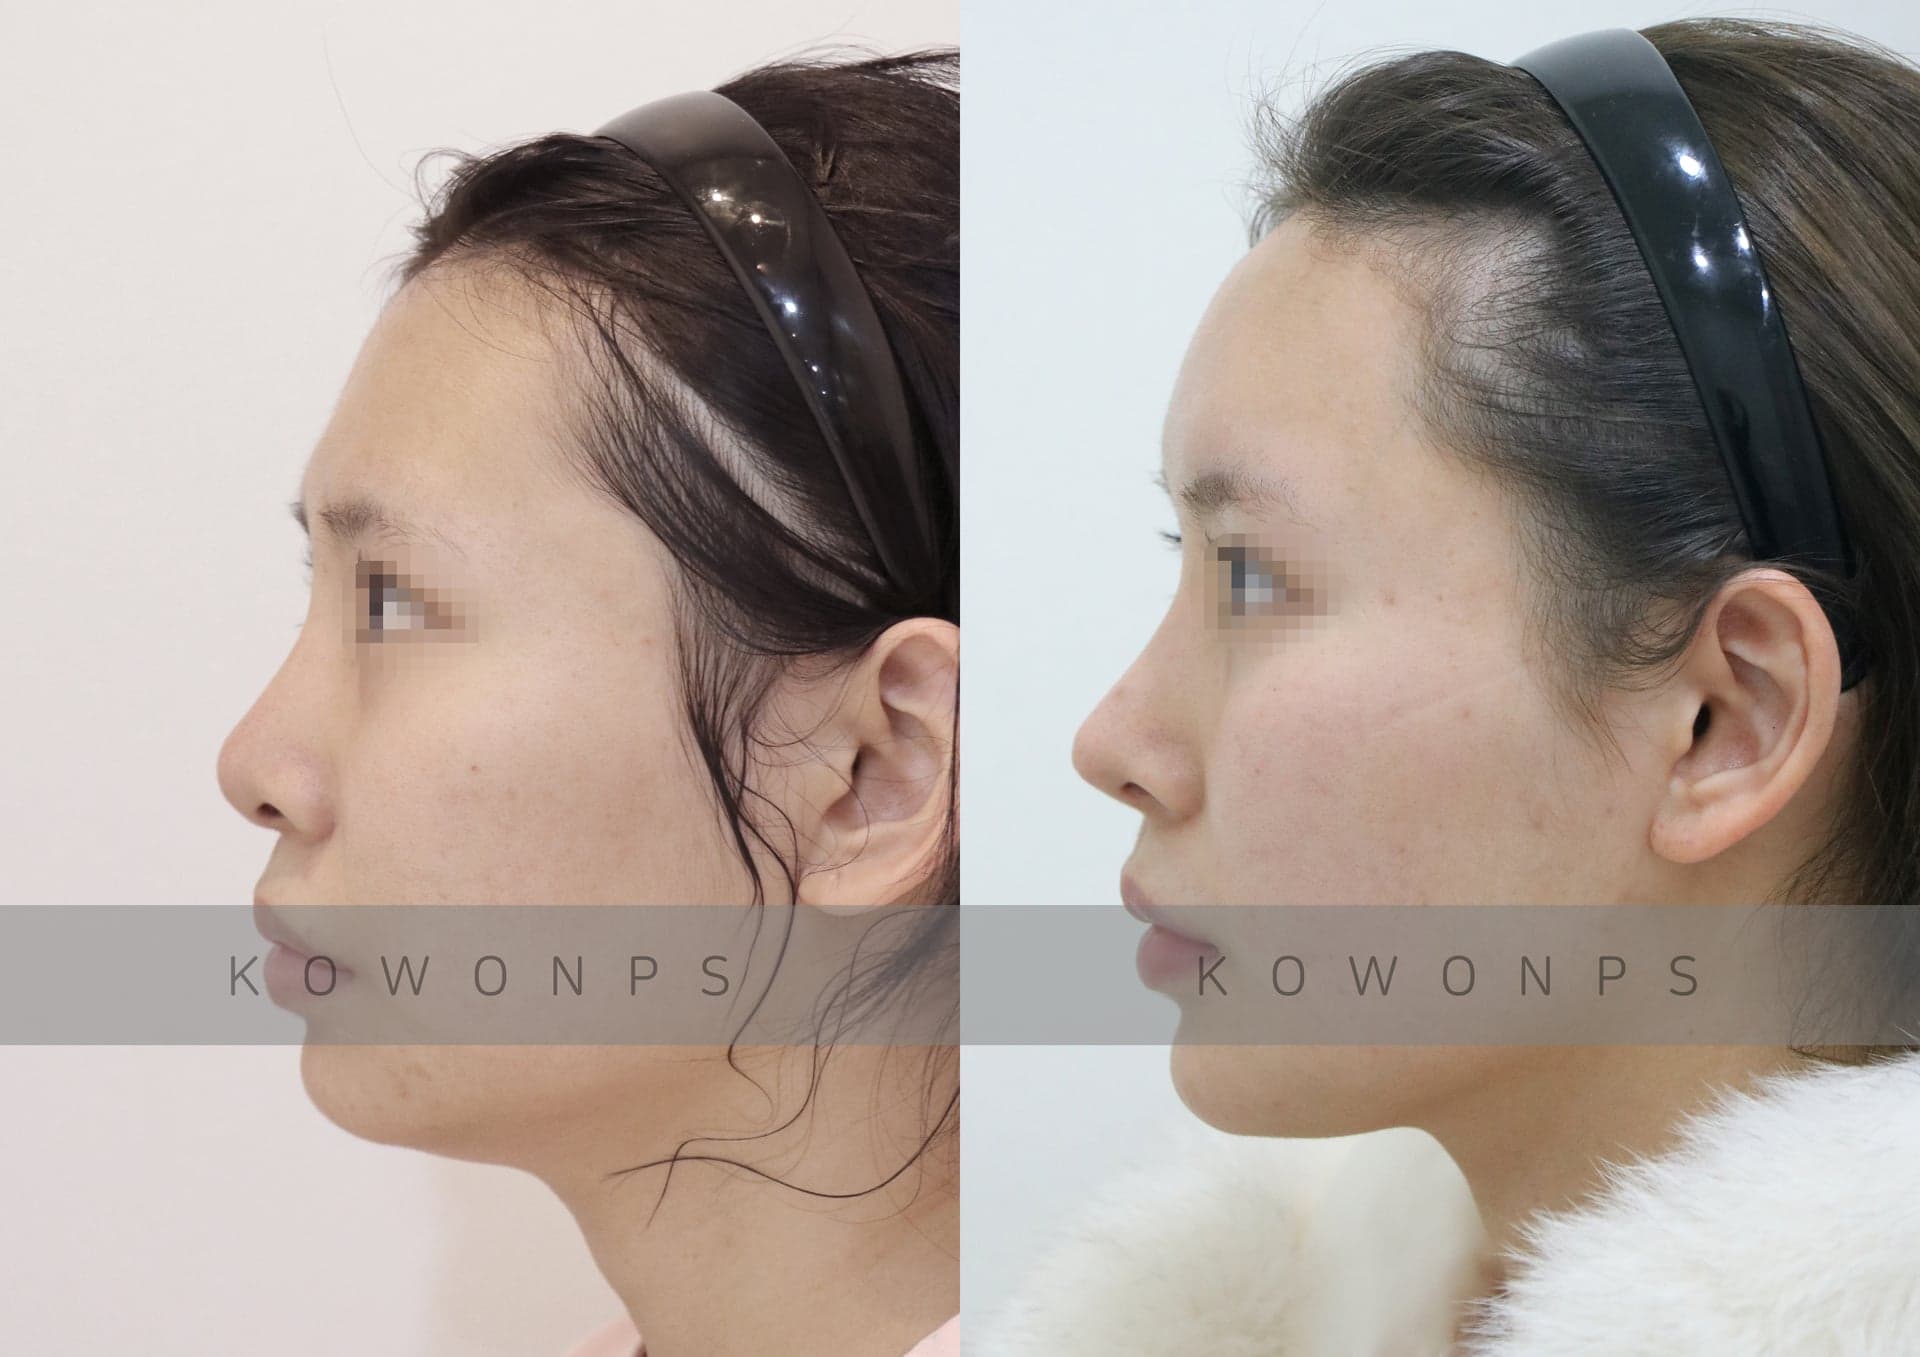
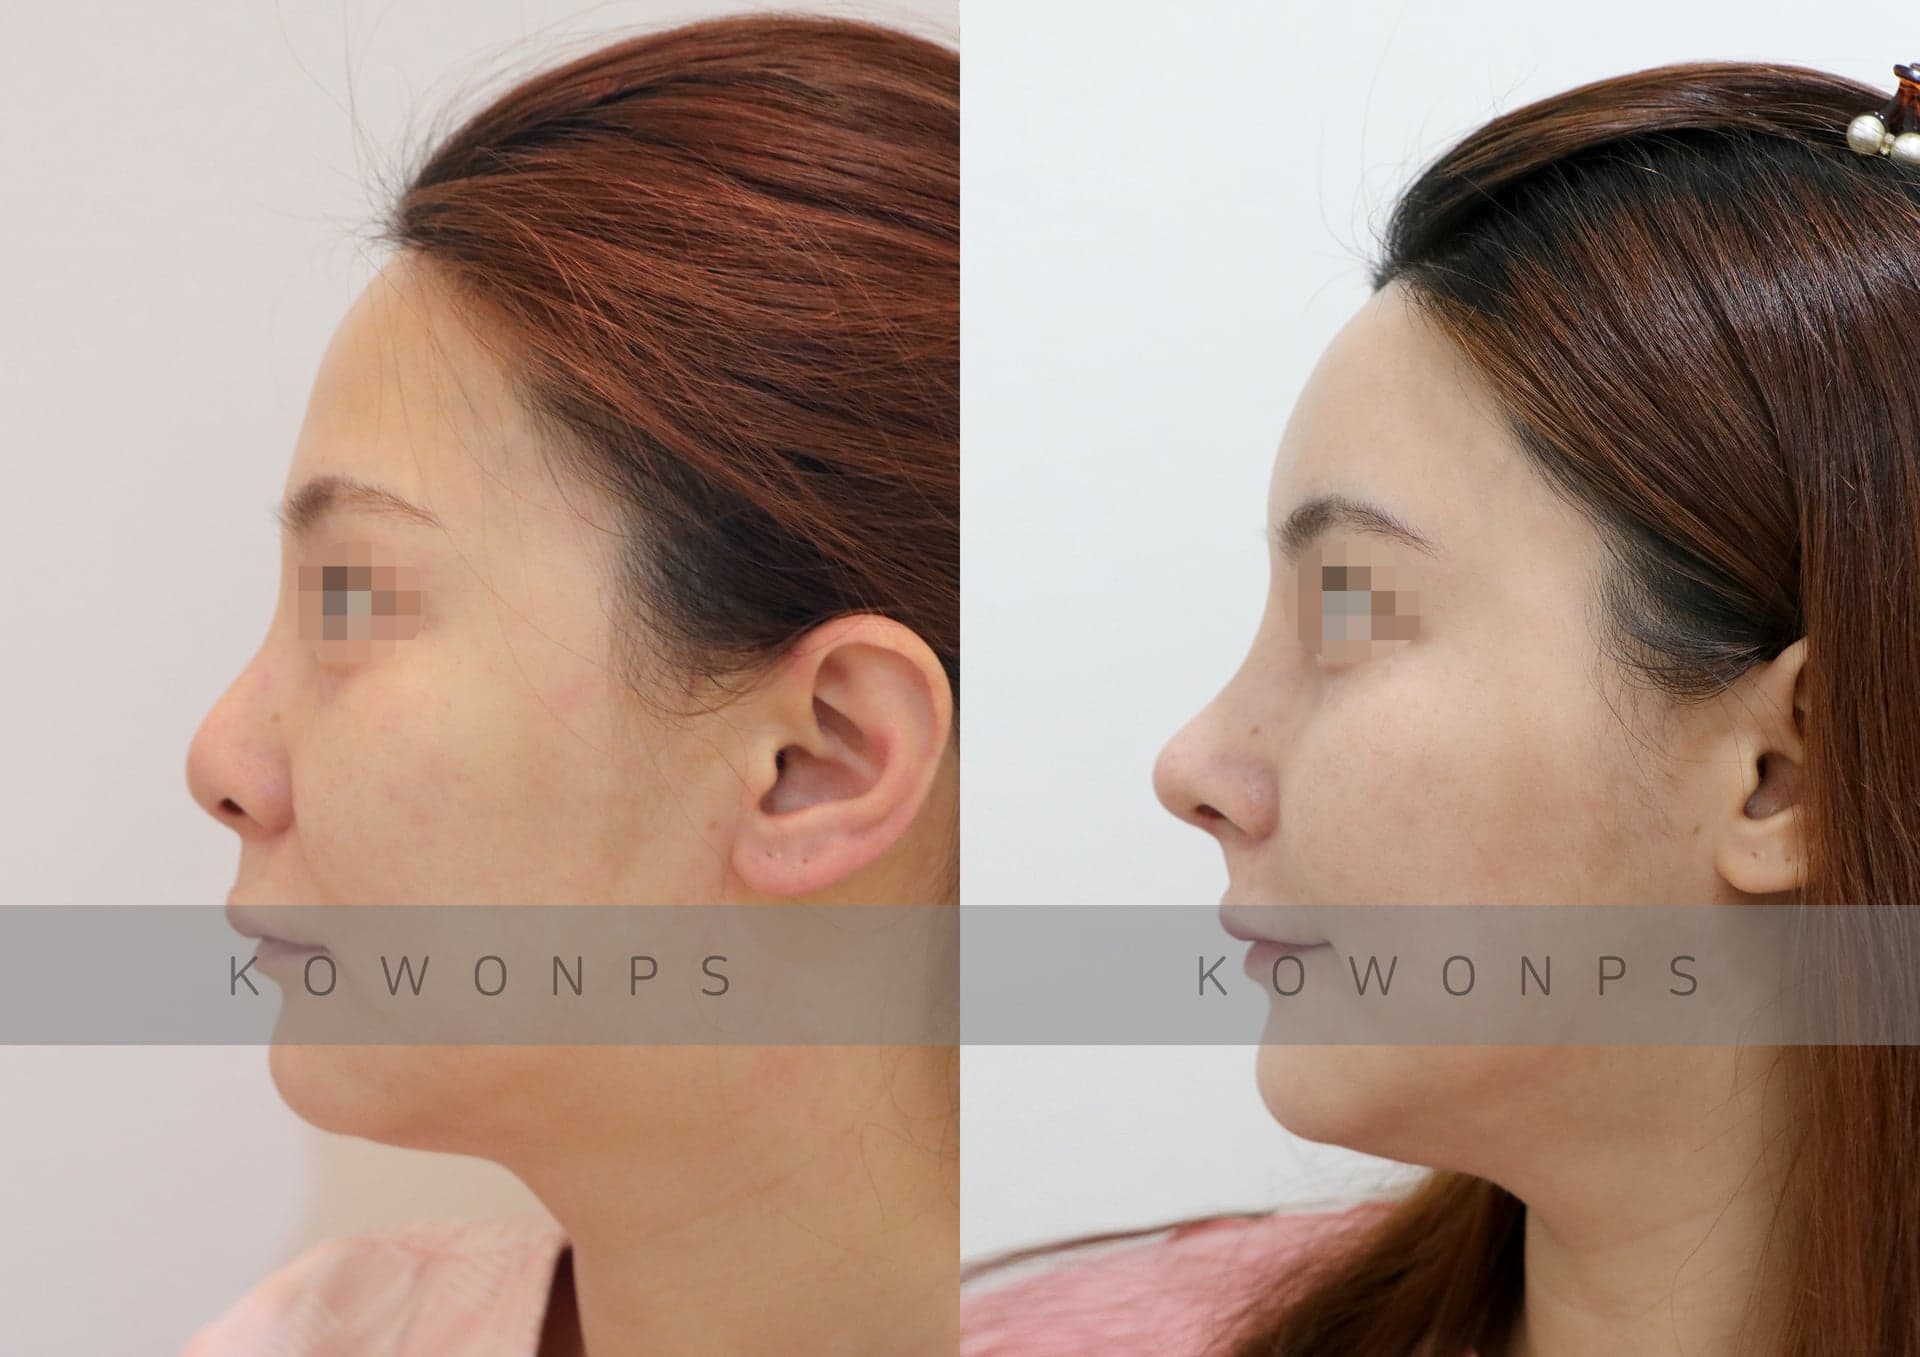
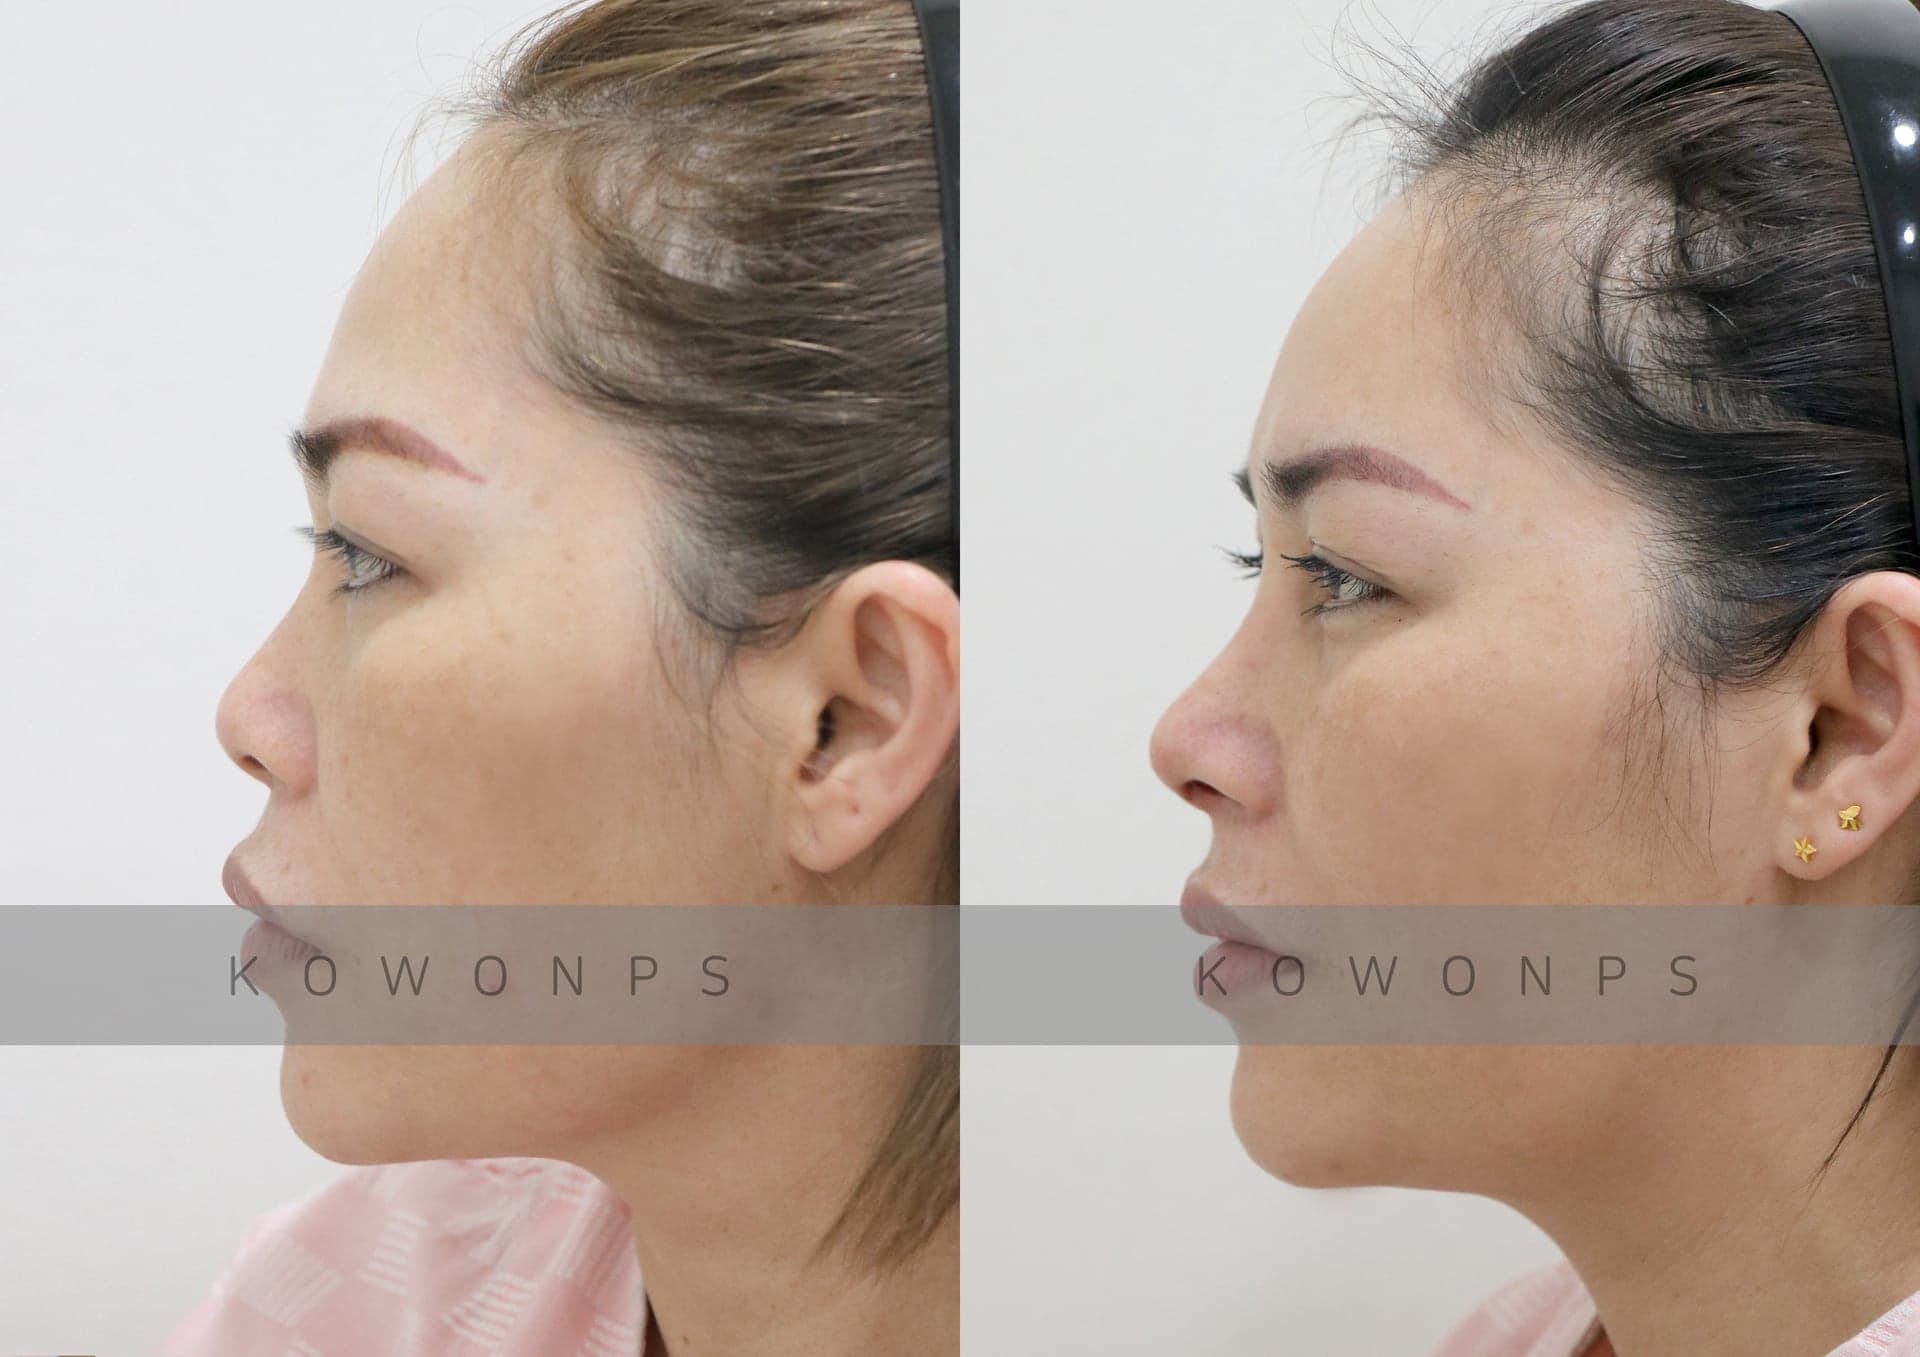
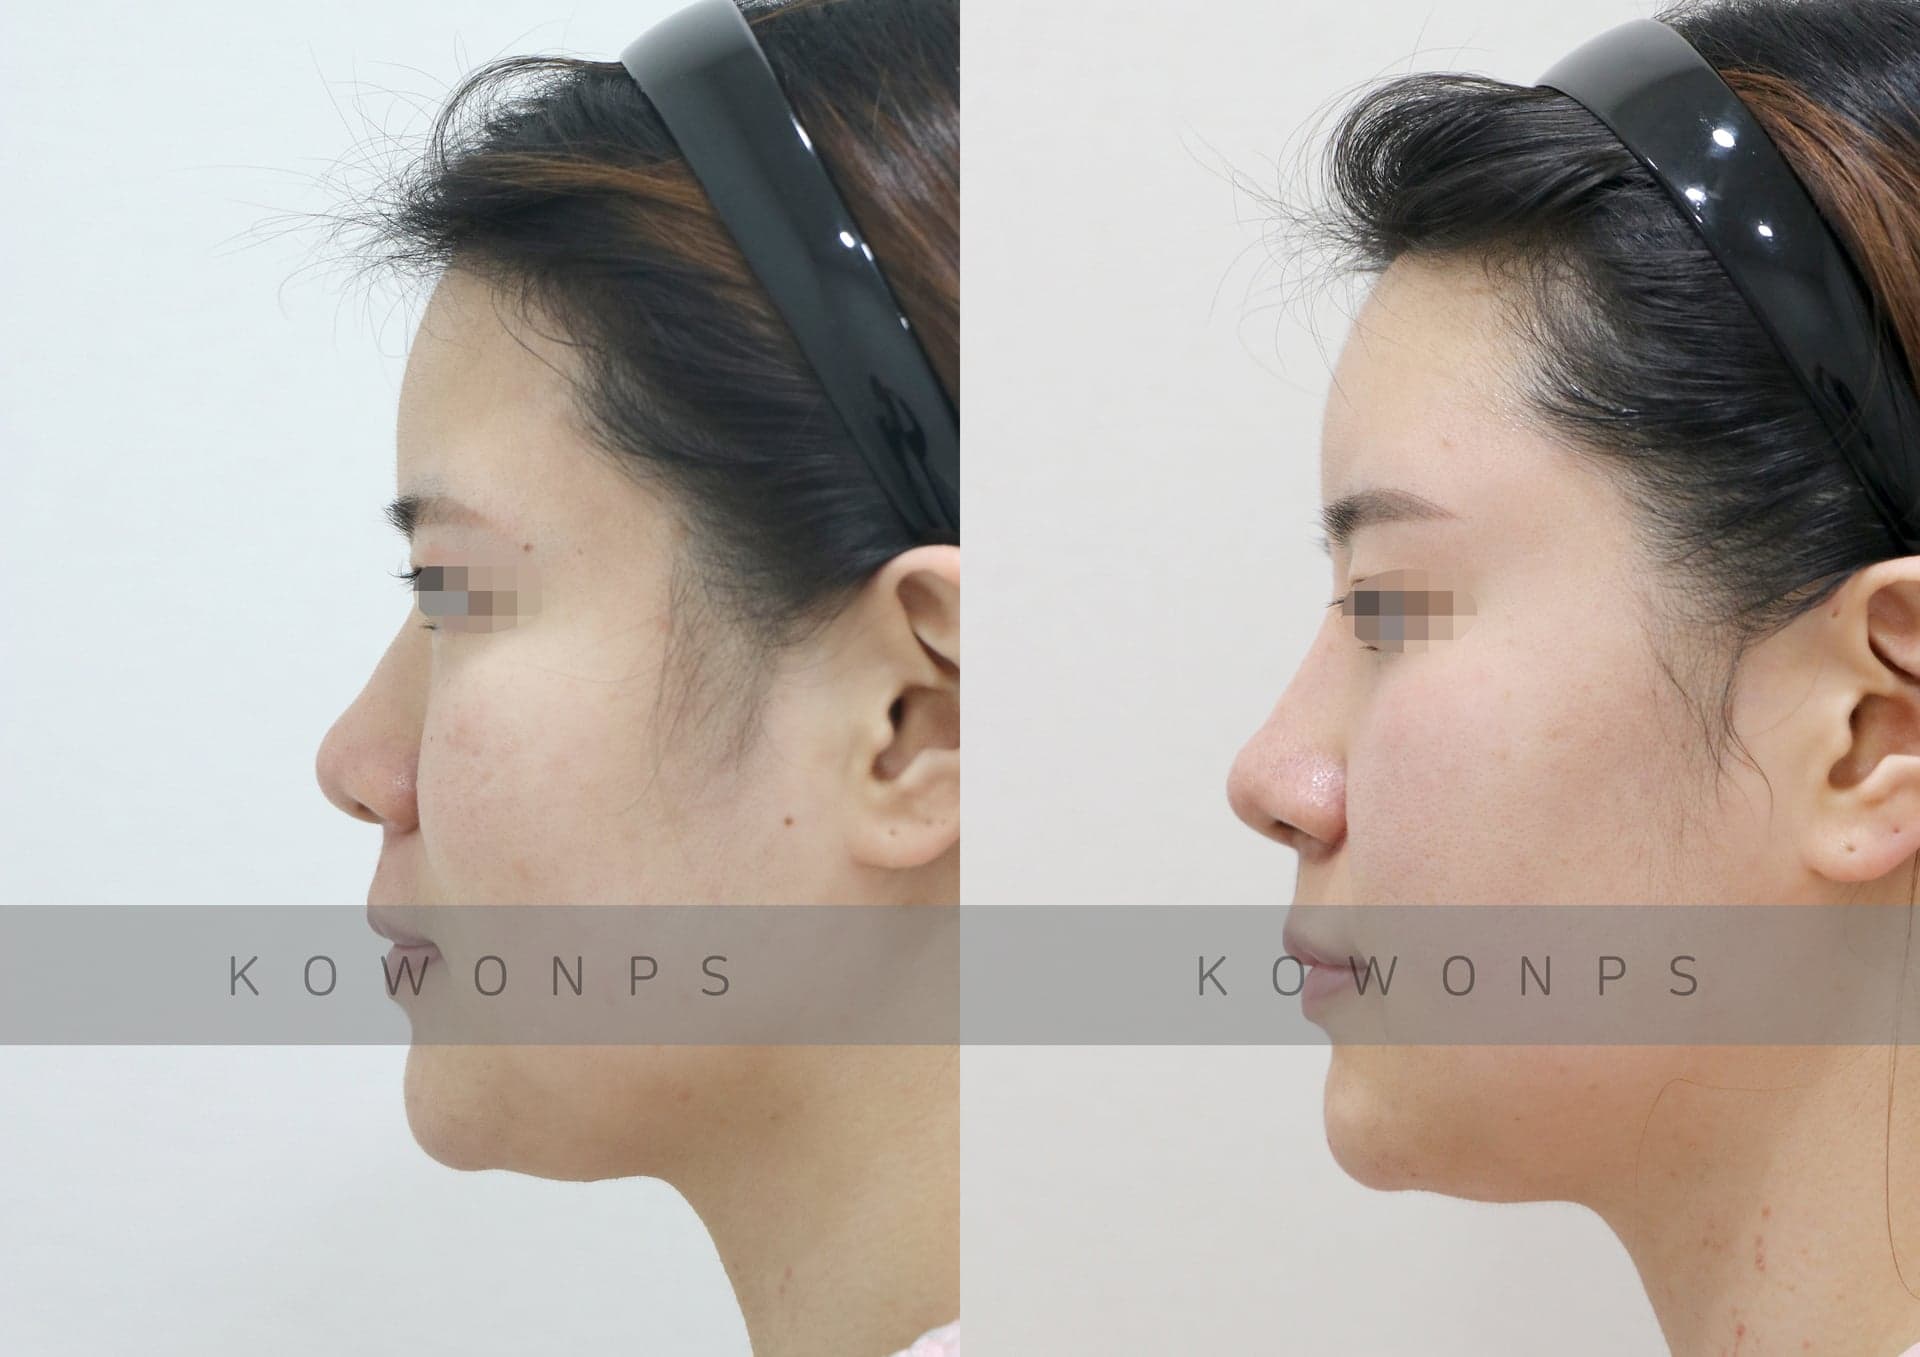
구축코 · Revision rhinoplasty · 짧은코 · Upturned · short nose구축코재수술  BeforeAfter
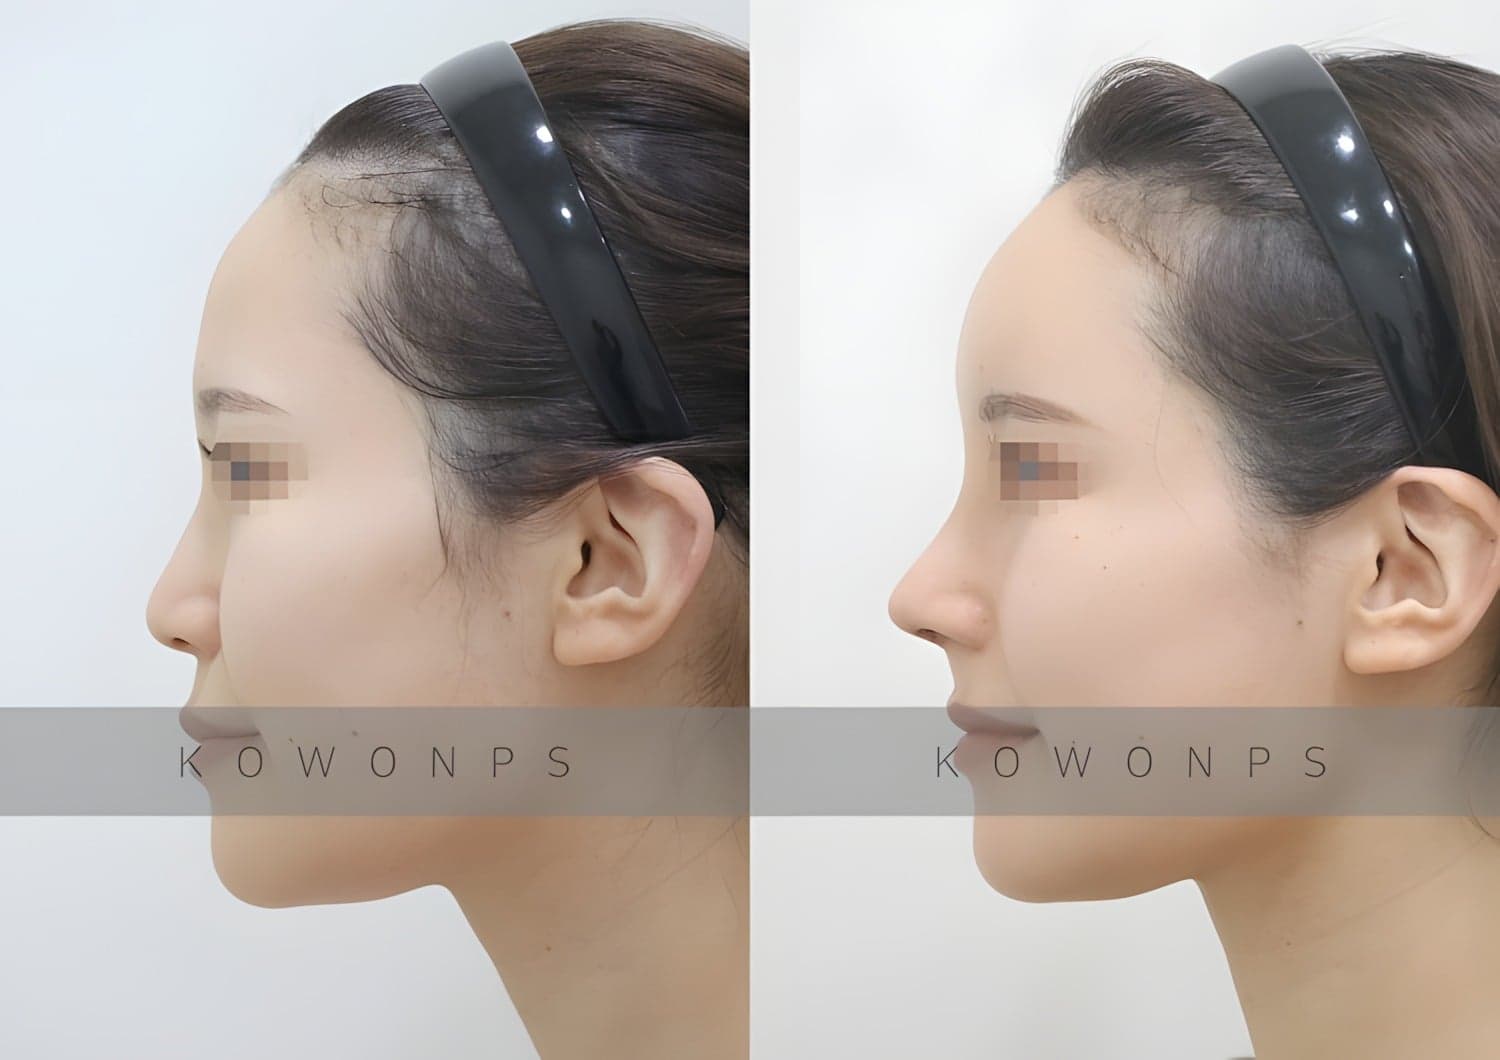
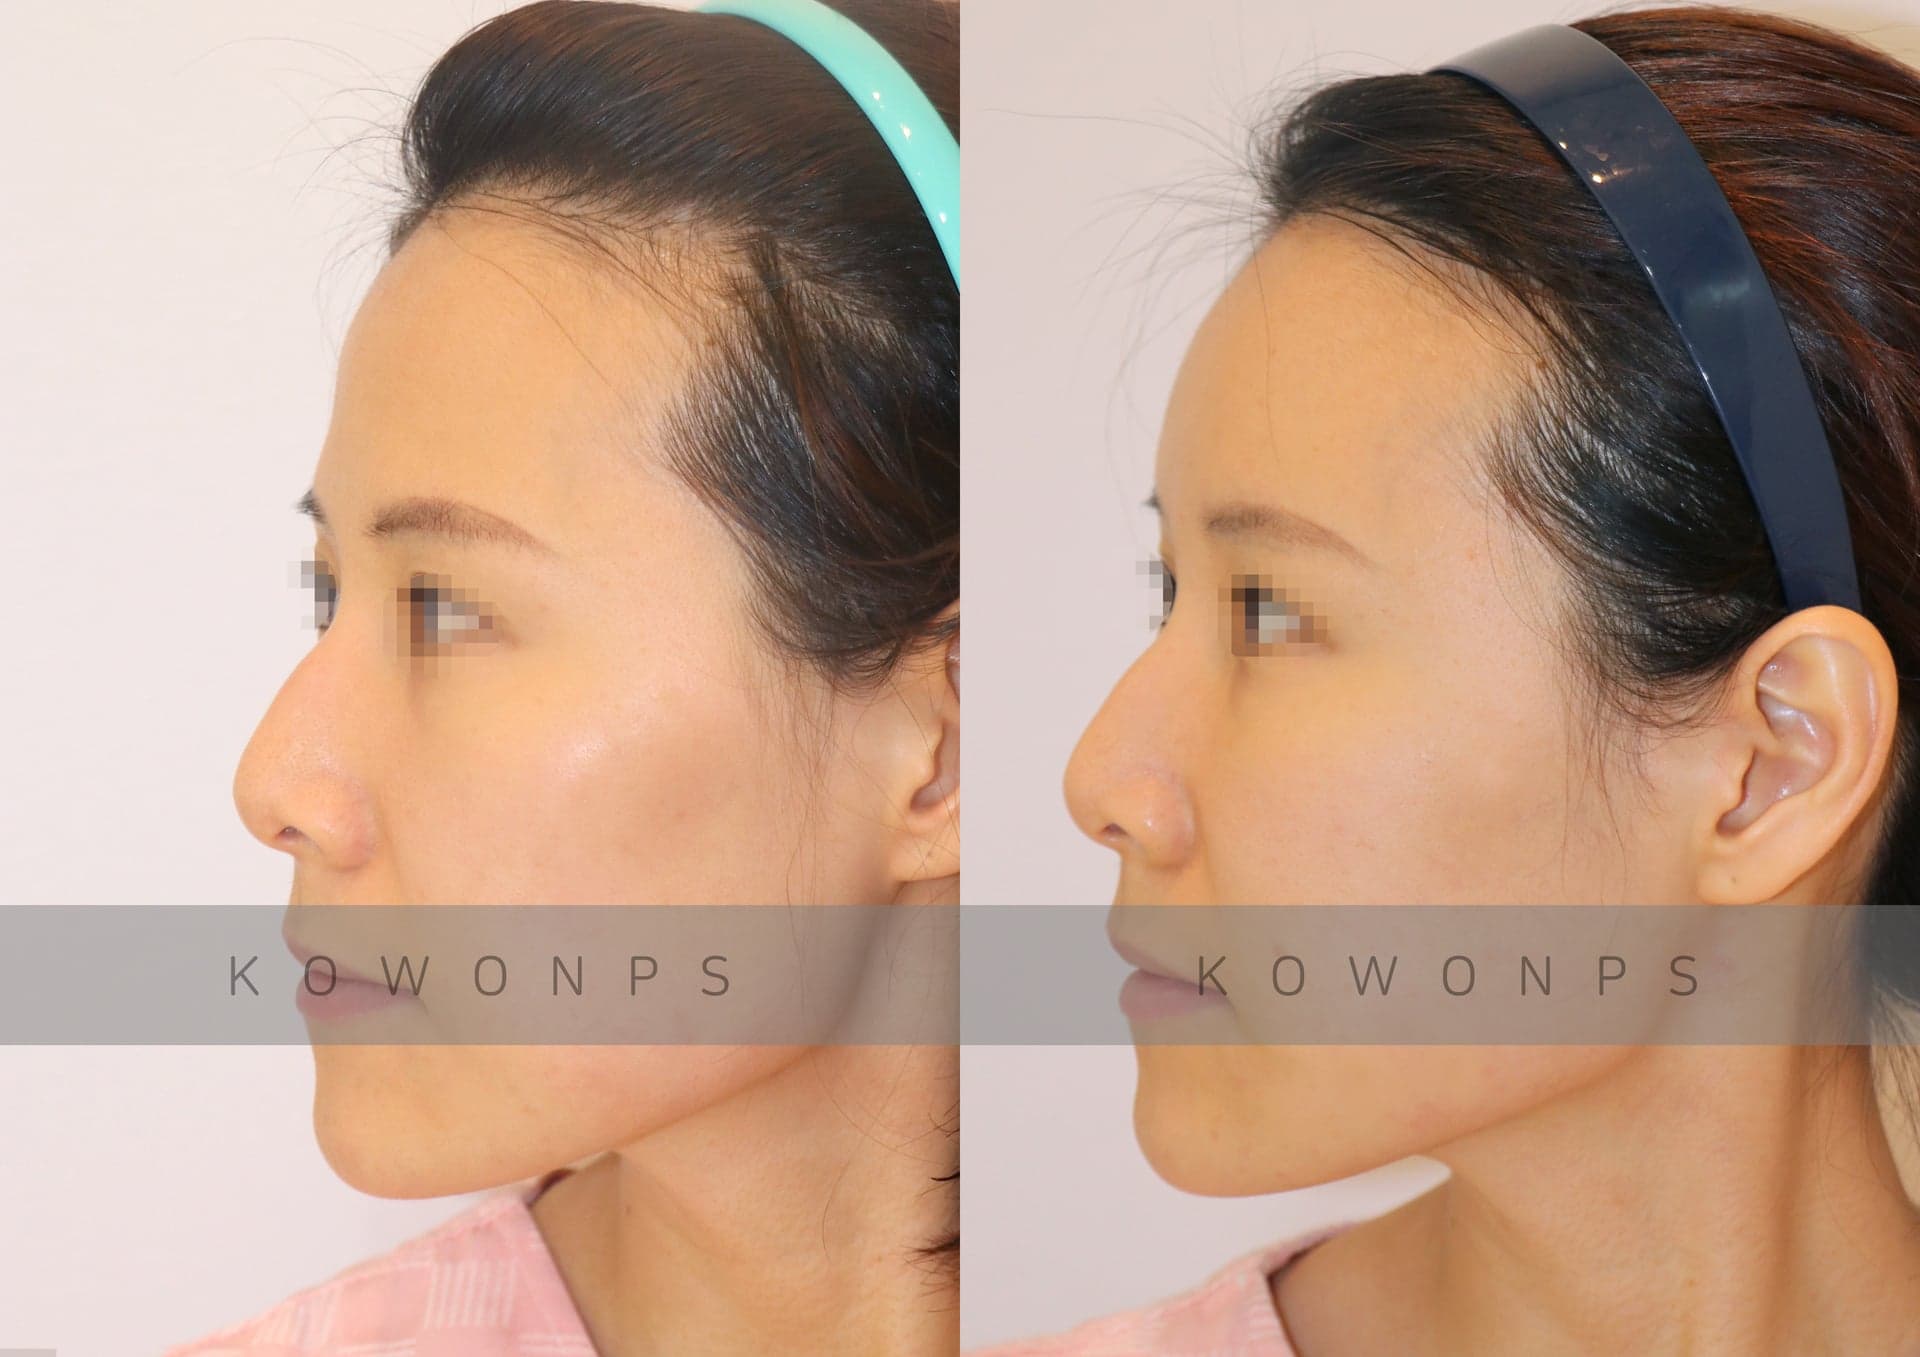
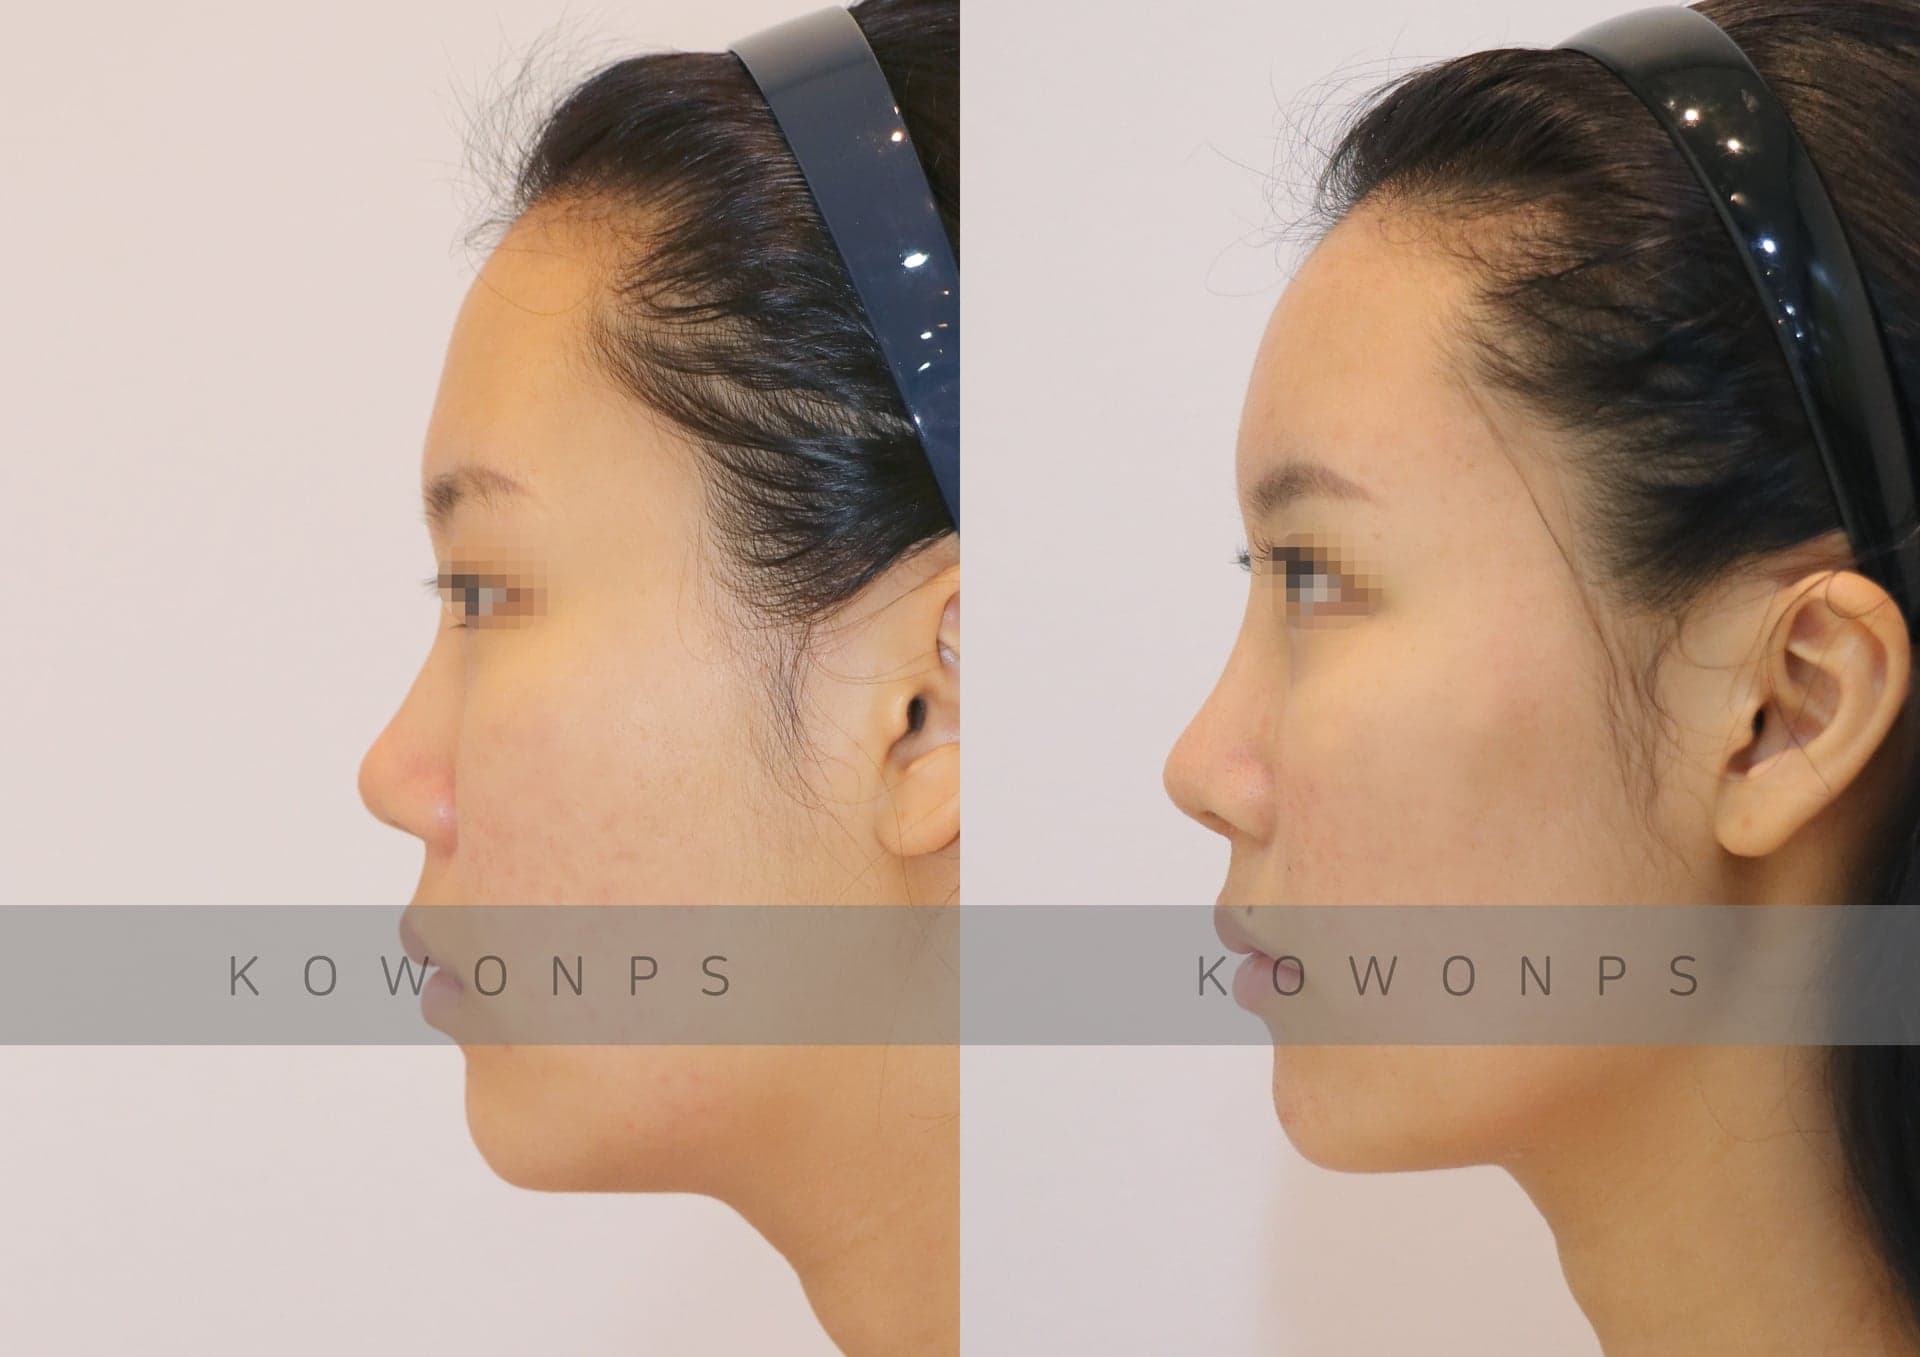
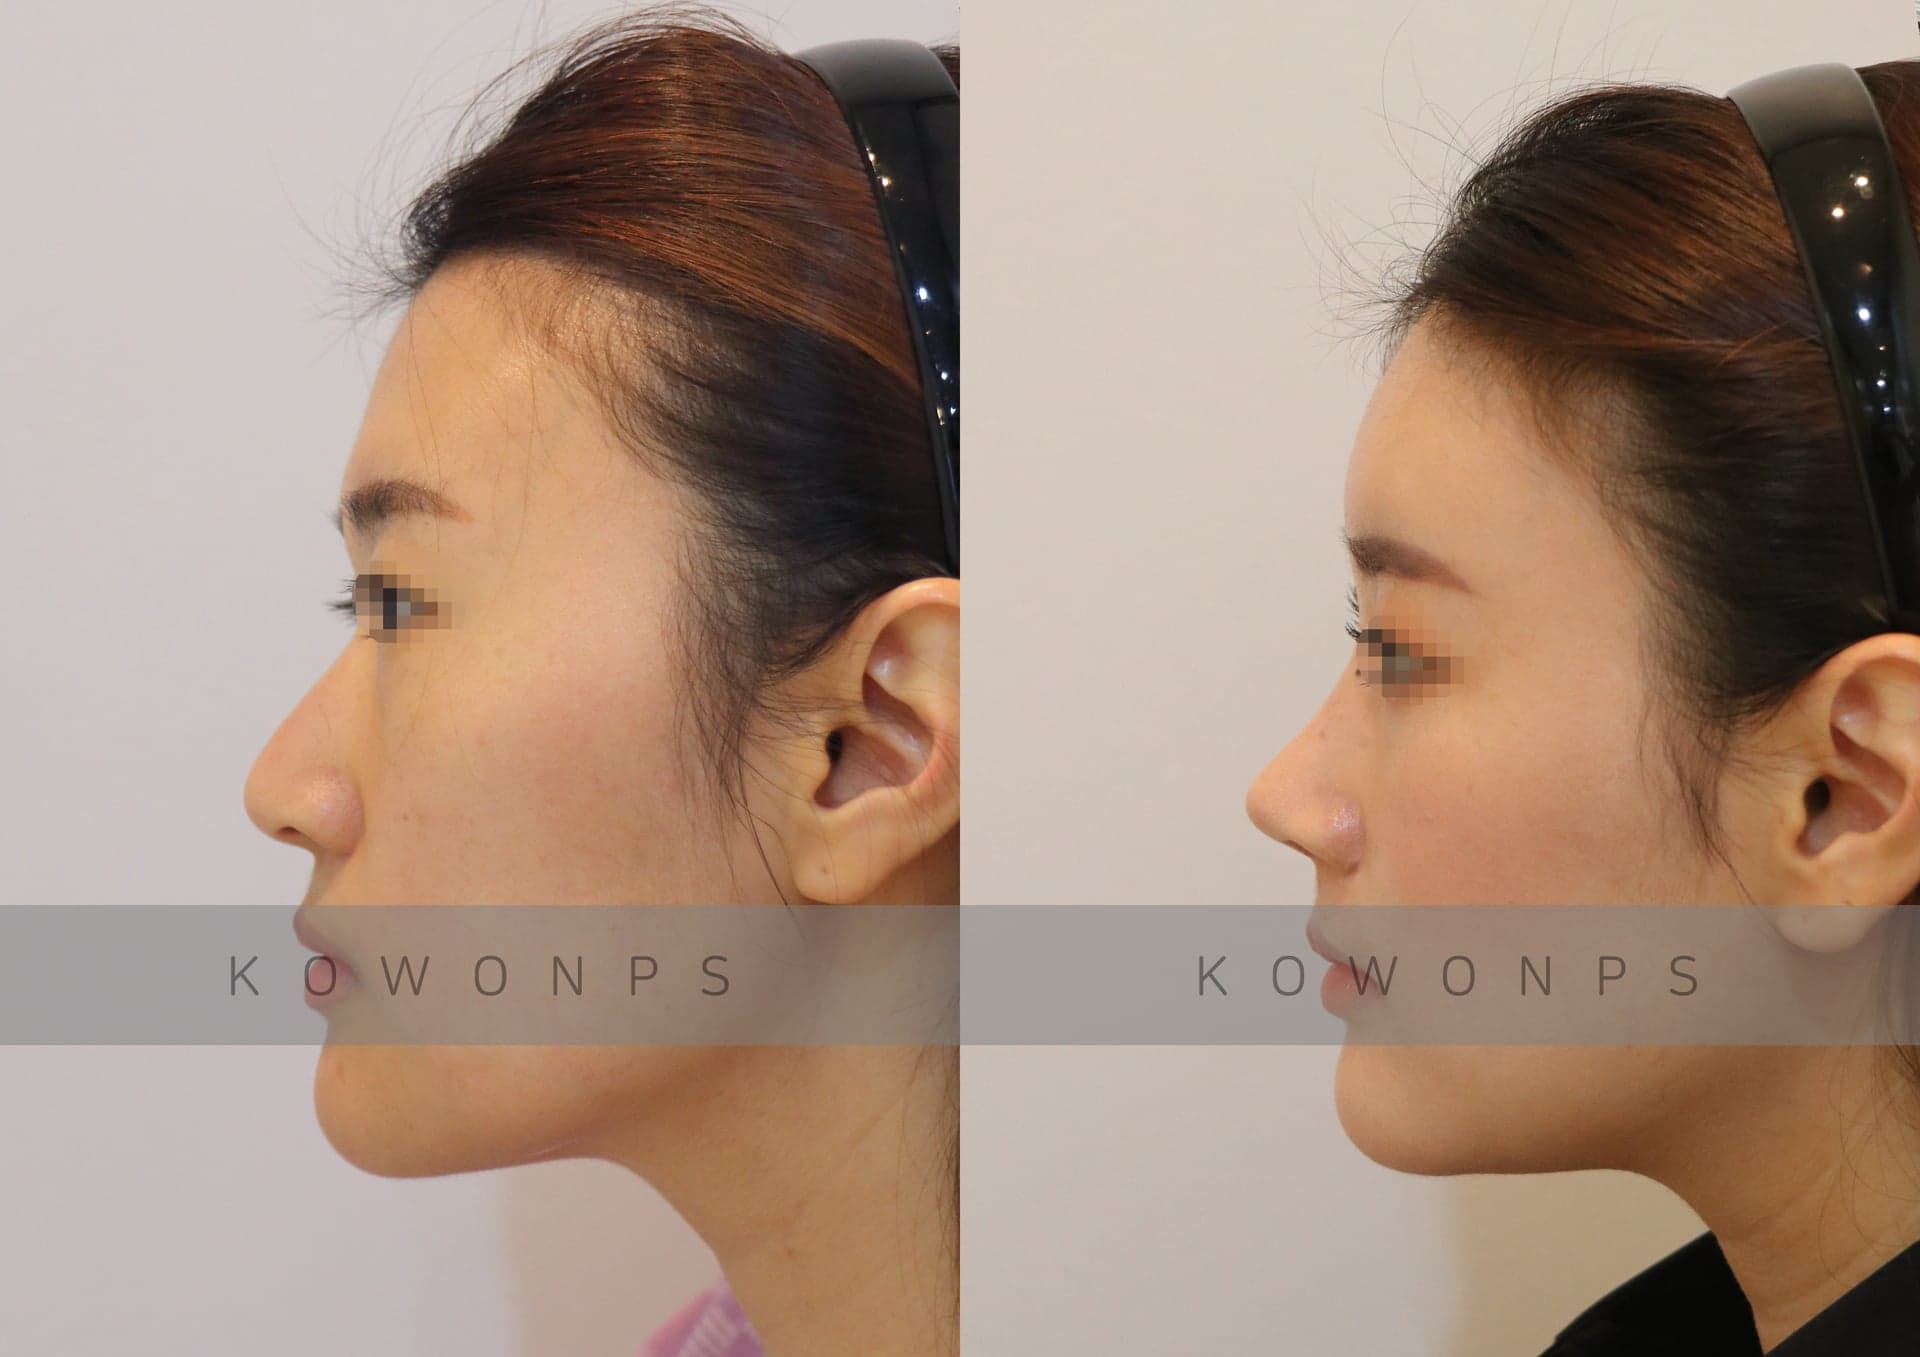
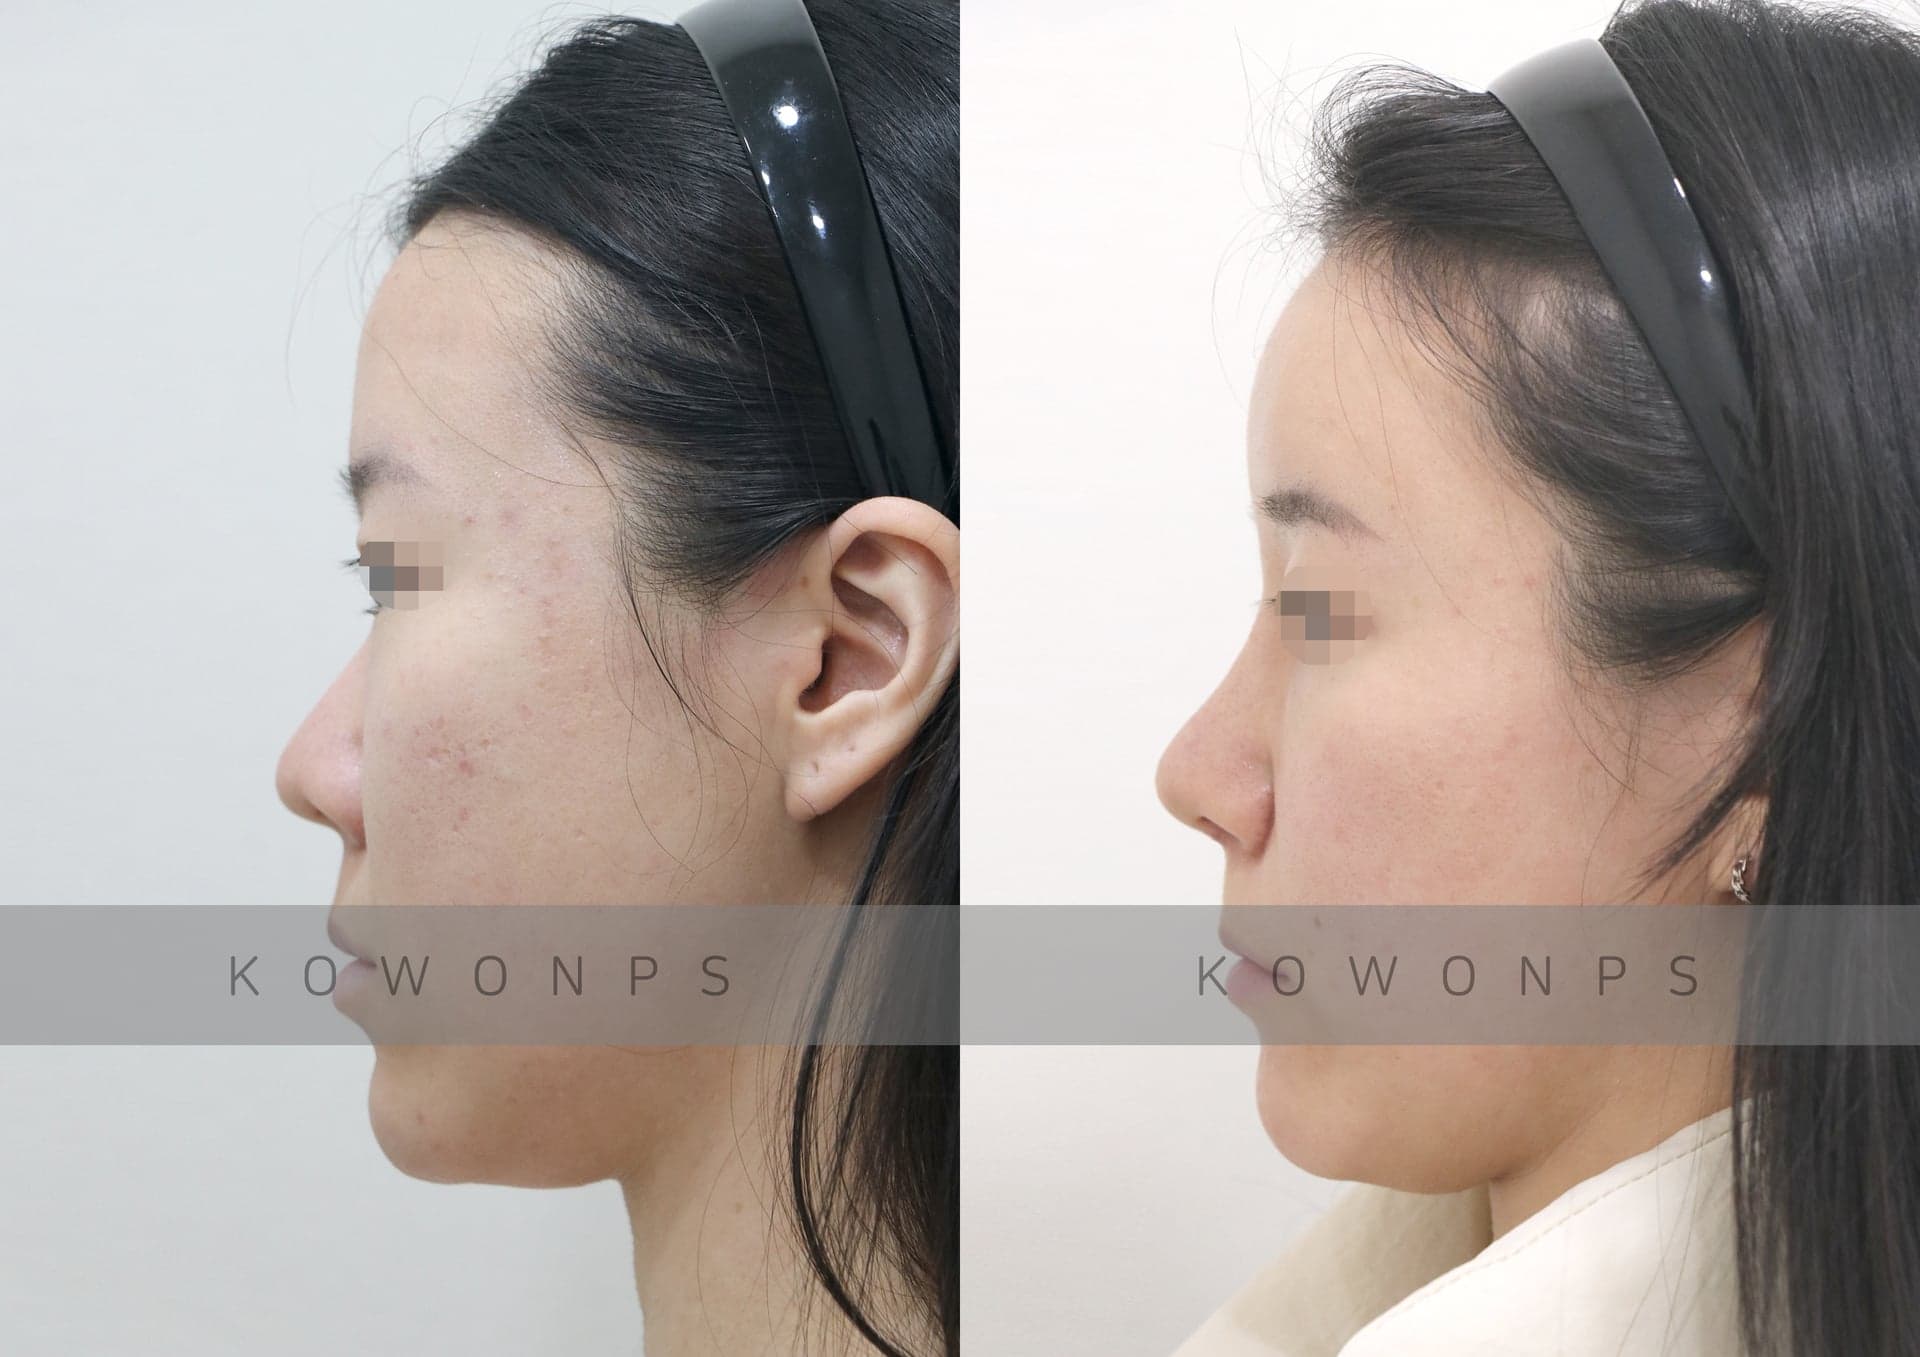
Aquiline nose · Nasolabial angle correction · 비공내리기용코, 비공내리기, 비순각교정  BeforeAfter
Hump noseDorsal hump  BeforeAfter
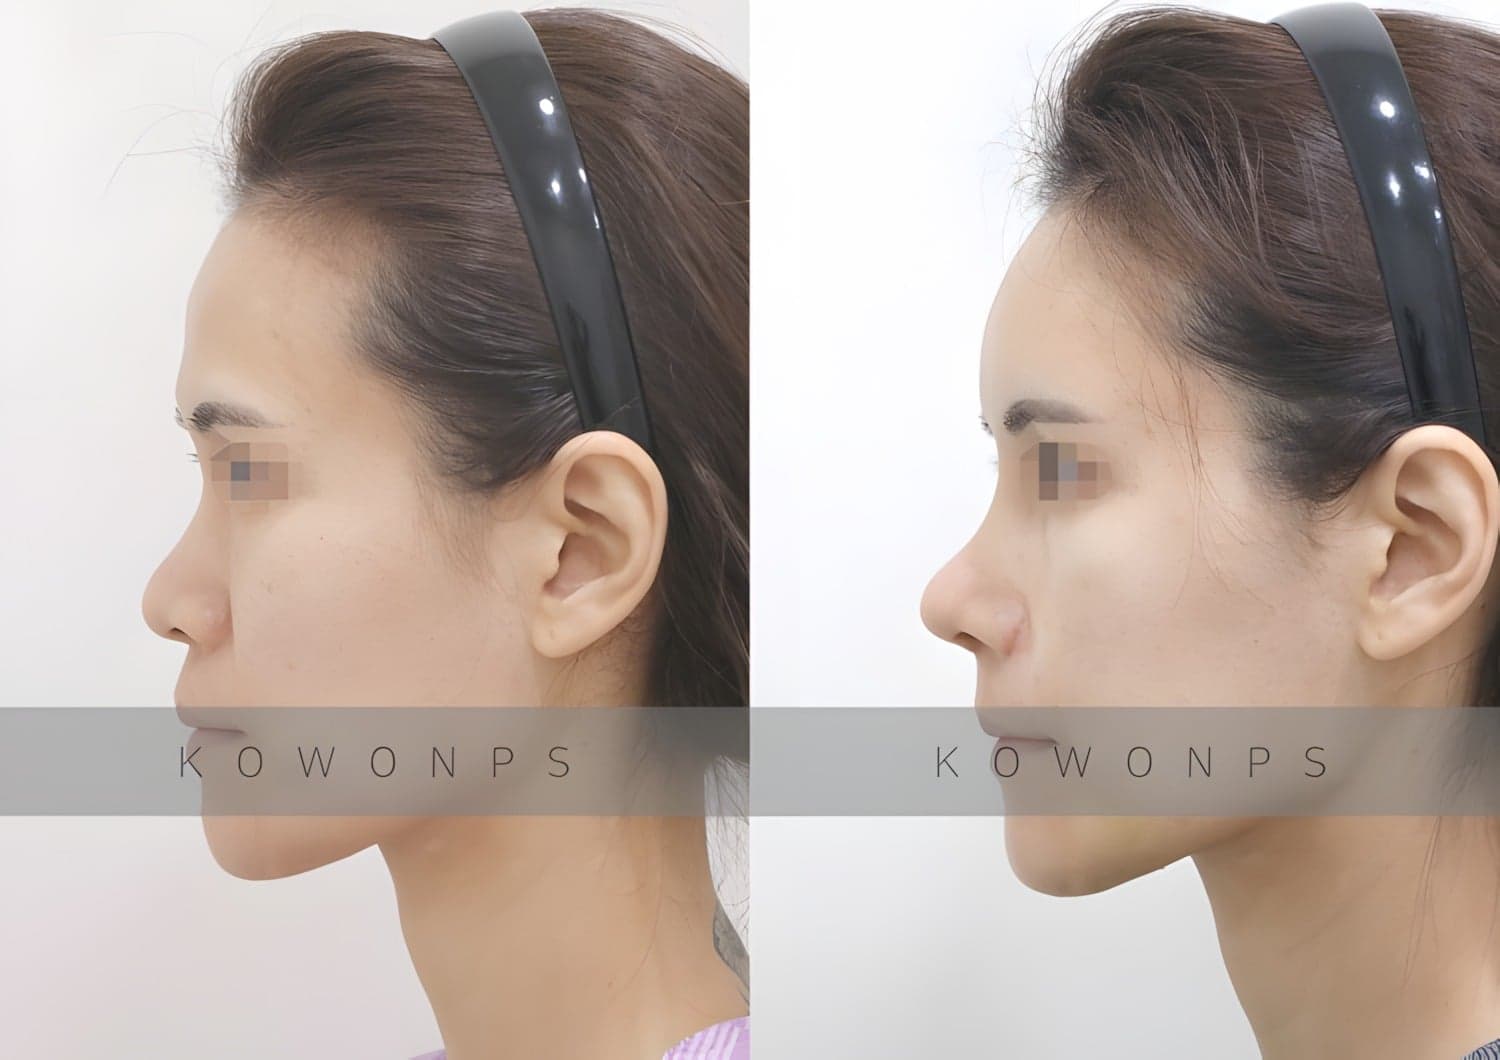
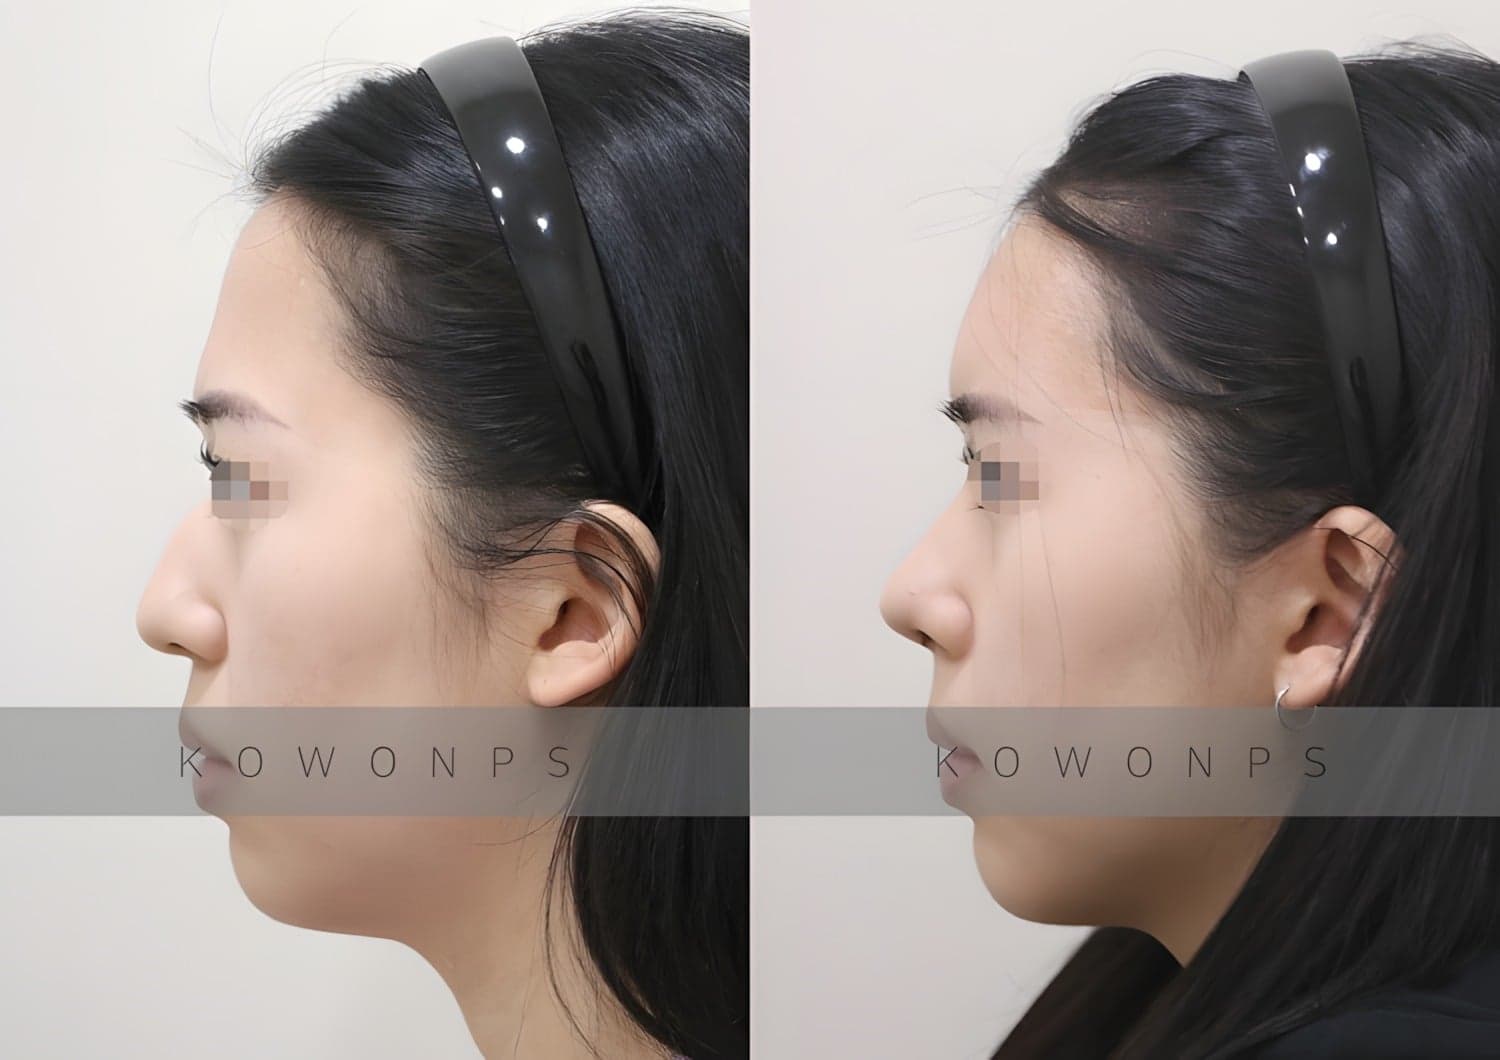
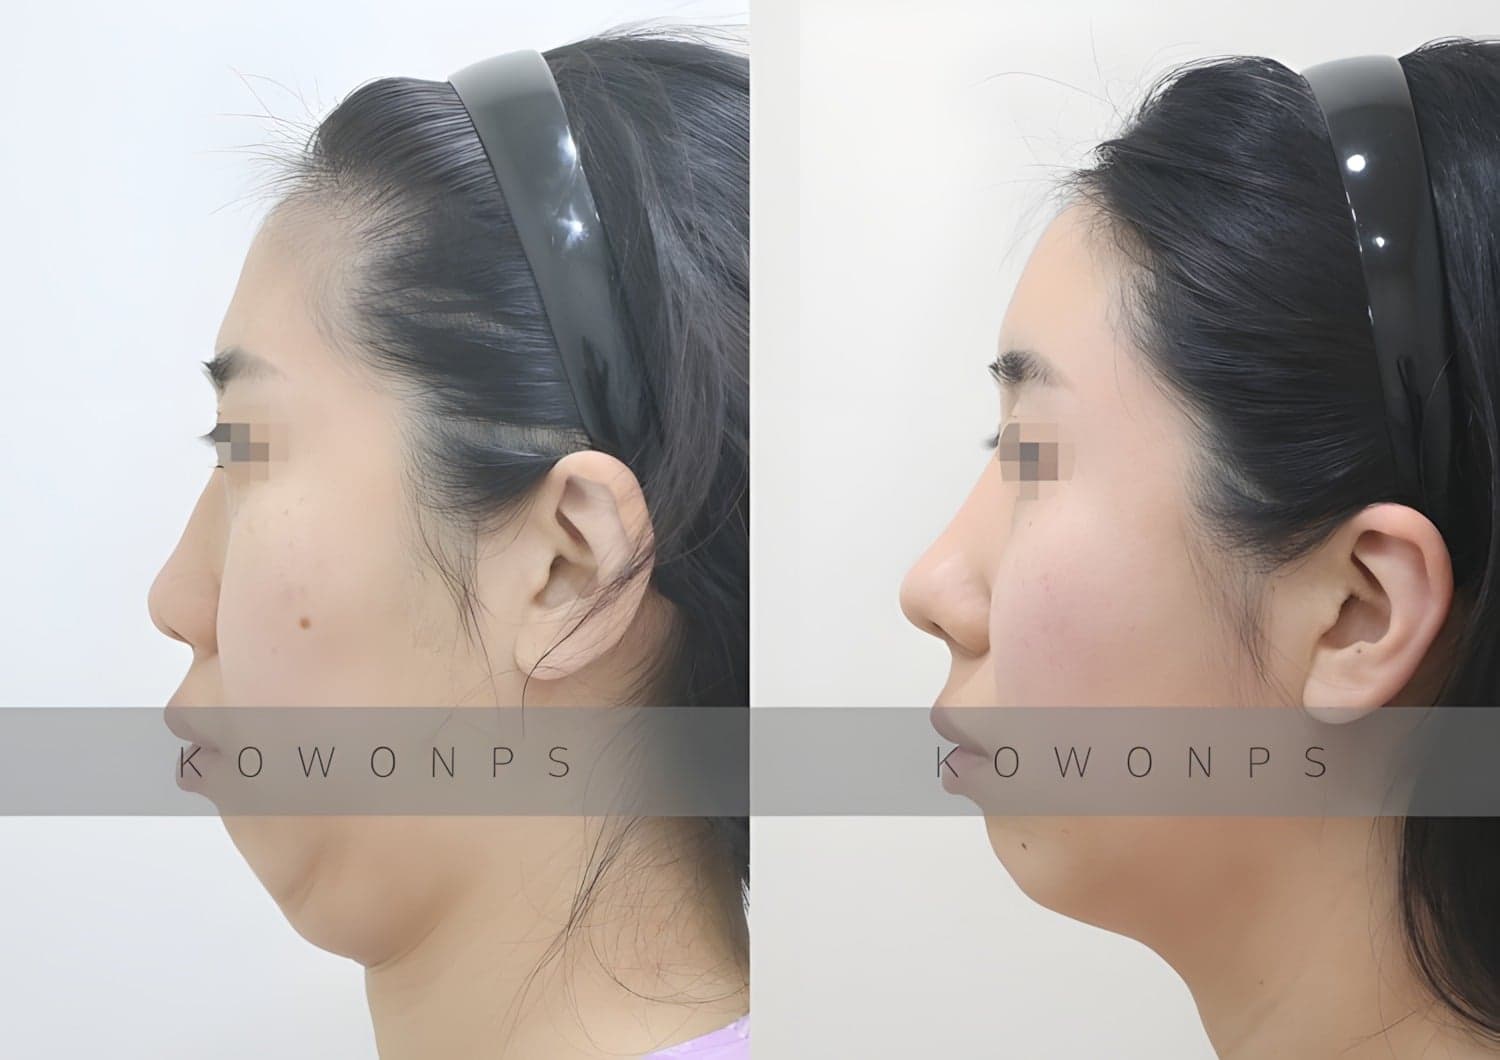
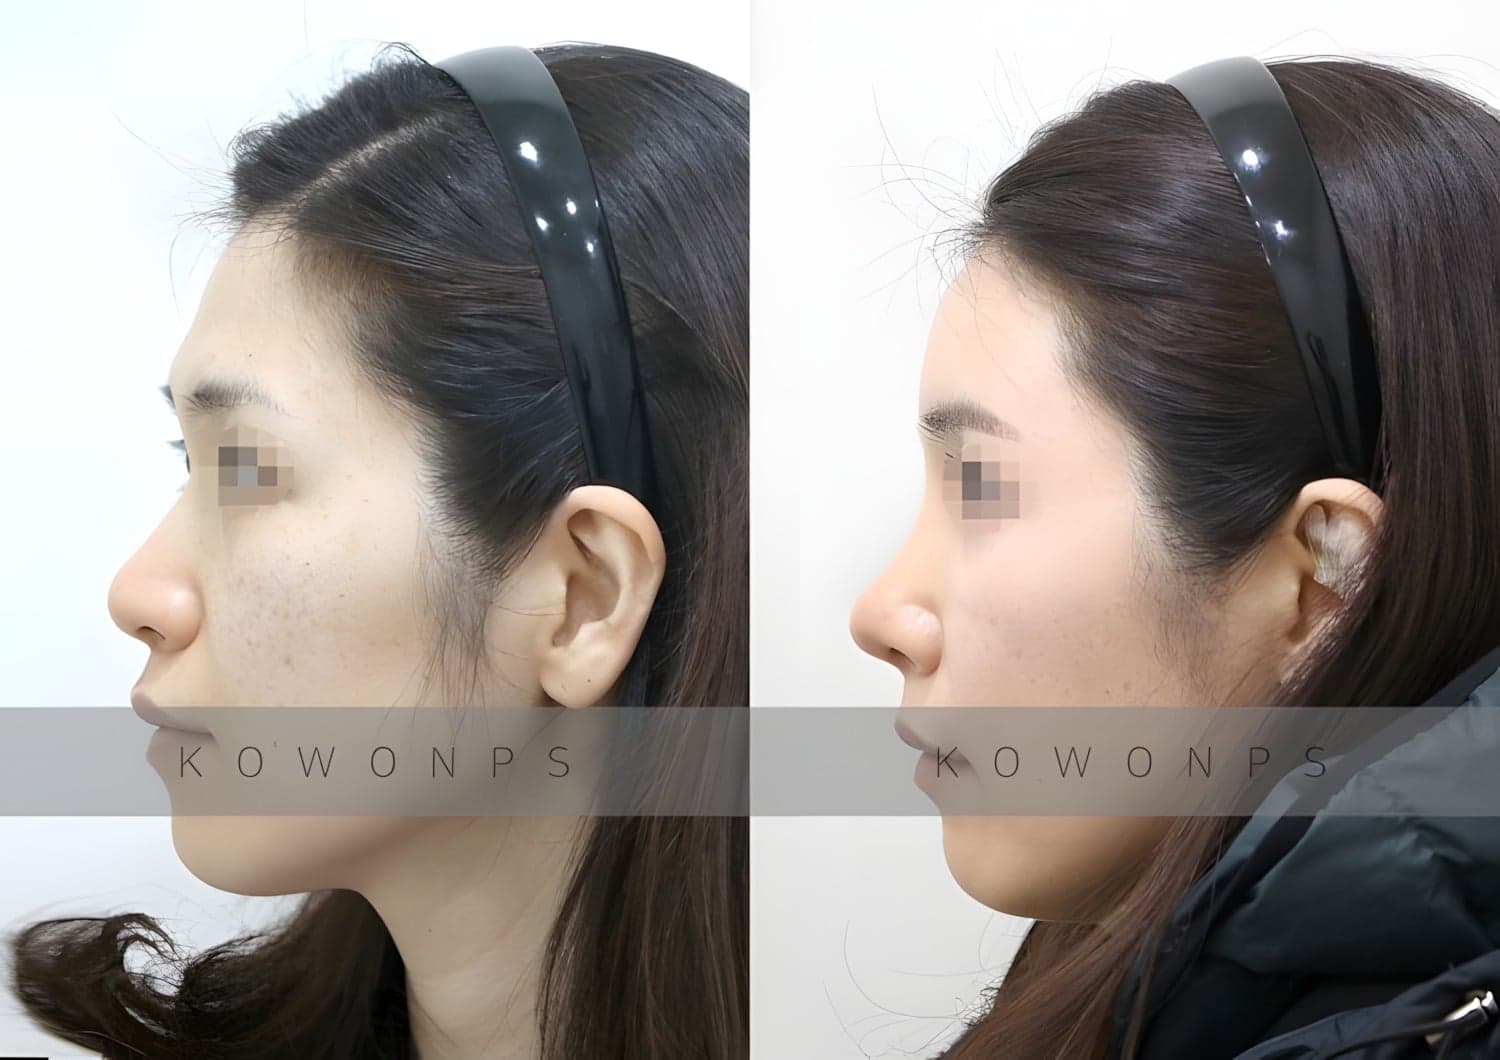
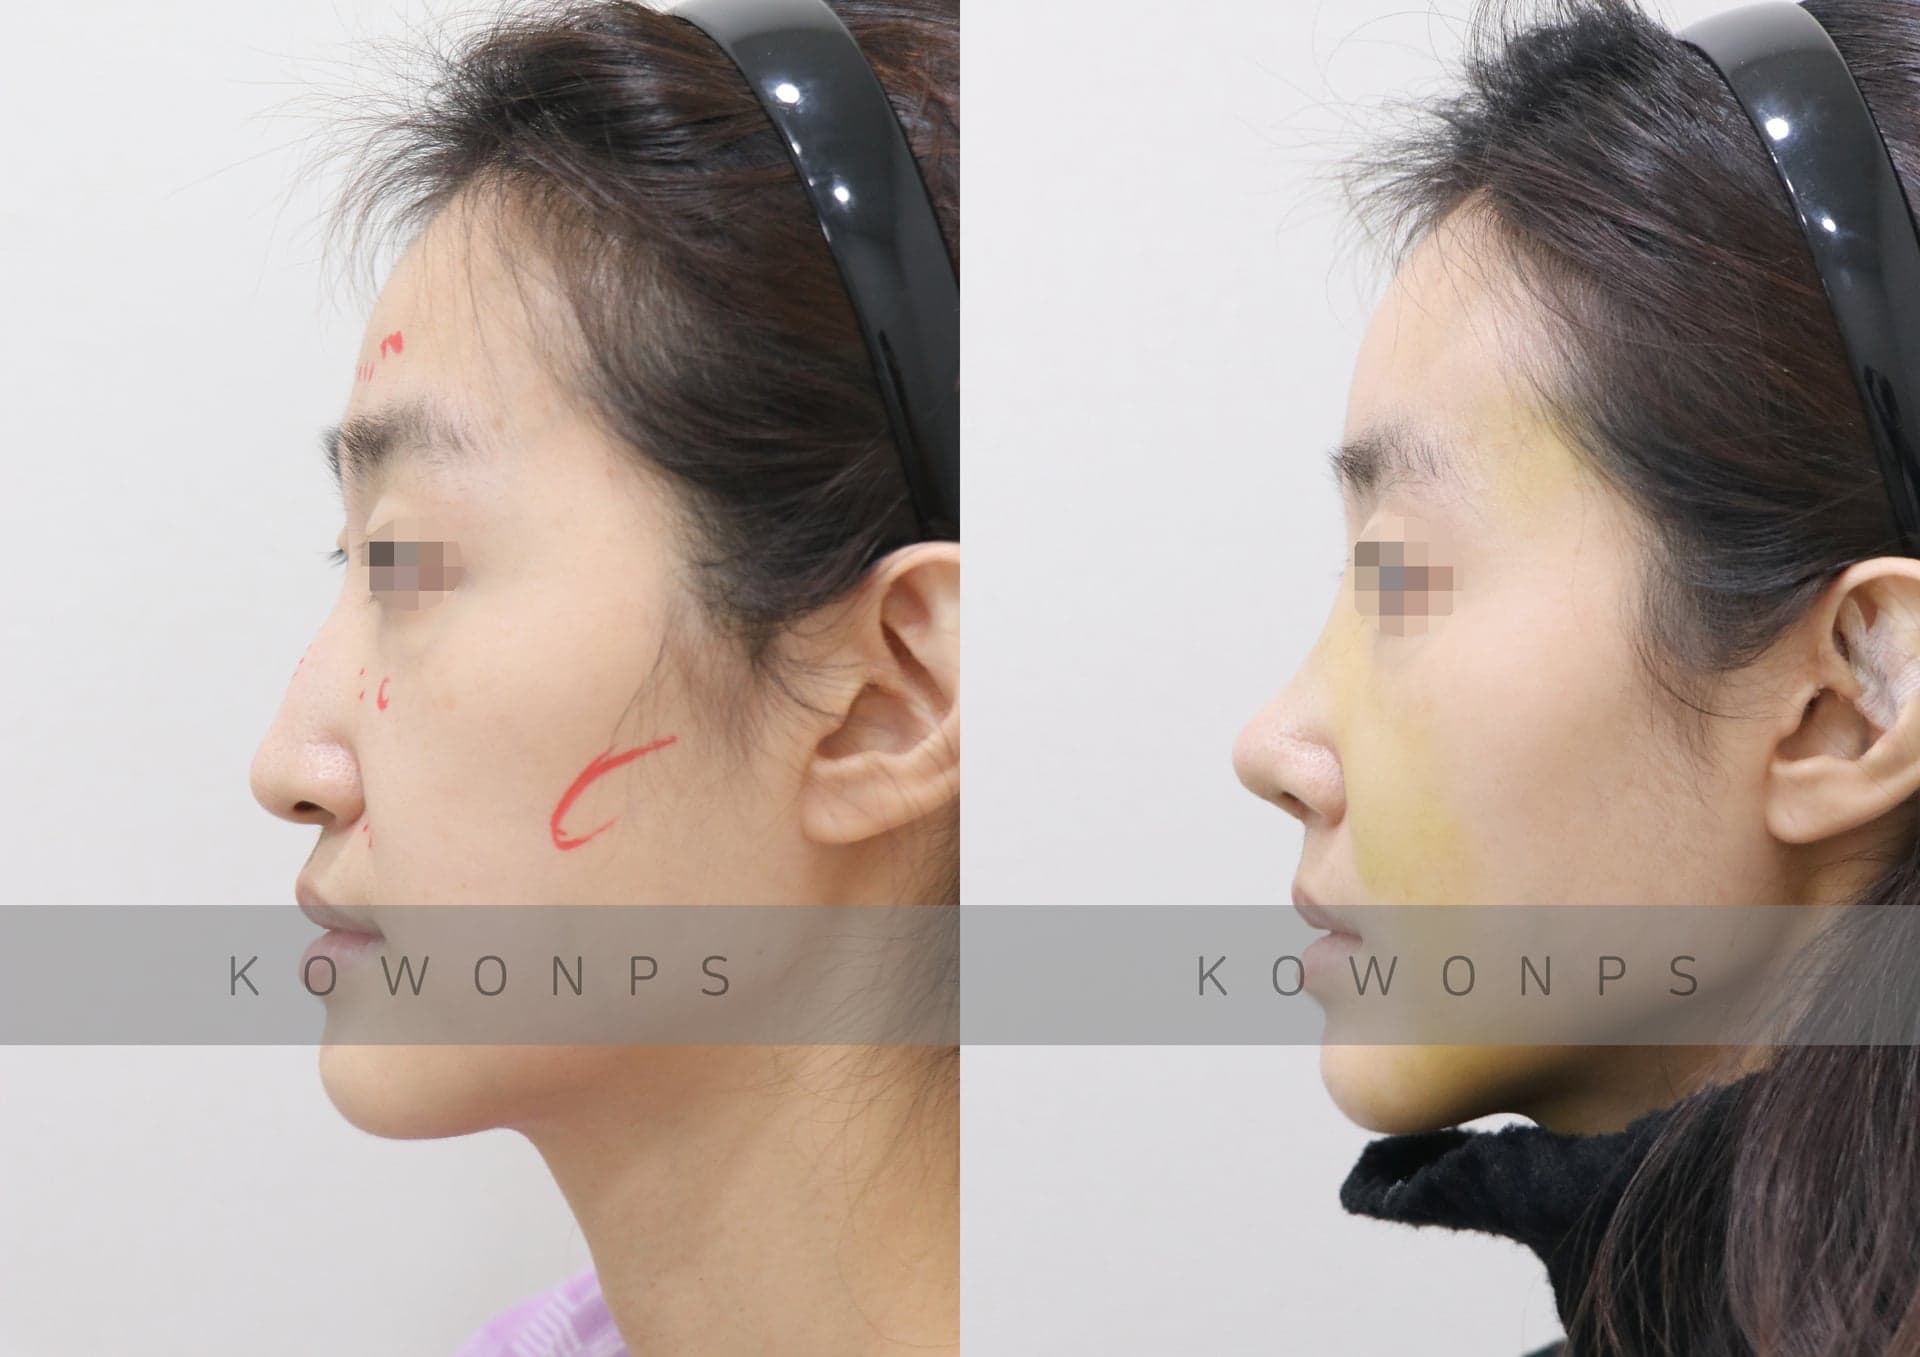
Fat graftingFacial fat grafting  BeforeAfter
Fat graftingFacial fat grafting  BeforeAfter
Fat graftingFacial fat grafting  BeforeAfter
Fat graftingFacial fat grafting  BeforeAfter
Fat graftingFacial fat grafting  BeforeAfter
Fat graftingFacial fat grafting  BeforeAfter
Fat graftingFacial fat grafting  BeforeAfter
Fat graftingFacial fat grafting  BeforeAfter
Fat graftingFacial fat grafting  BeforeAfter
Fat graftingFacial fat grafting  BeforeAfter
Fat graftingFacial fat grafting  BeforeAfter
Fat graftingFacial fat grafting  BeforeAfter
Fat graftingFacial fat grafting  BeforeAfter
Fat graftingFacial fat grafting  BeforeAfter
Fat graftingFacial fat grafting  BeforeAfter
Fat graftingFacial fat grafting  BeforeAfter
Fat graftingFacial fat grafting  BeforeAfter
Fat graftingFacial fat grafting  BeforeAfter
Fat graftingFacial fat grafting  BeforeAfter
Fat graftingFacial fat grafting  BeforeAfter
Fat graftingFacial fat grafting  BeforeAfter
Fat graftingFacial fat grafting  BeforeAfter
Fat graftingFacial fat grafting  BeforeAfter
Fat graftingFacial fat grafting  BeforeAfter
Fat graftingFacial fat grafting  BeforeAfter
Fat graftingFacial fat grafting  BeforeAfter
Fat graftingFacial fat grafting  BeforeAfter
Fat graftingFacial fat grafting  BeforeAfter
Fat graftingFacial fat grafting  BeforeAfter
Fat graftingFacial fat grafting  BeforeAfter
Fat graftingFacial fat grafting  BeforeAfter
Fat graftingFacial fat grafting  BeforeAfter
Fat graftingFacial fat grafting  BeforeAfter
Fat graftingFacial fat grafting  BeforeAfter
Fat graftingFacial fat grafting  BeforeAfter
Fat graftingFacial fat grafting  BeforeAfter
Fat graftingFacial fat grafting  BeforeAfter
Fat graftingFacial fat grafting  BeforeAfter
Fat graftingFacial fat grafting  BeforeAfter
Fat graftingFacial fat grafting  BeforeAfter
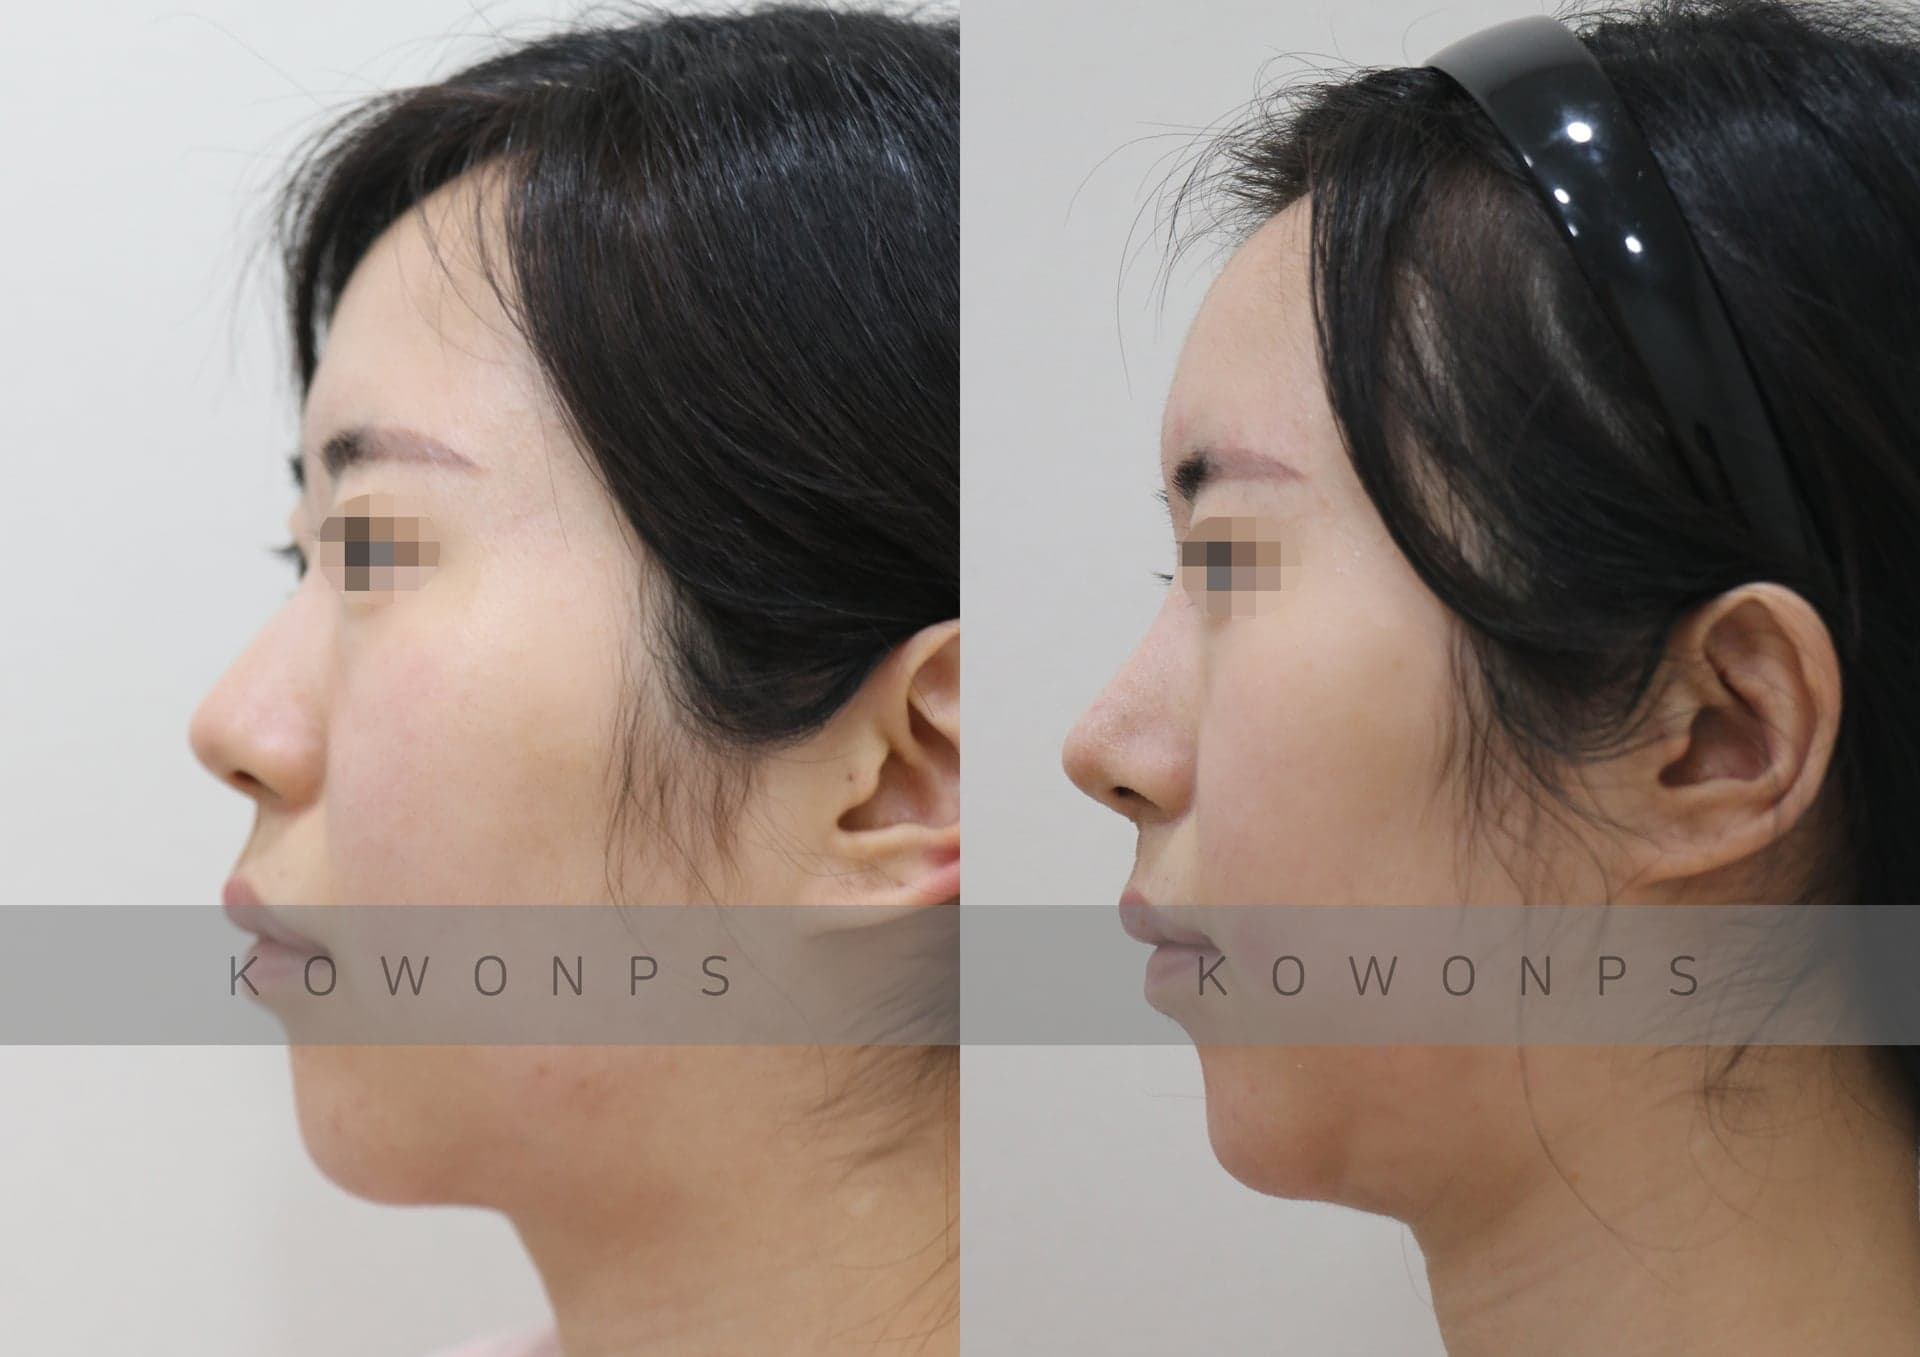
Revision rhinoplasty · Bulbous noseRevision rhinoplasty · Bulbous tip  BeforeAfter
Revision rhinoplasty · Bulbous noseRevision rhinoplasty · Bulbous tip
Wondering what surgical plan would suit your nose?
Book a 1:1 consultation